When it comes to hair, I can do a ponytail and that’s pretty much it.
That being said, my hair isn’t long enough for me to really do anything with, so I wear clip-in extensions 99.9% of the time.
It’s not that I have any problem with short hair. After all, I loved how I looked when I shaved all my hair off. And, when it grew back a little, I sported a super cute pixie. Right now though, my it’s just at this kind of awkward length, that I don’t know how to deal with.
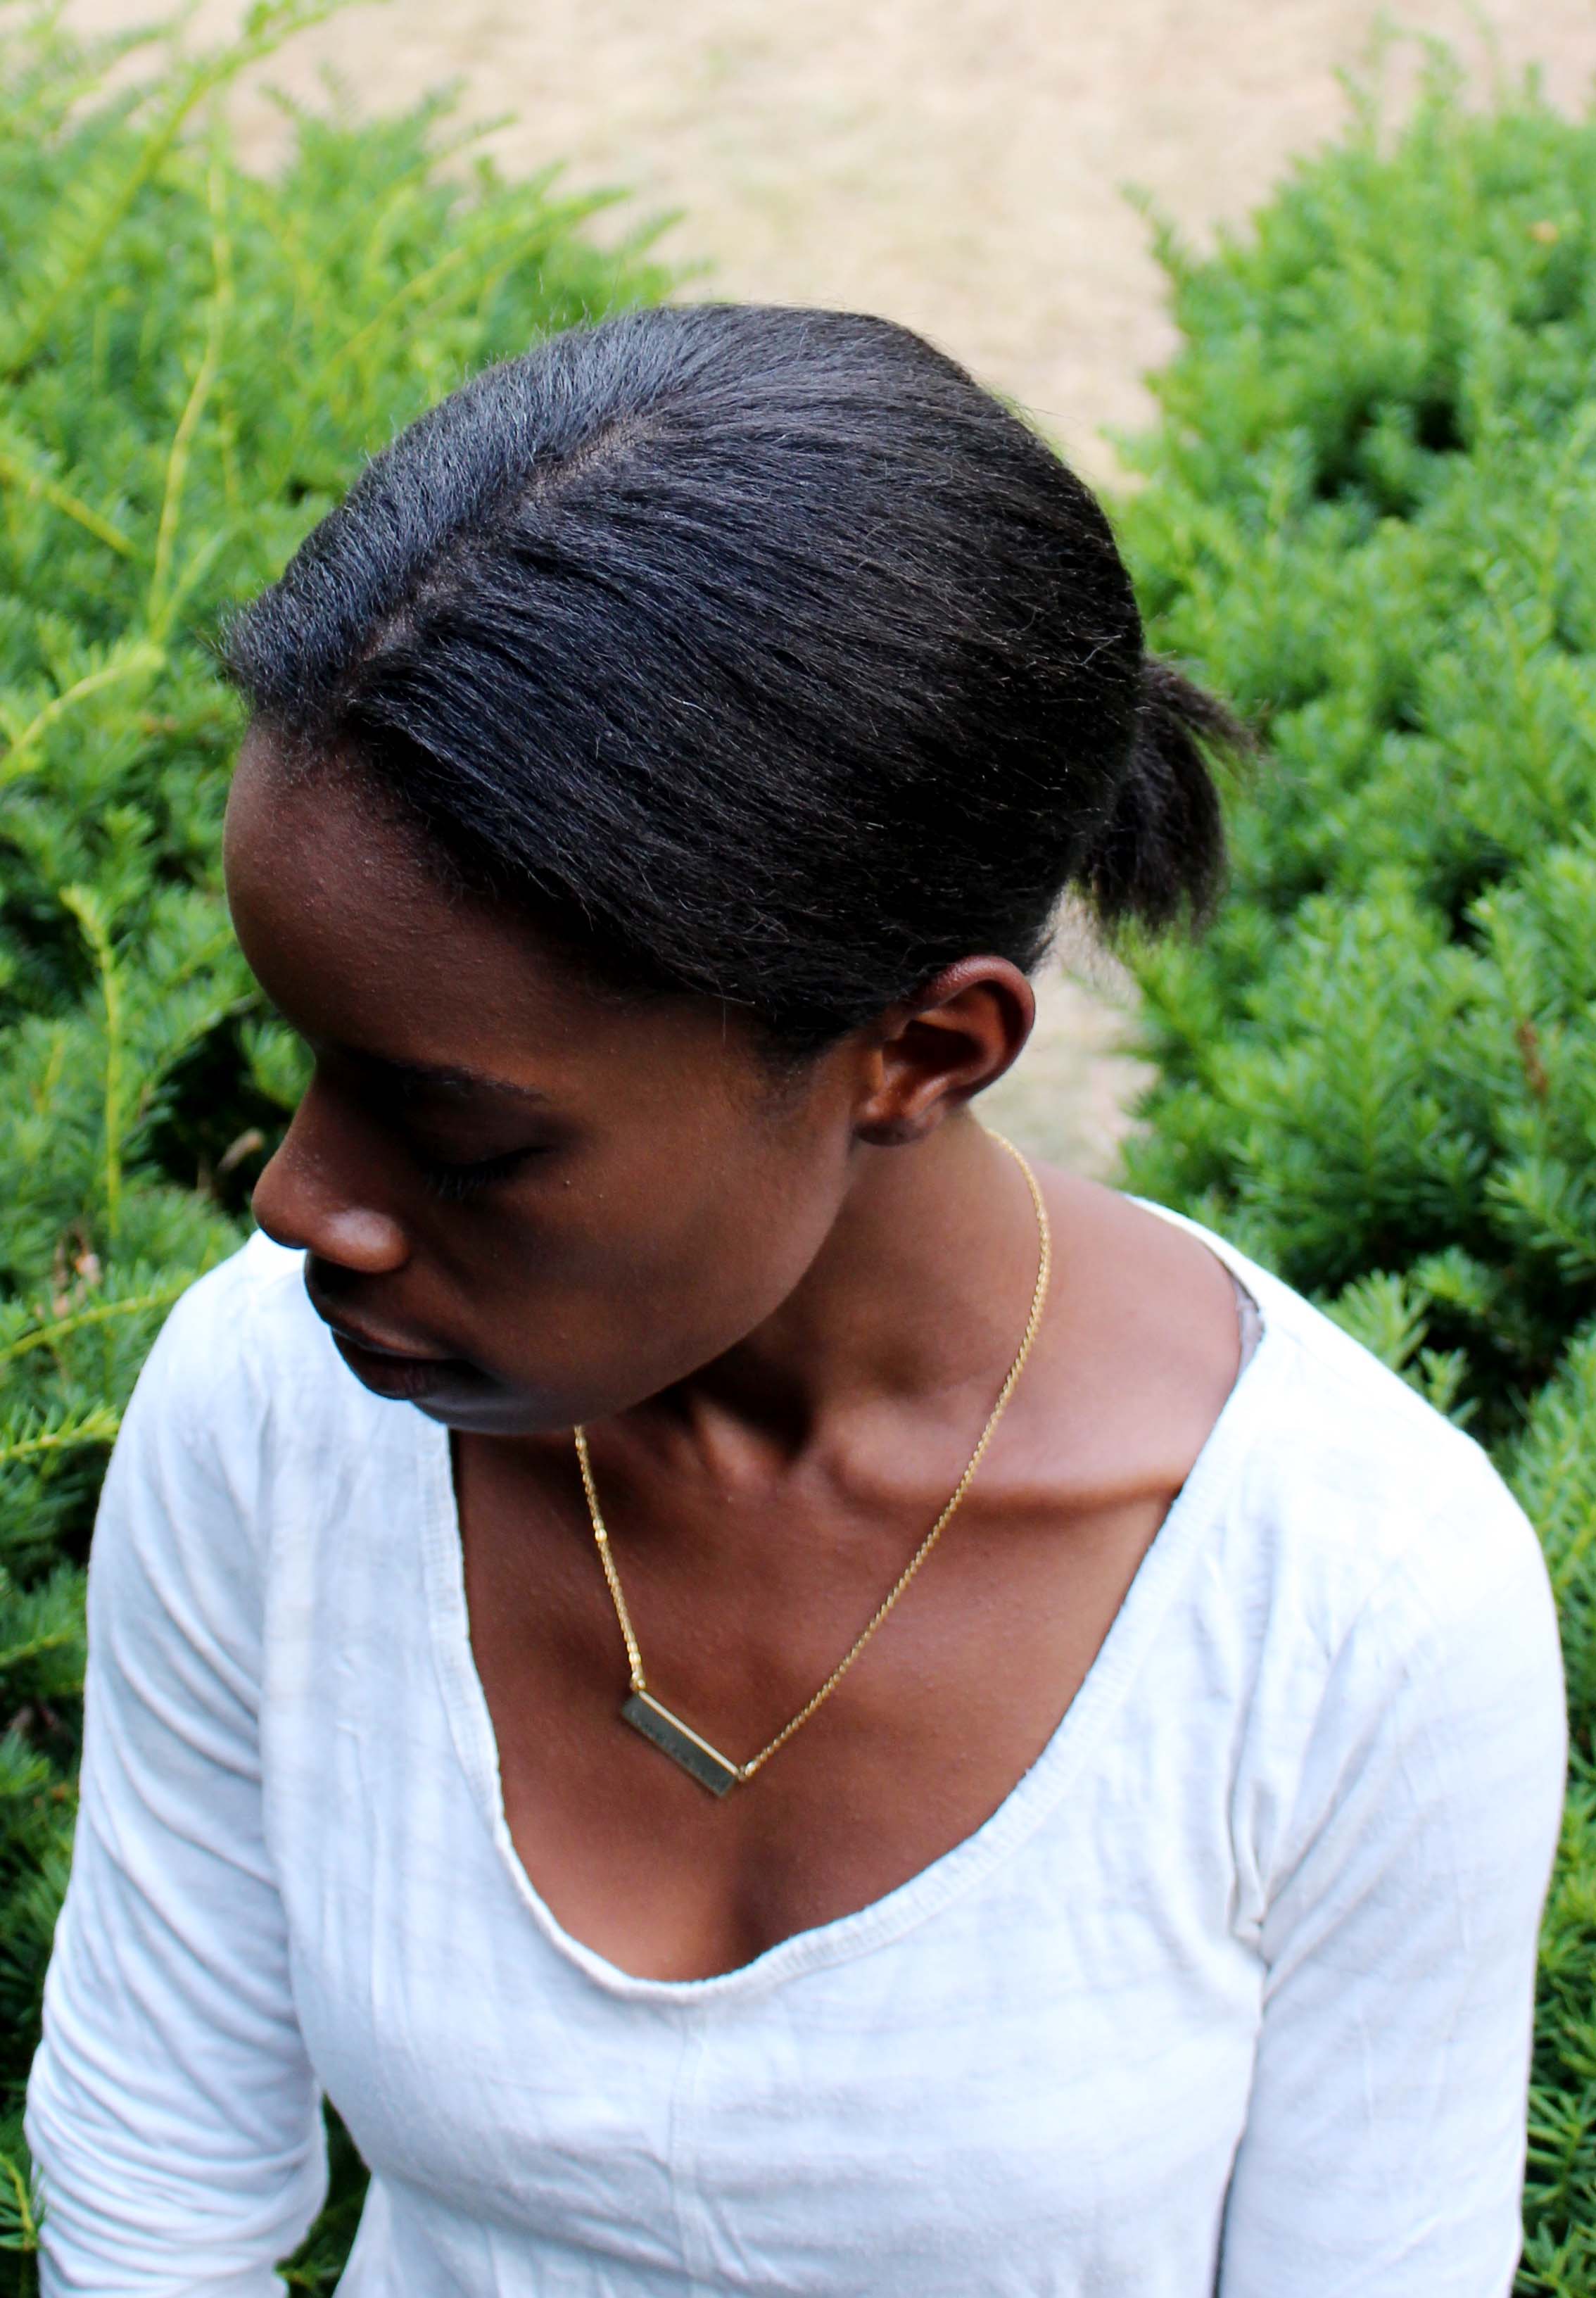
This is my ponytail before:
This is my ponytail after:

On the other hand, clip-ins can be expensive, so after my sister (who can actually do hair) gave me a set of clip-ins that she’d made (yes, made!), believe me, I was PUMPED.
Then summer came.
Don’t get me wrong, I love the summer.
But, the sun changes my hair color and the extensions no longer matched. I needed a slightly lighter color and figured I could try my hand at making them myself.
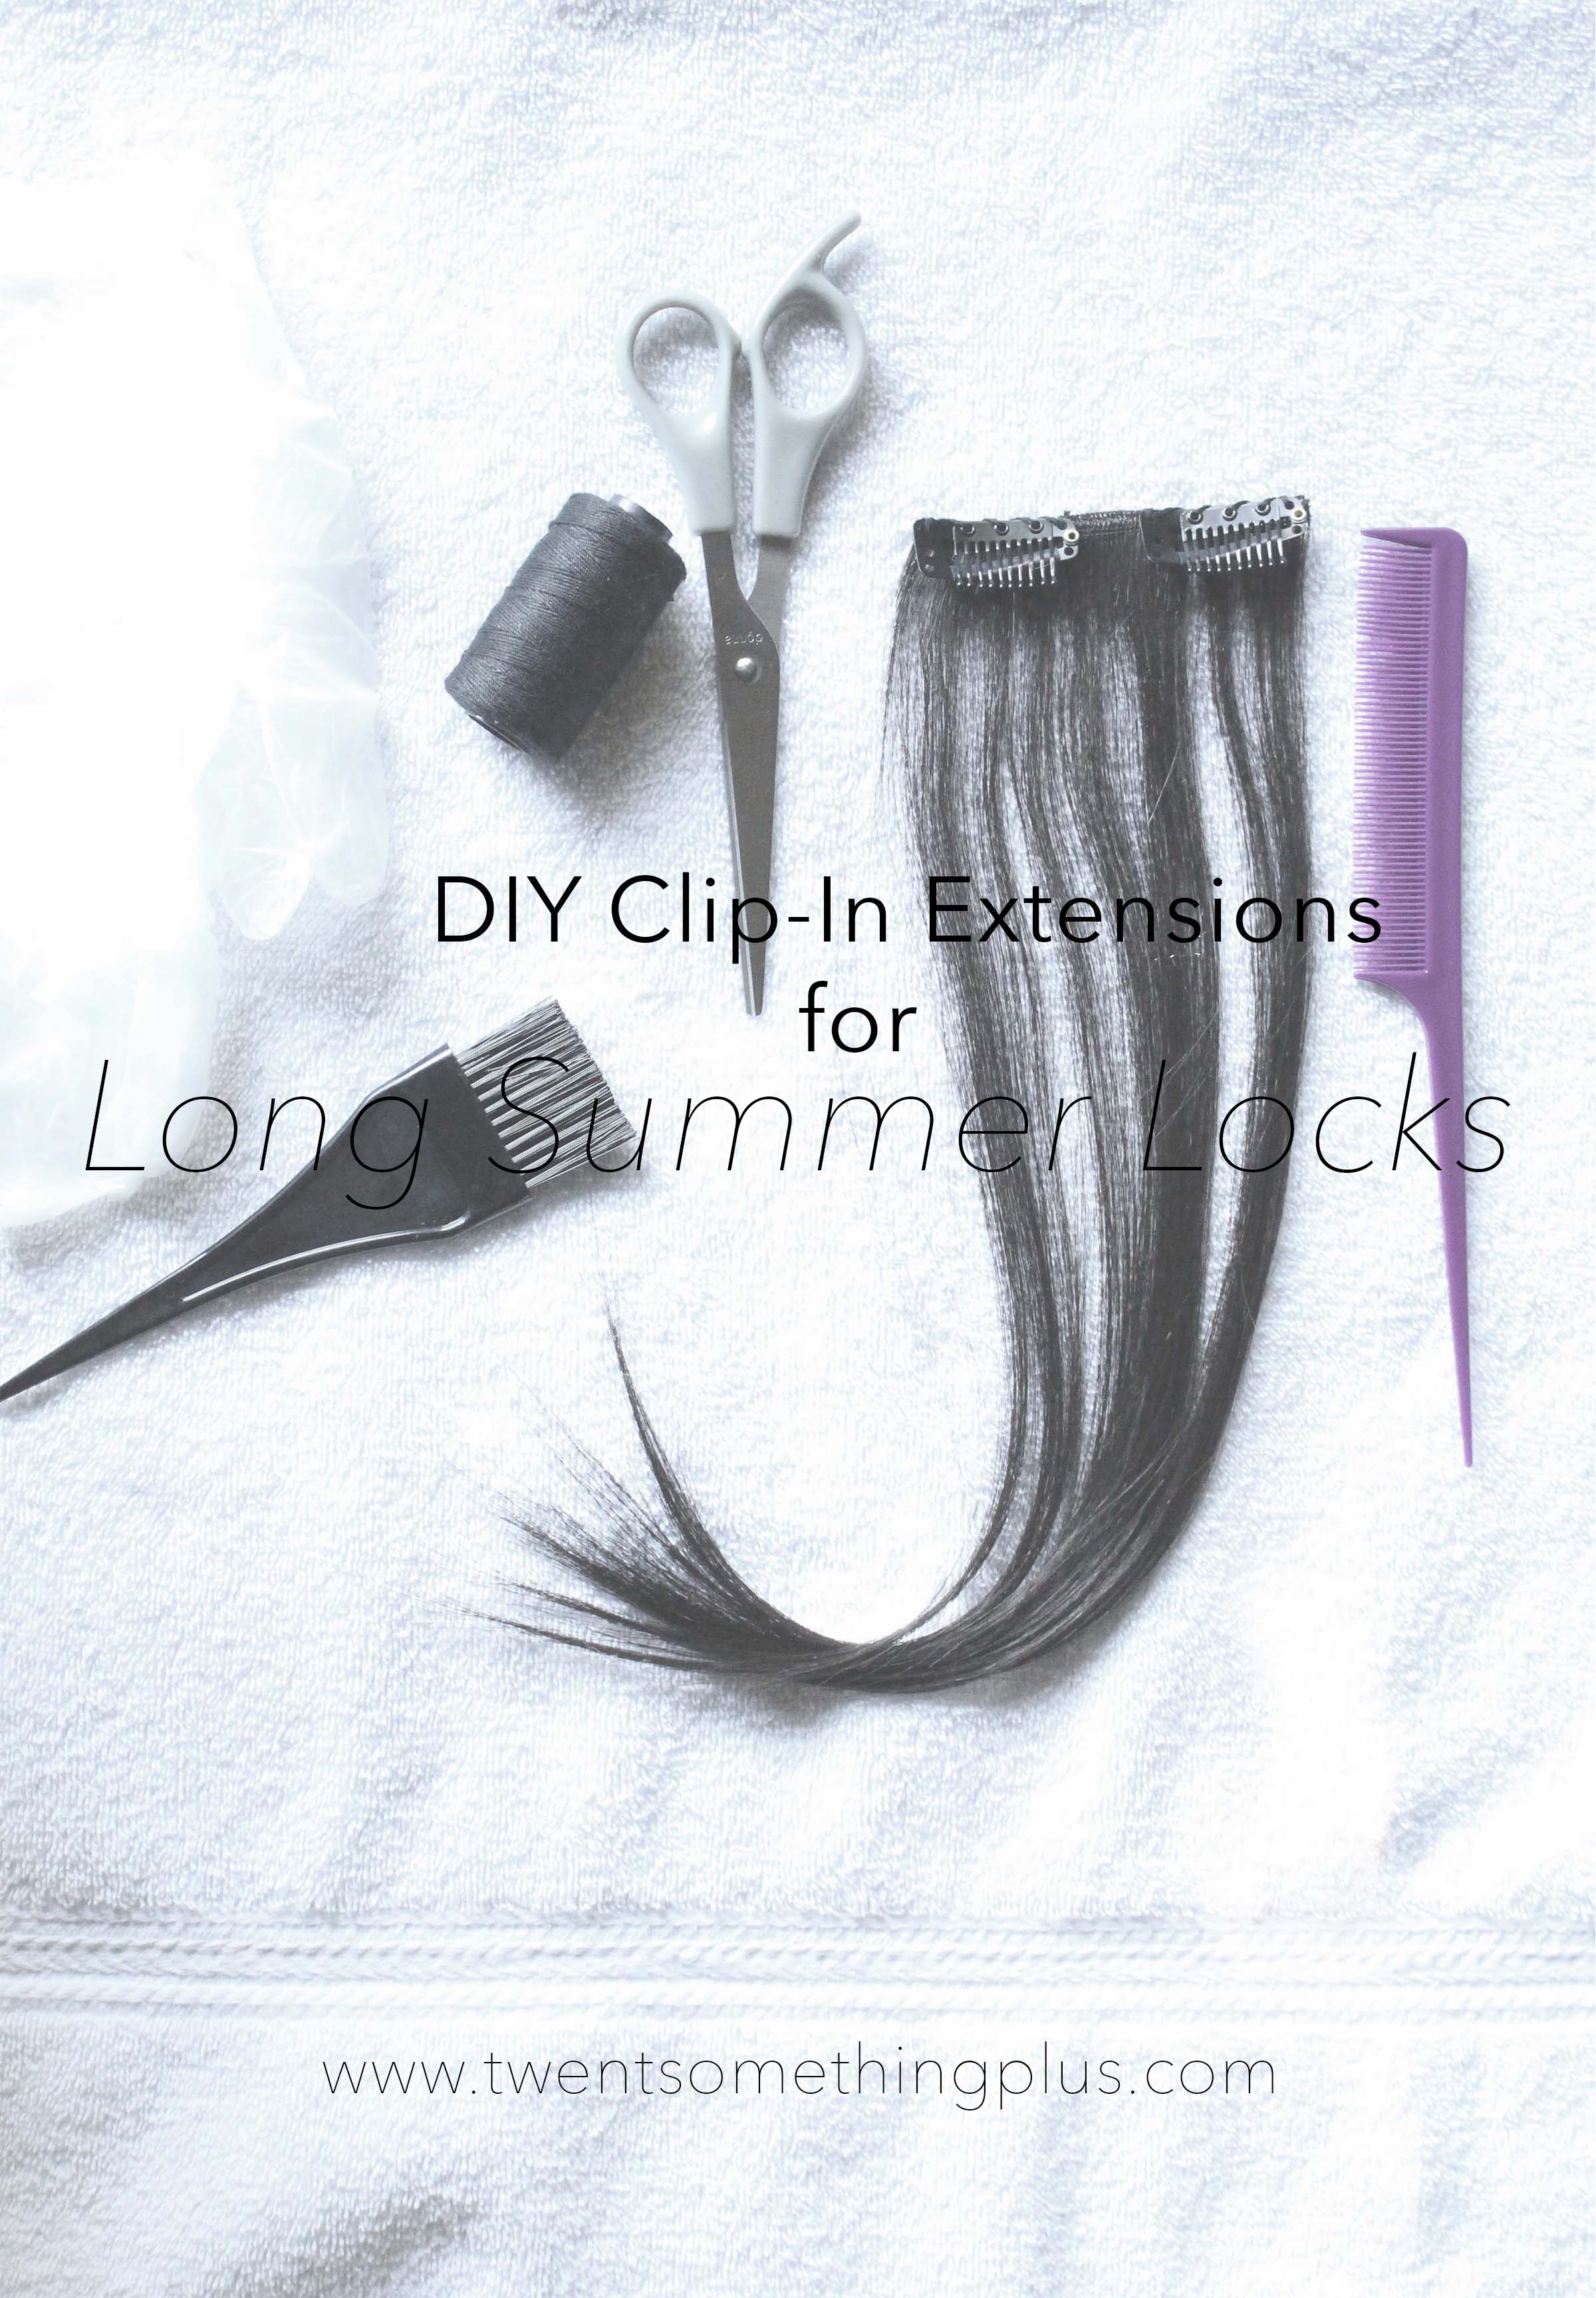
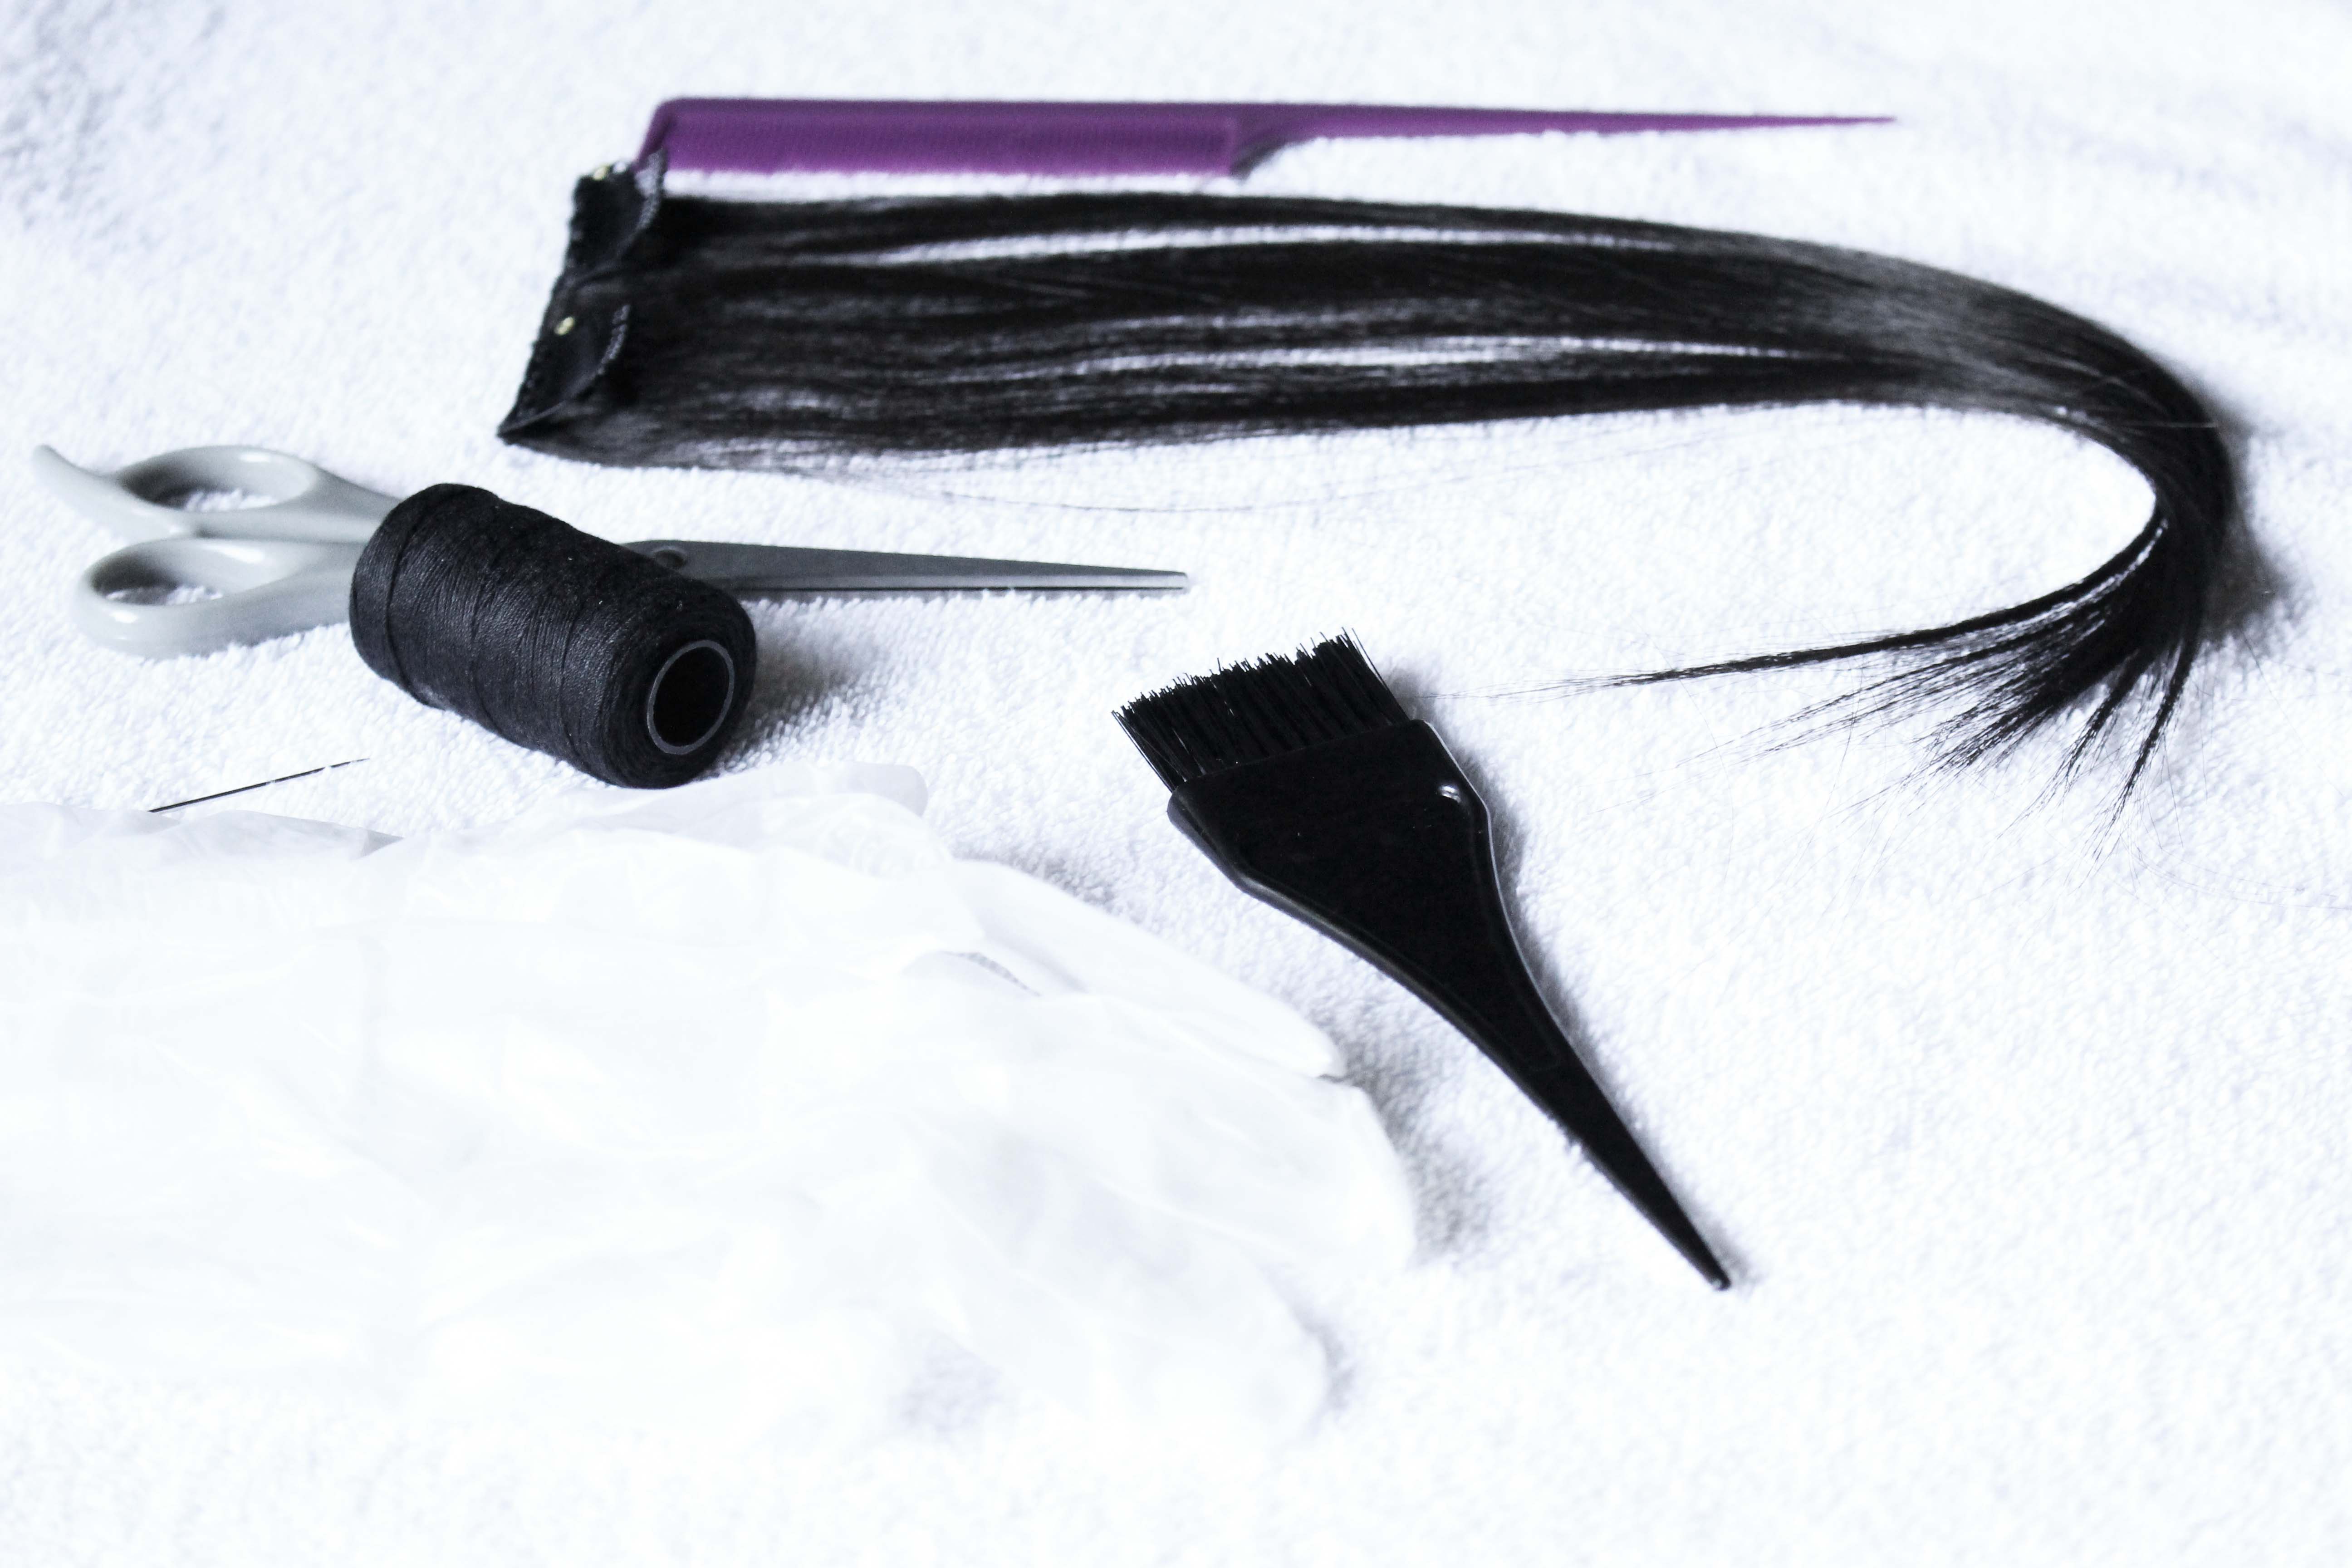
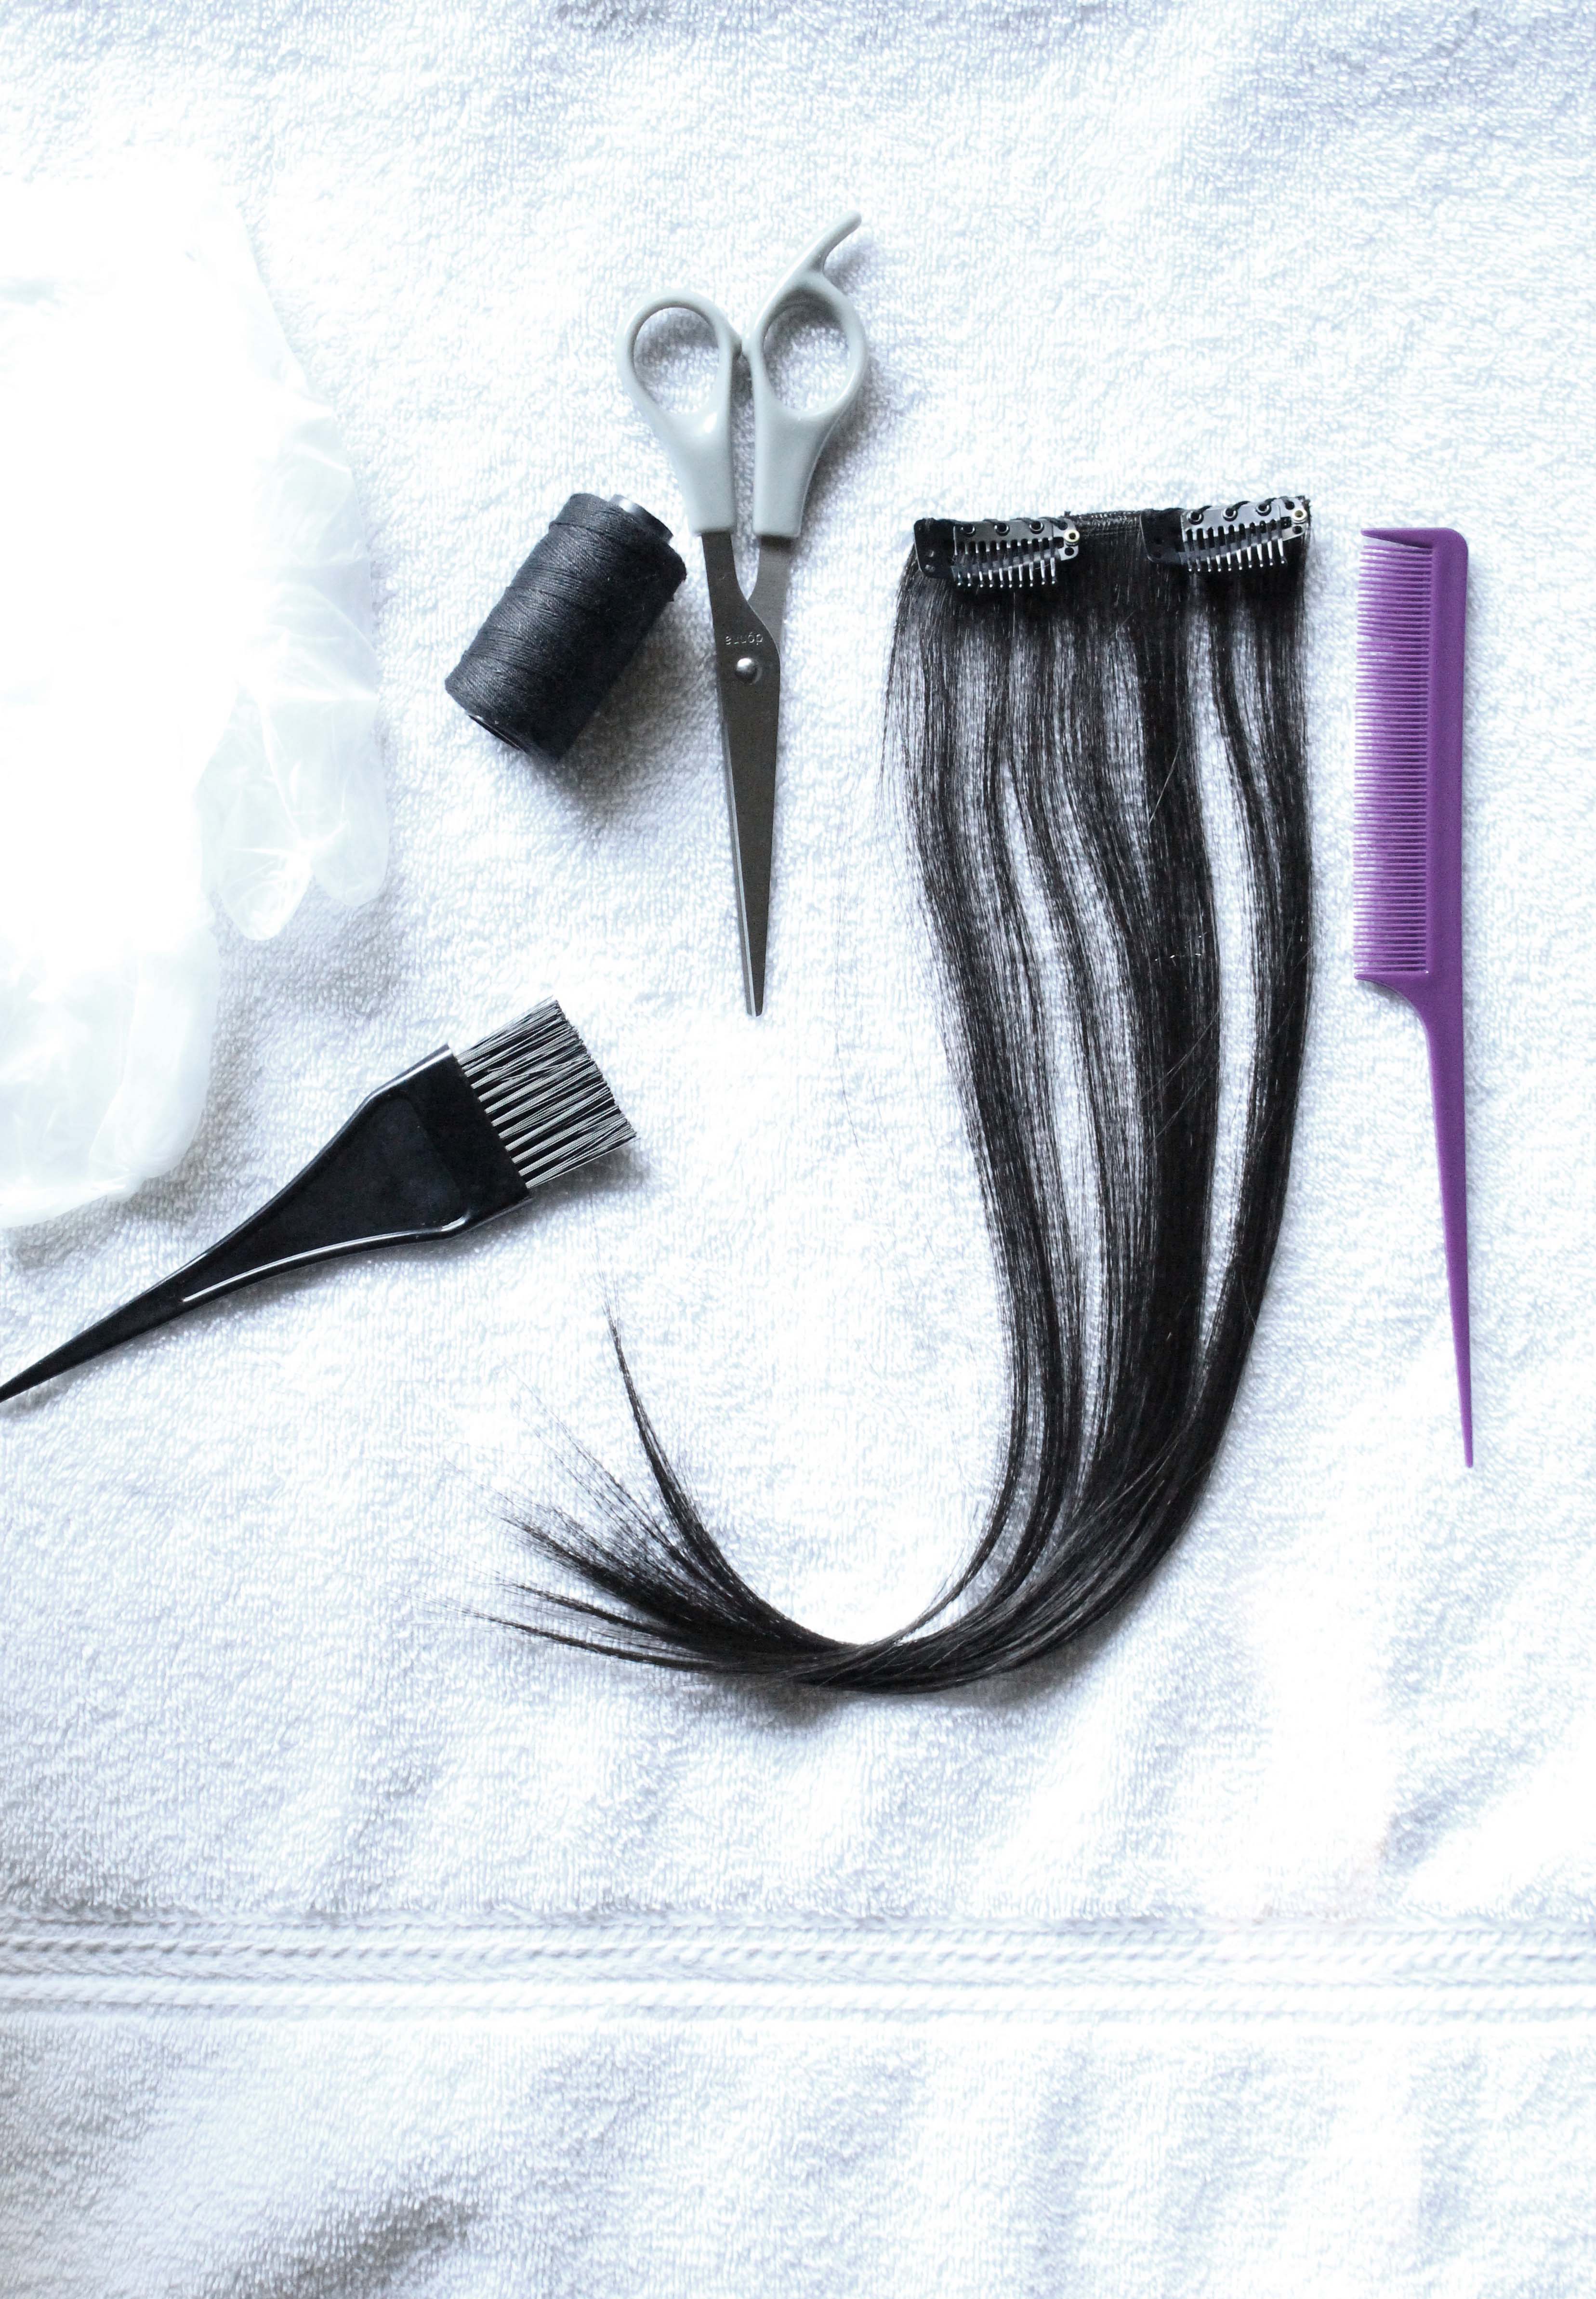
I was able to grab all the supplies I needed (and then some) from Sally Beauty Supply for under $75!
Making clip-ins requires basic sewing skills. Other than that the steps are pretty simple.
- Measure.
- Cut.
- Attach clips. (This is where the sewing comes in.)
If you are using any type of hair other than 100% virgin, you can NOT bleach it. I found this out the hard way. No mermaid ombre hair for me…
For more beauty secrets, make sure to follow Sally Beauty on Instagram!