DIY Clip-In Extensions

DIY Extensions Clip-in Extensions

When it comes to hair, I can do a ponytail and that’s pretty much it.

That being said, my hair isn’t long enough for me to really do anything with, so I wear clip-in extensions 99.9% of the time.

It’s not that I have any problem with short hair. After all, I loved how I looked when I shaved all my hair off. And, when it grew back a little, I sported a super cute pixie. Right now though, my it’s just at this kind of awkward length, that I don’t know how to deal with.

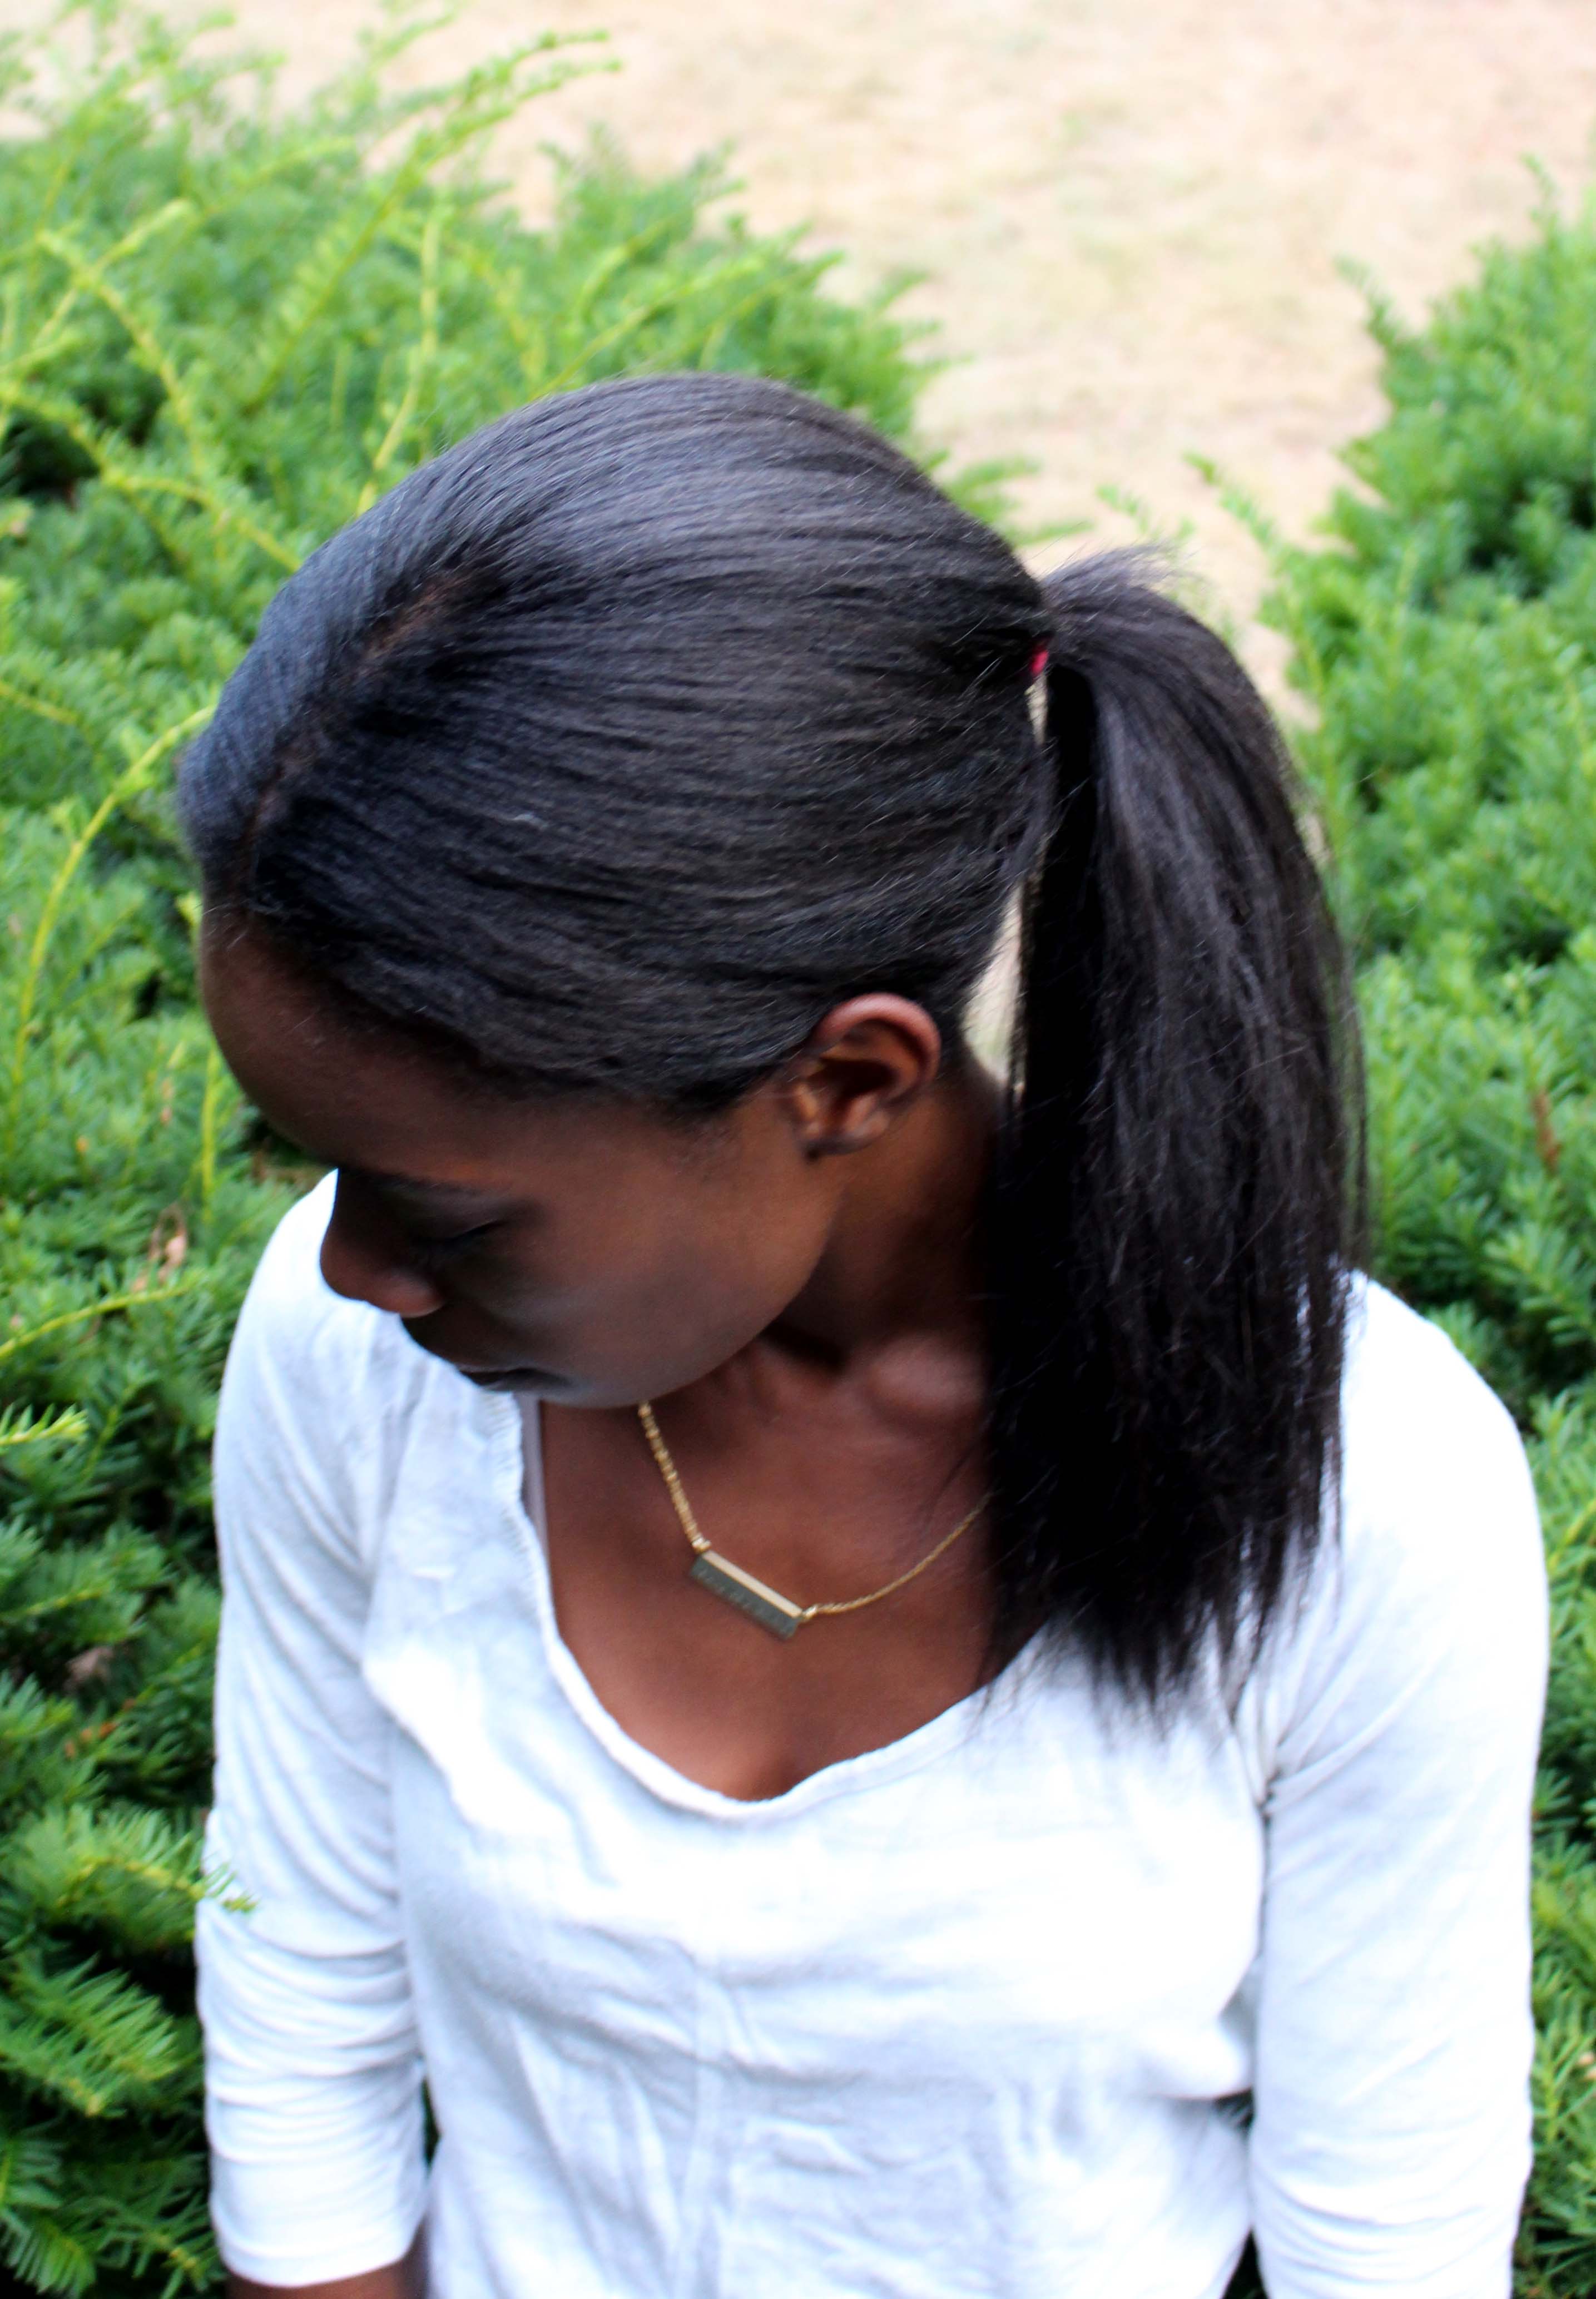
This is my ponytail before:

Before Extensions

This is my ponytail after:

After Extensions

On the other hand, clip-ins can be expensive, so after my sister (who can actually do hair) gave me a set of clip-ins that she’d made (yes, made!), believe me, I was PUMPED.

Then summer came.

Don’t get me wrong, I love the summer.

But, the sun changes my hair color and the extensions no longer matched. I needed a slightly lighter color and figured I could try my hand at making them myself.

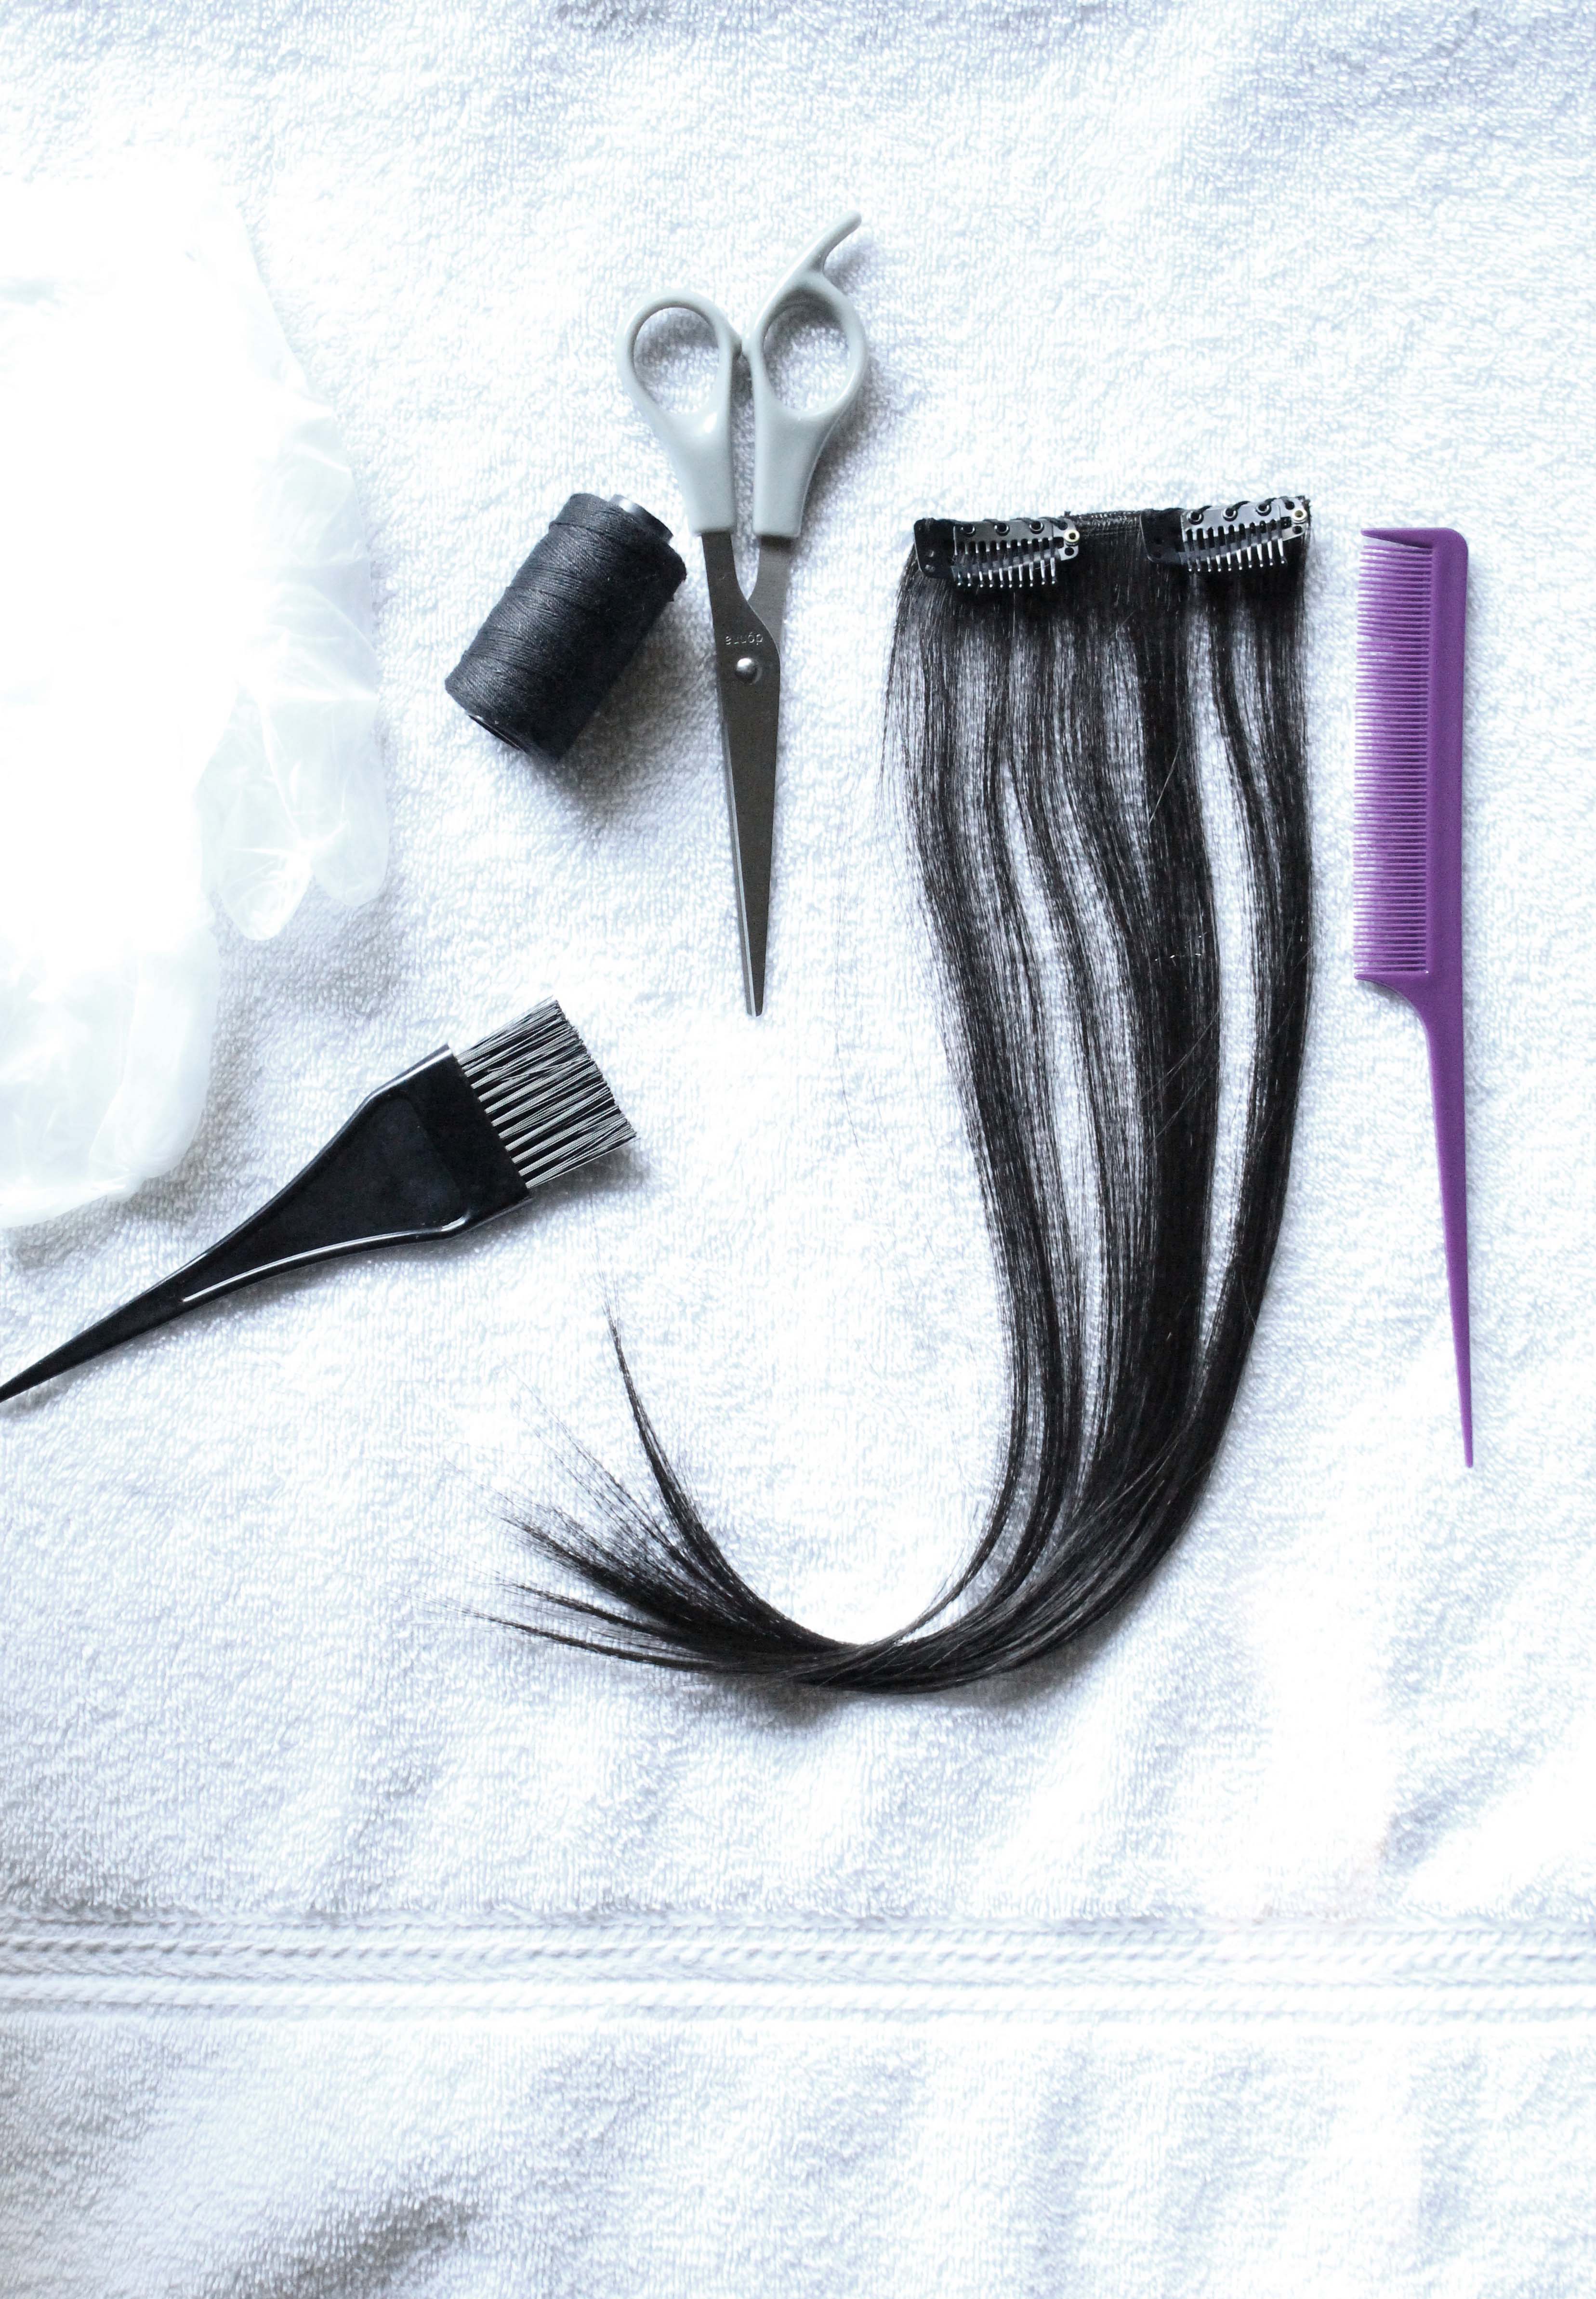
I was able to grab all the supplies I needed (and then some) from Sally Beauty Supply for under $75!

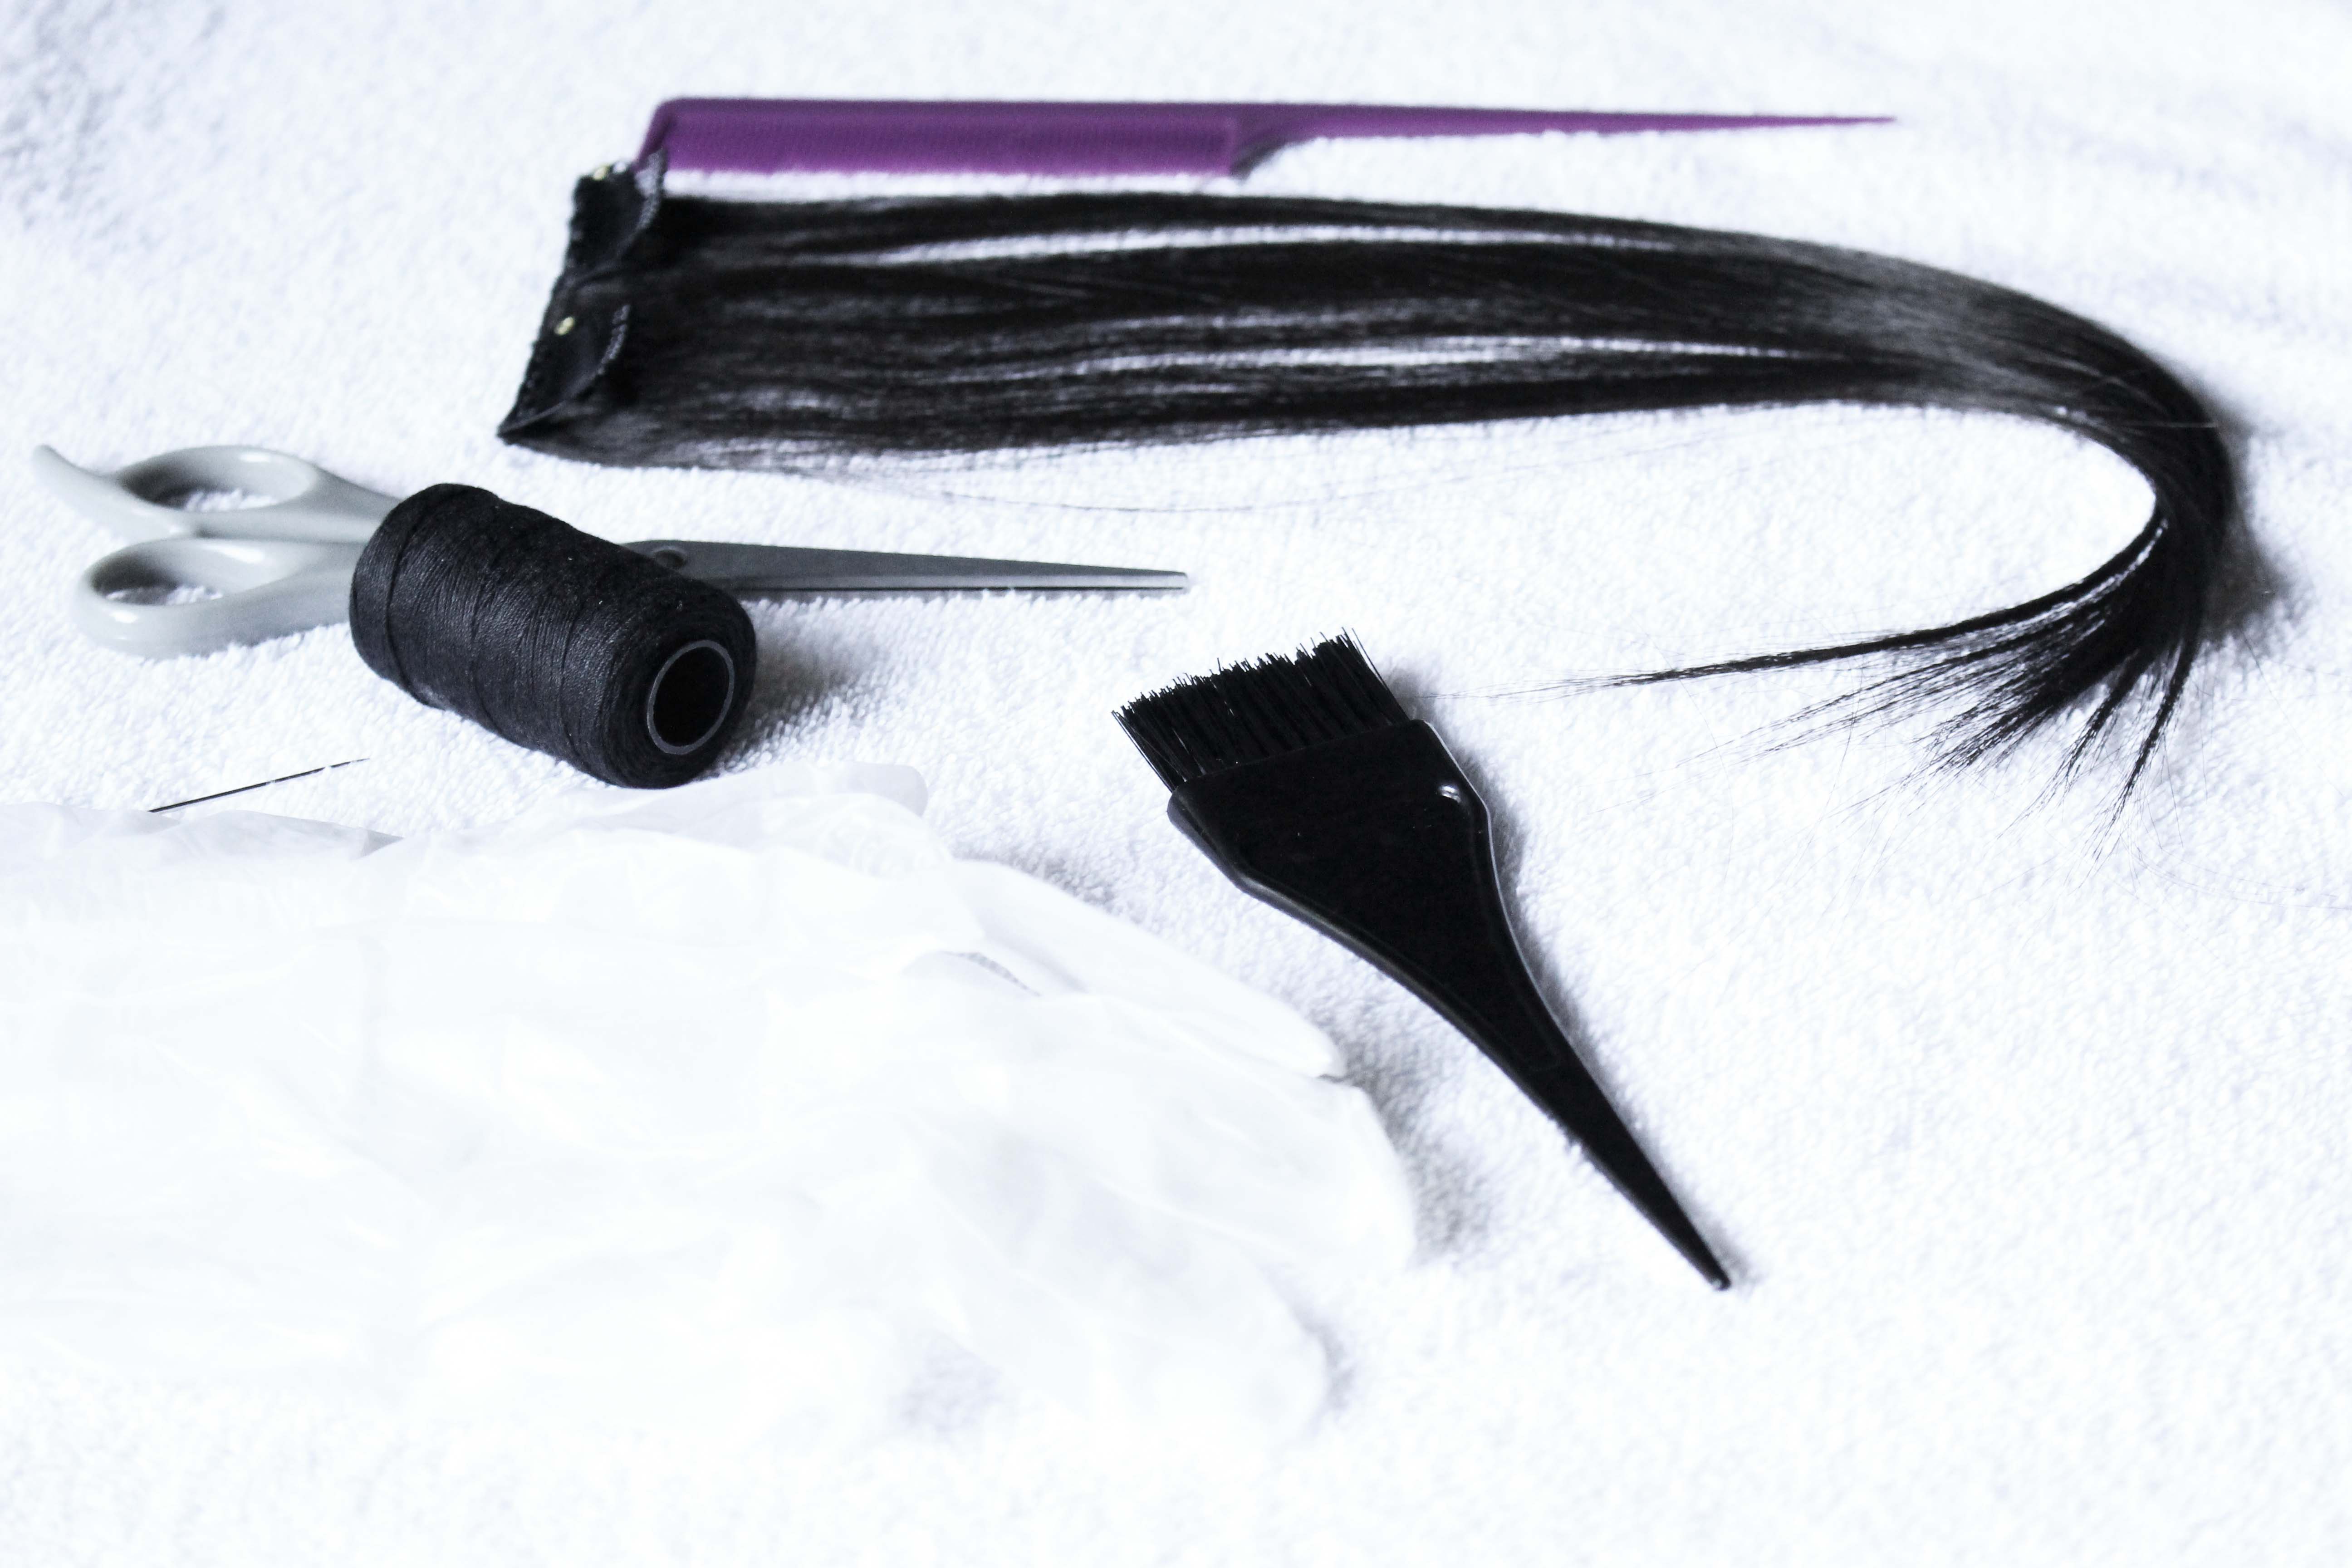
Making clip-ins requires basic sewing skills. Other than that the steps are pretty simple.

  1. Measure.
  2. Cut.
  3. Attach clips. (This is where the sewing comes in.)

If you are using any type of hair other than 100% virgin, you can NOT bleach it. I found this out the hard way. No mermaid ombre hair for me…

For more beauty secrets, make sure to follow Sally Beauty on Instagram!

xx

Long Summer Locks

Green Beer for St. Patrick’s Day

Two blog posts in one day? I know, I know…

I just couldn’t not share about what I’ll be drinking tonight! Don’t hate me, but I’m not a big fan of Guinness, or Baileys. So, still wanting to keep it festive for St. Patrick’s Day, I found a green beer DIY on Pinterest.
St. Patrick's Day Drink

SUPER easy you guys! The how to can be found here.

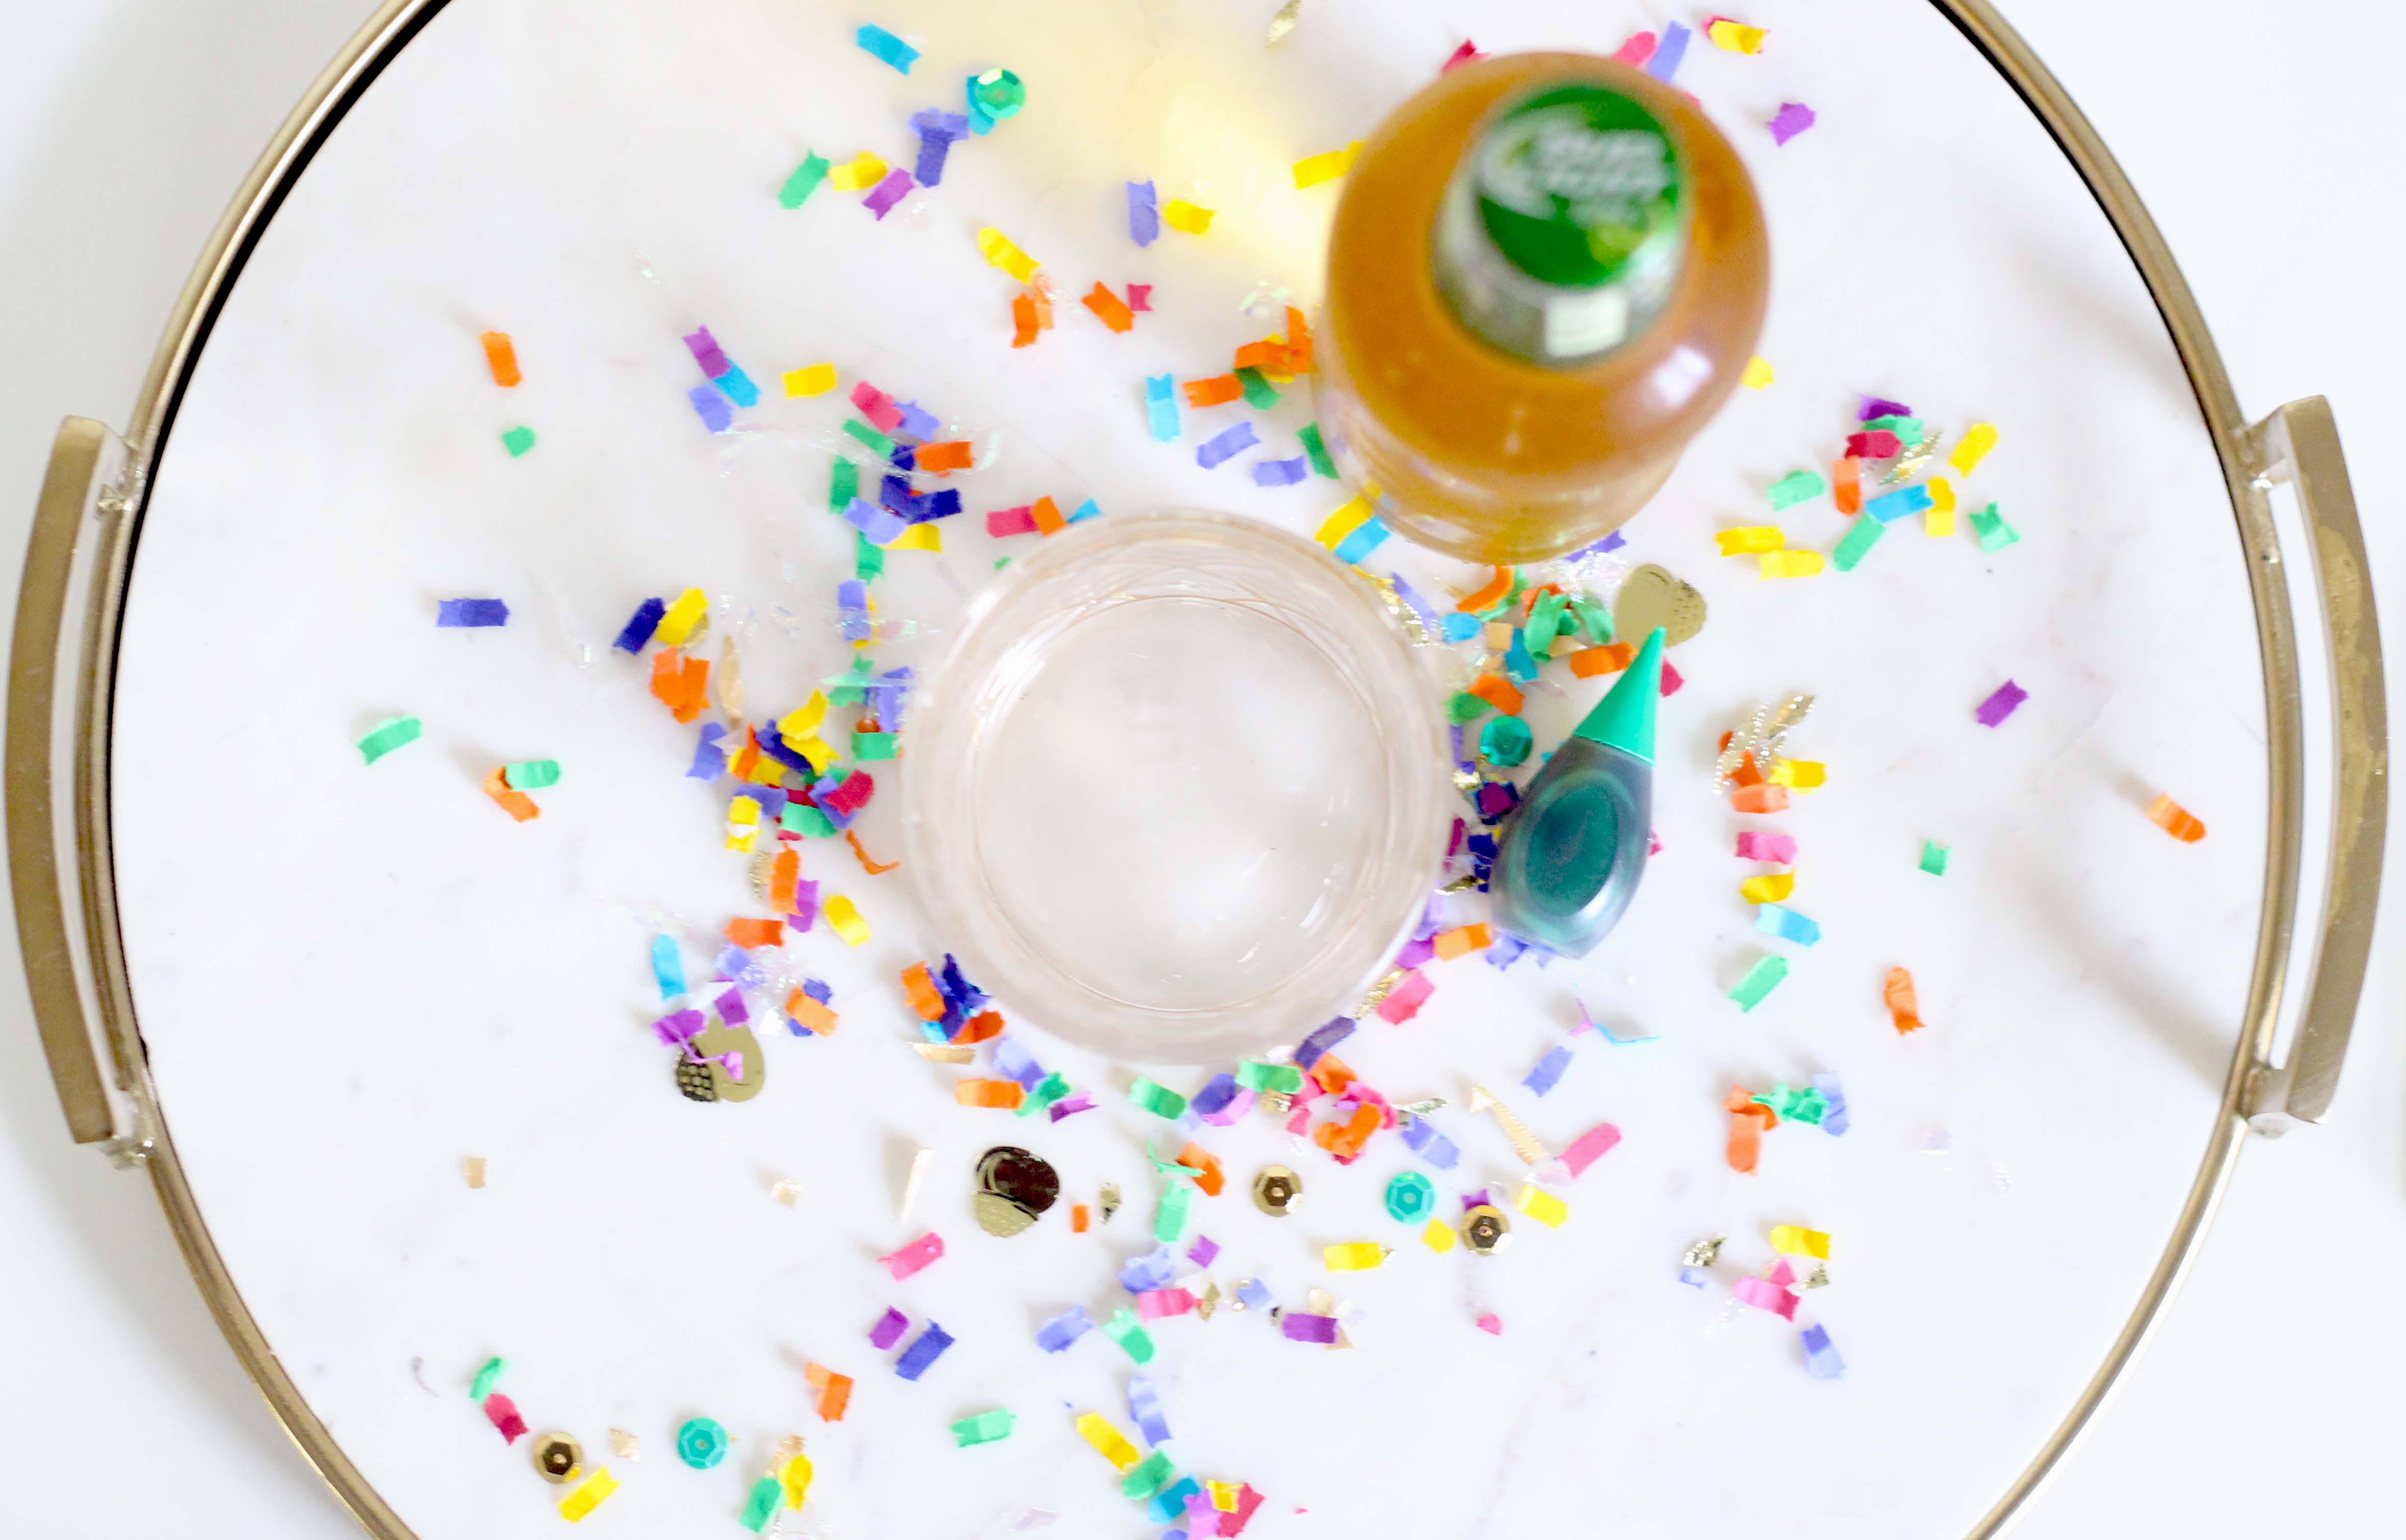
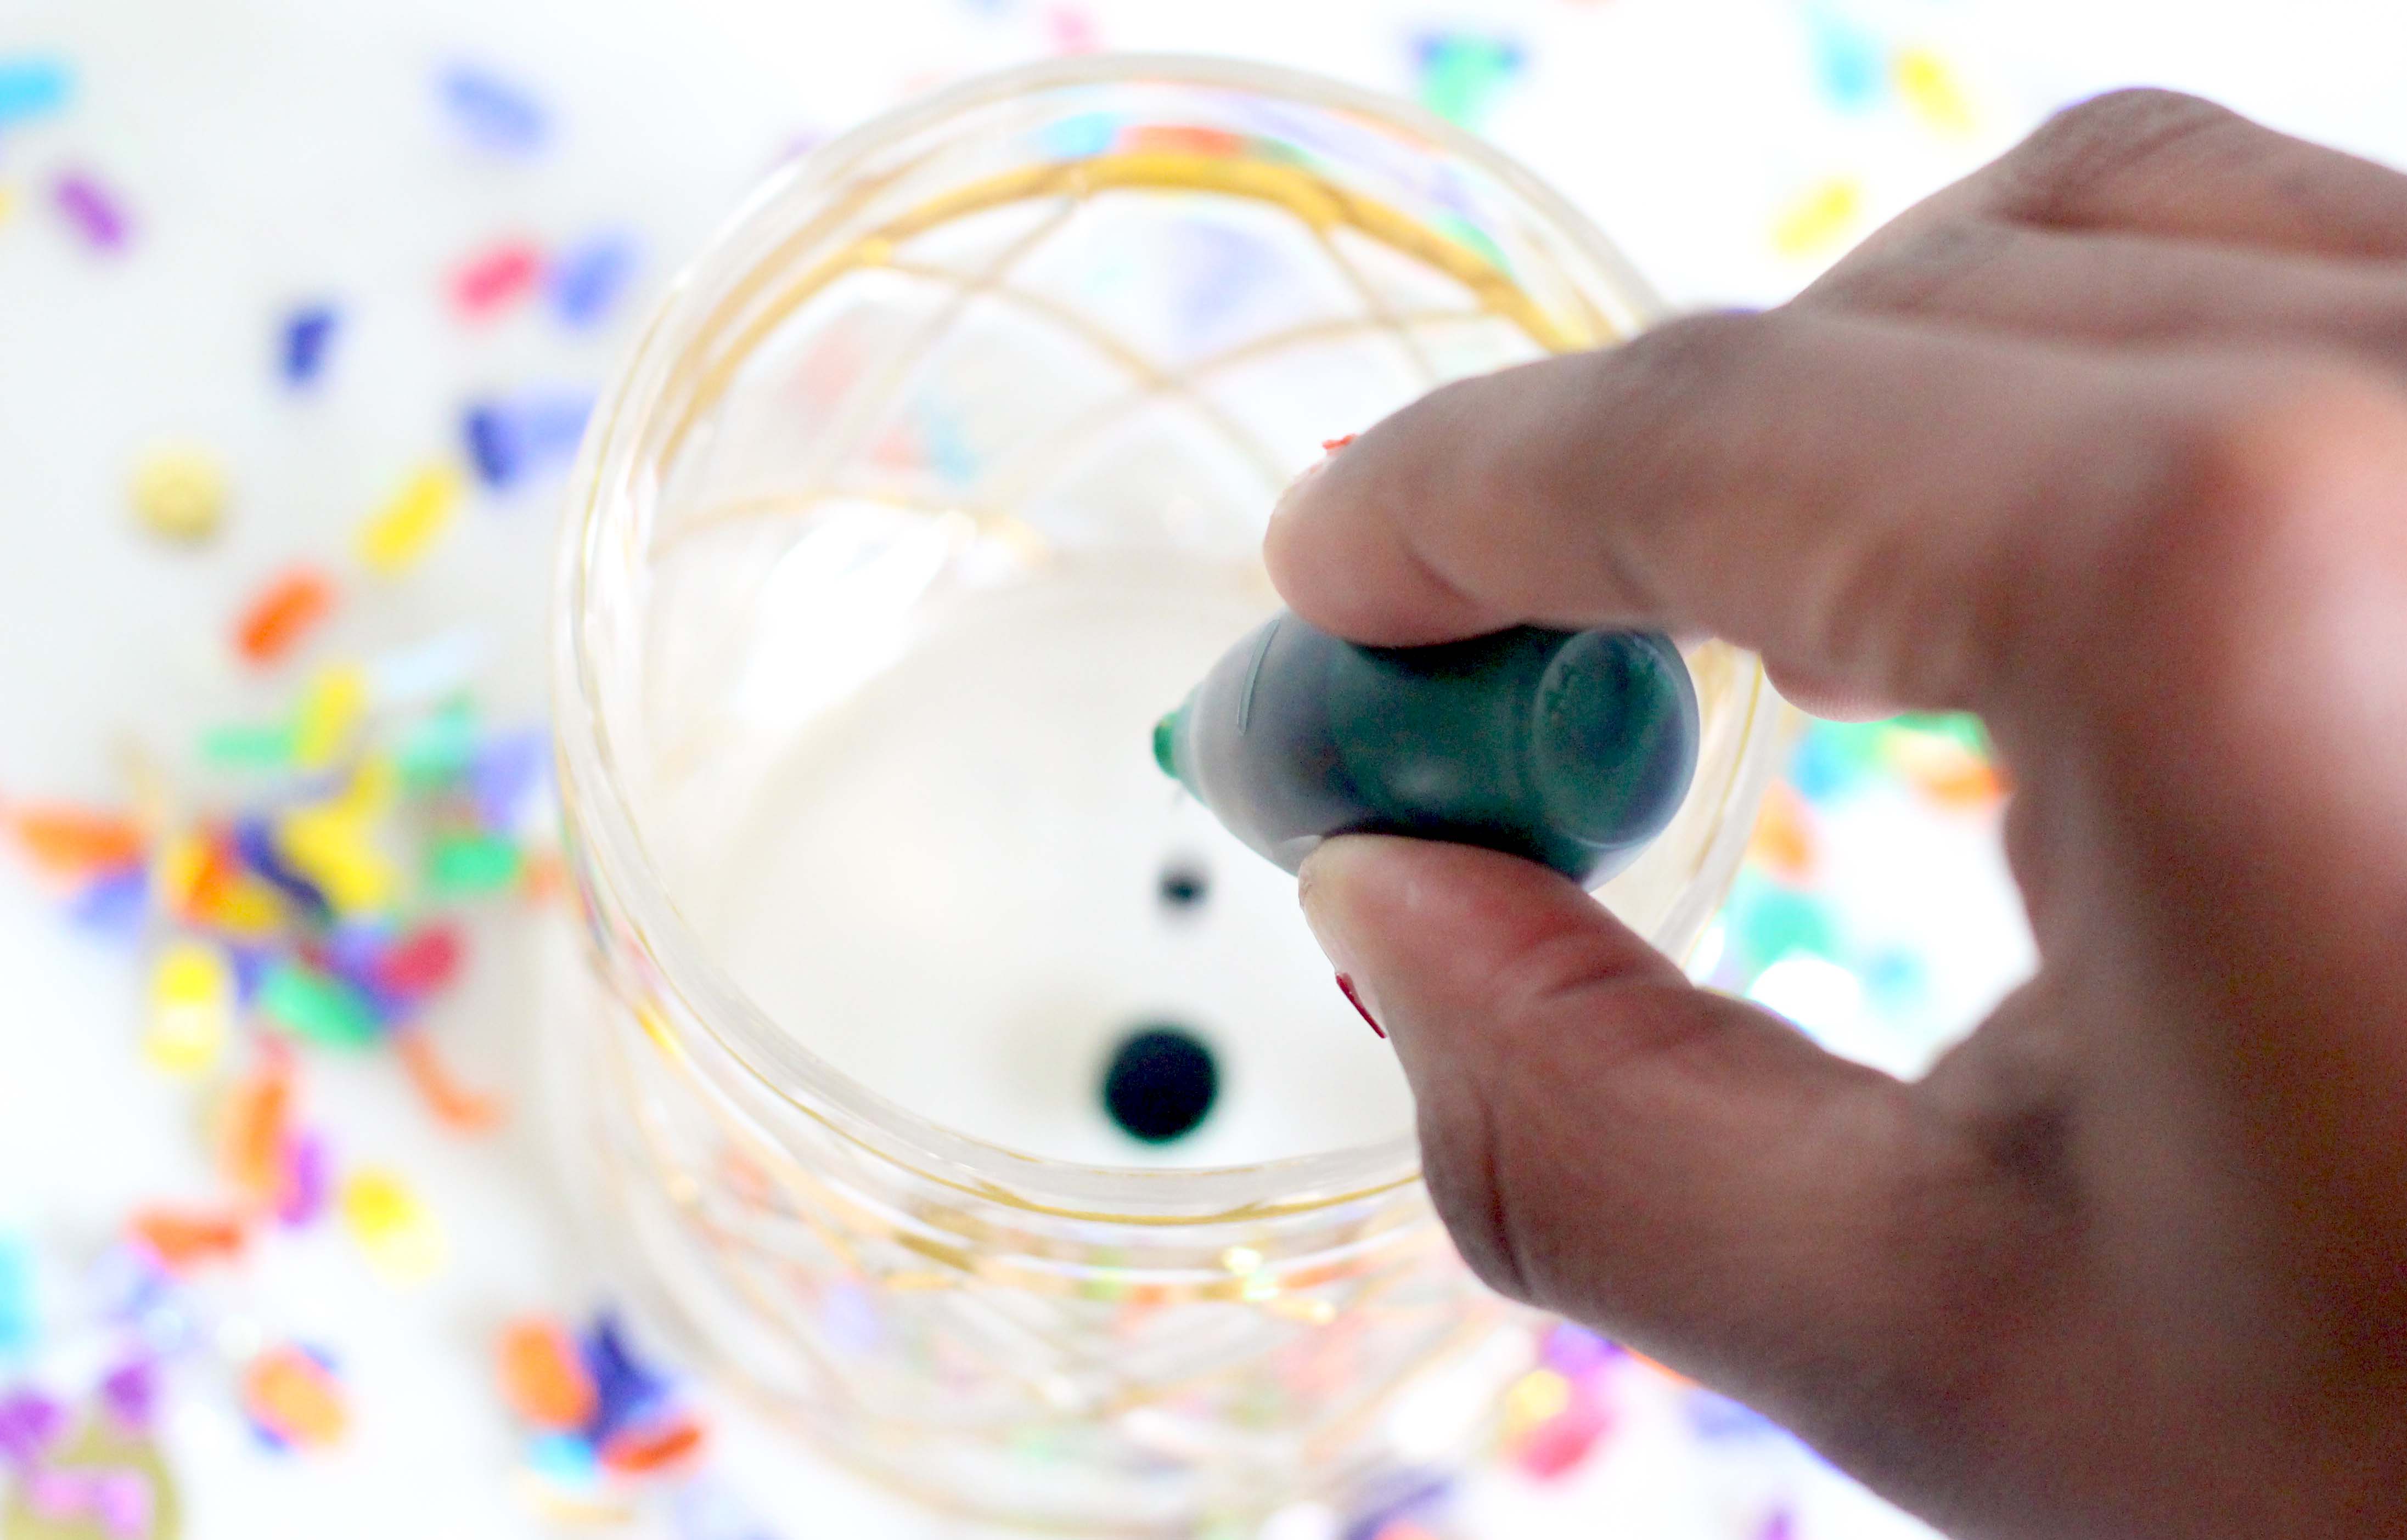
Green Food Coloring

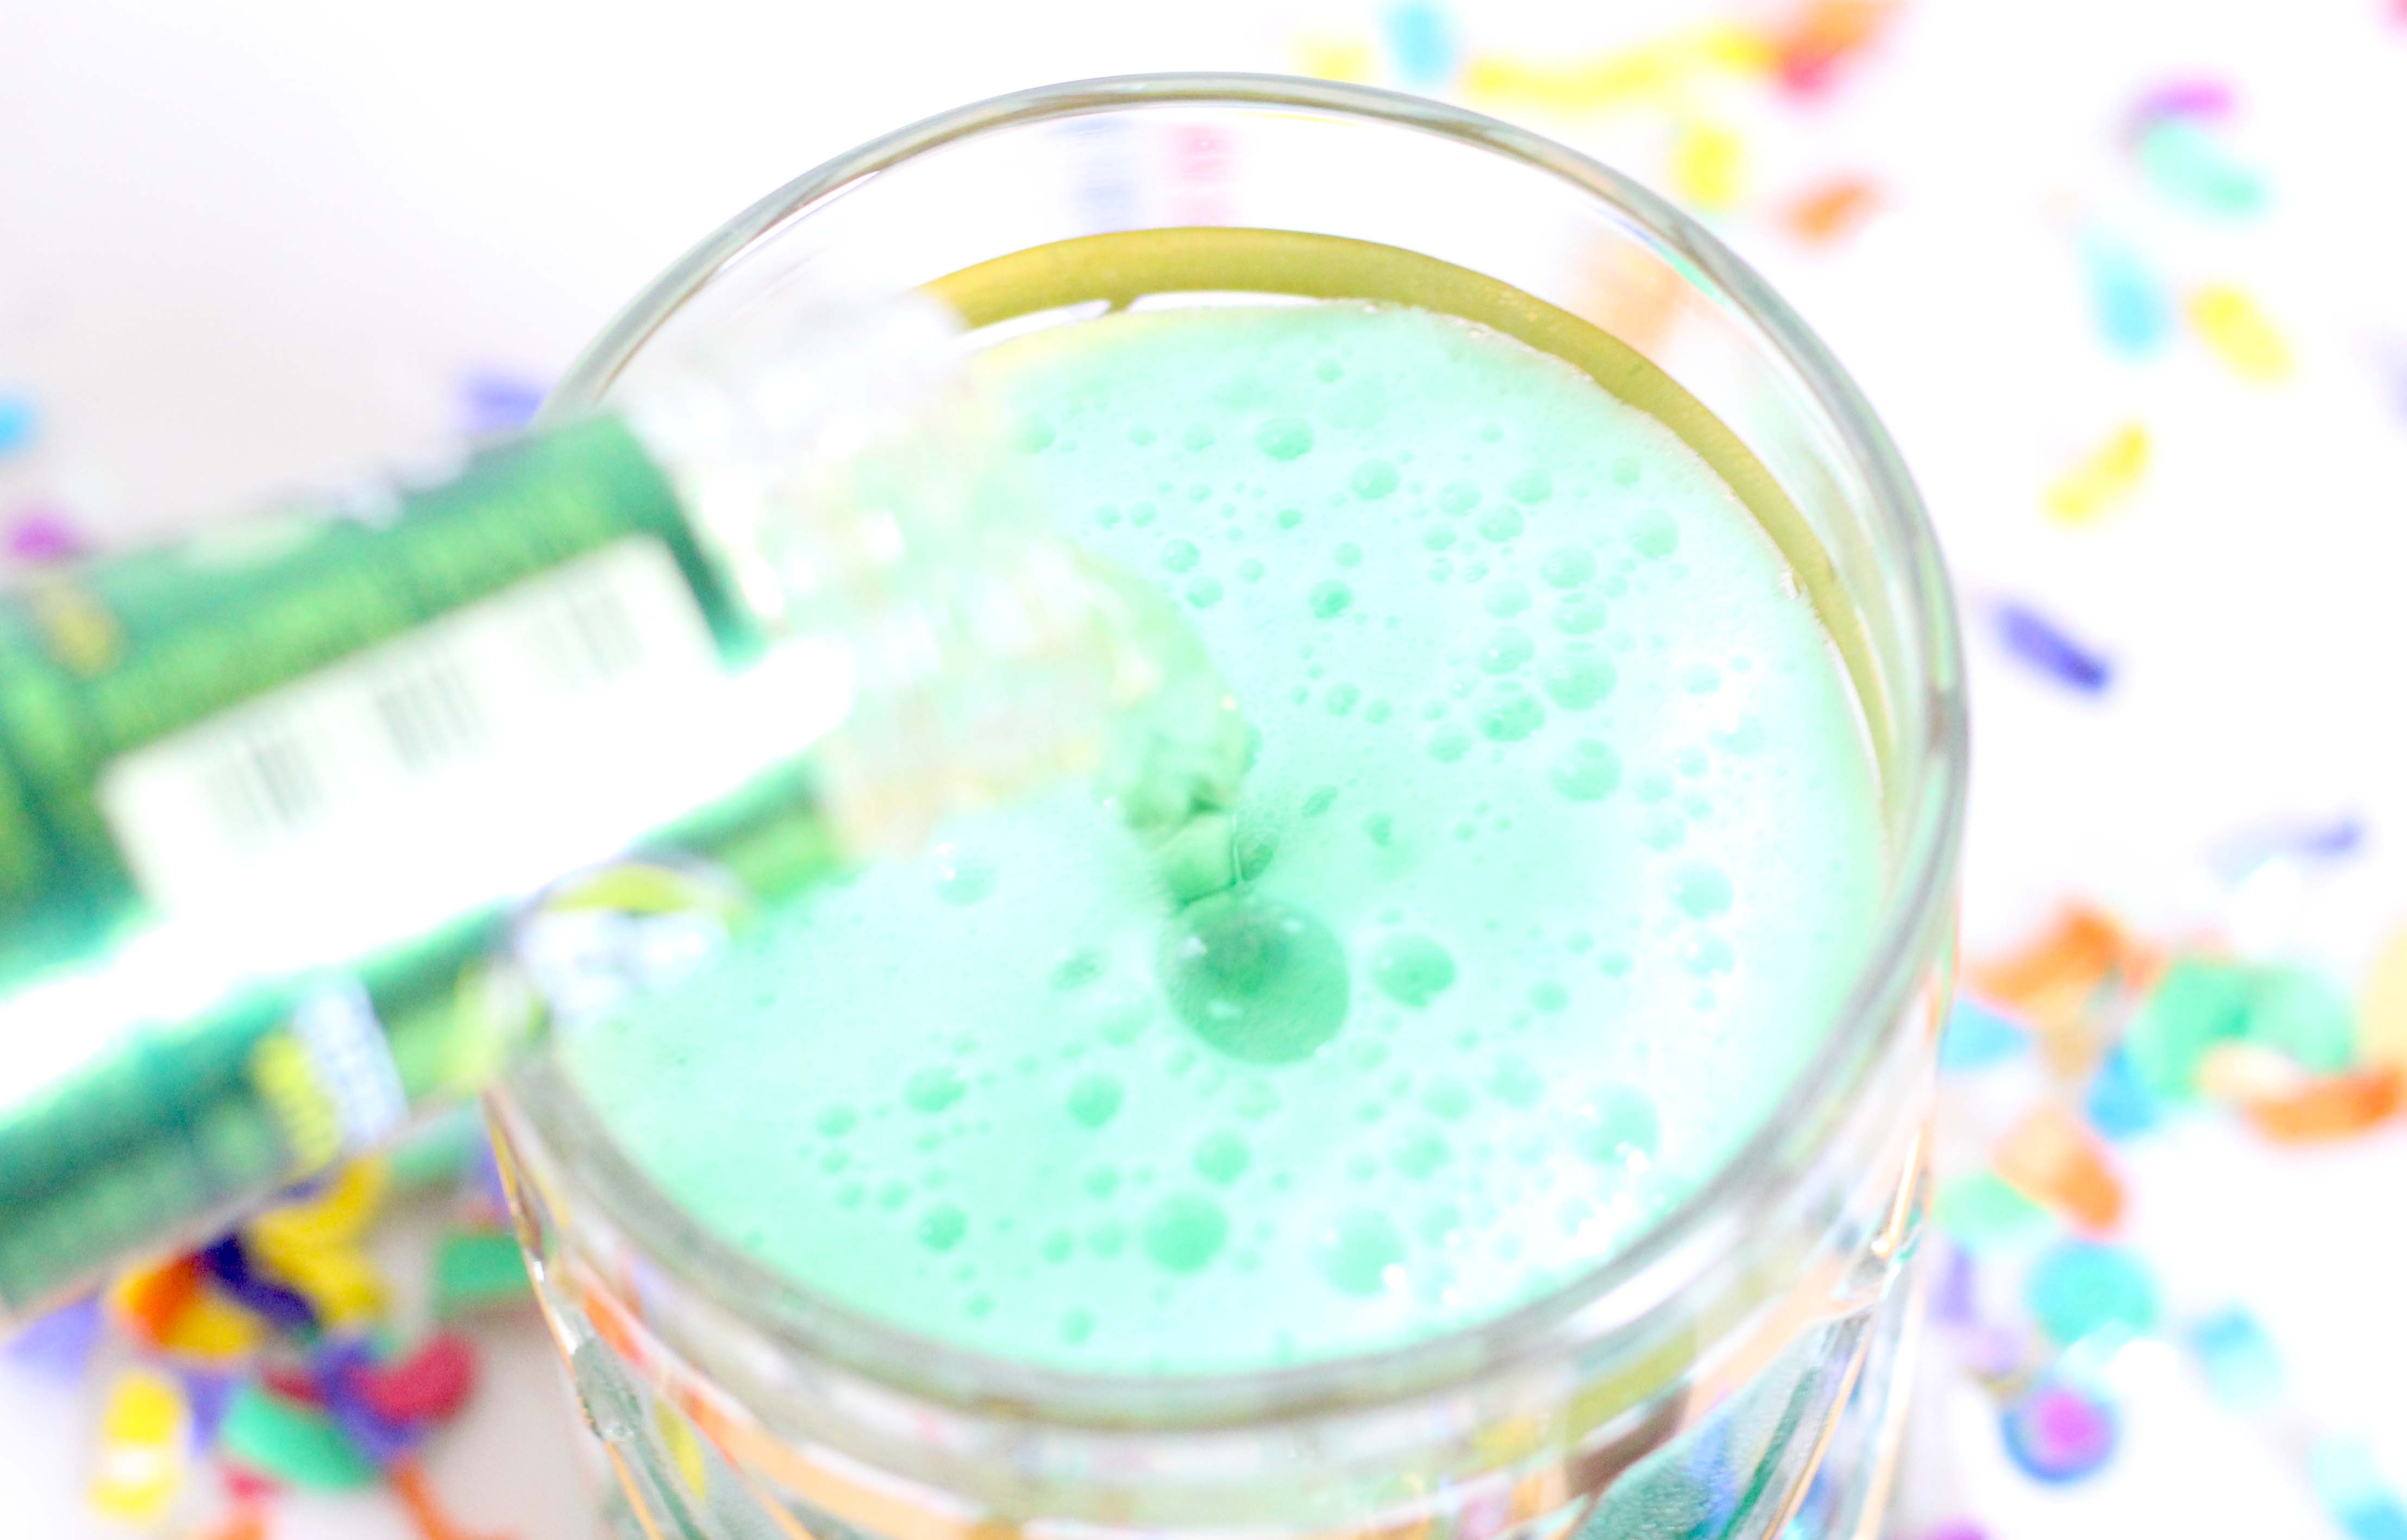
Essentially, you just add green food coloring to your favorite light colored beer. But the order is kind of important.

Add Beer

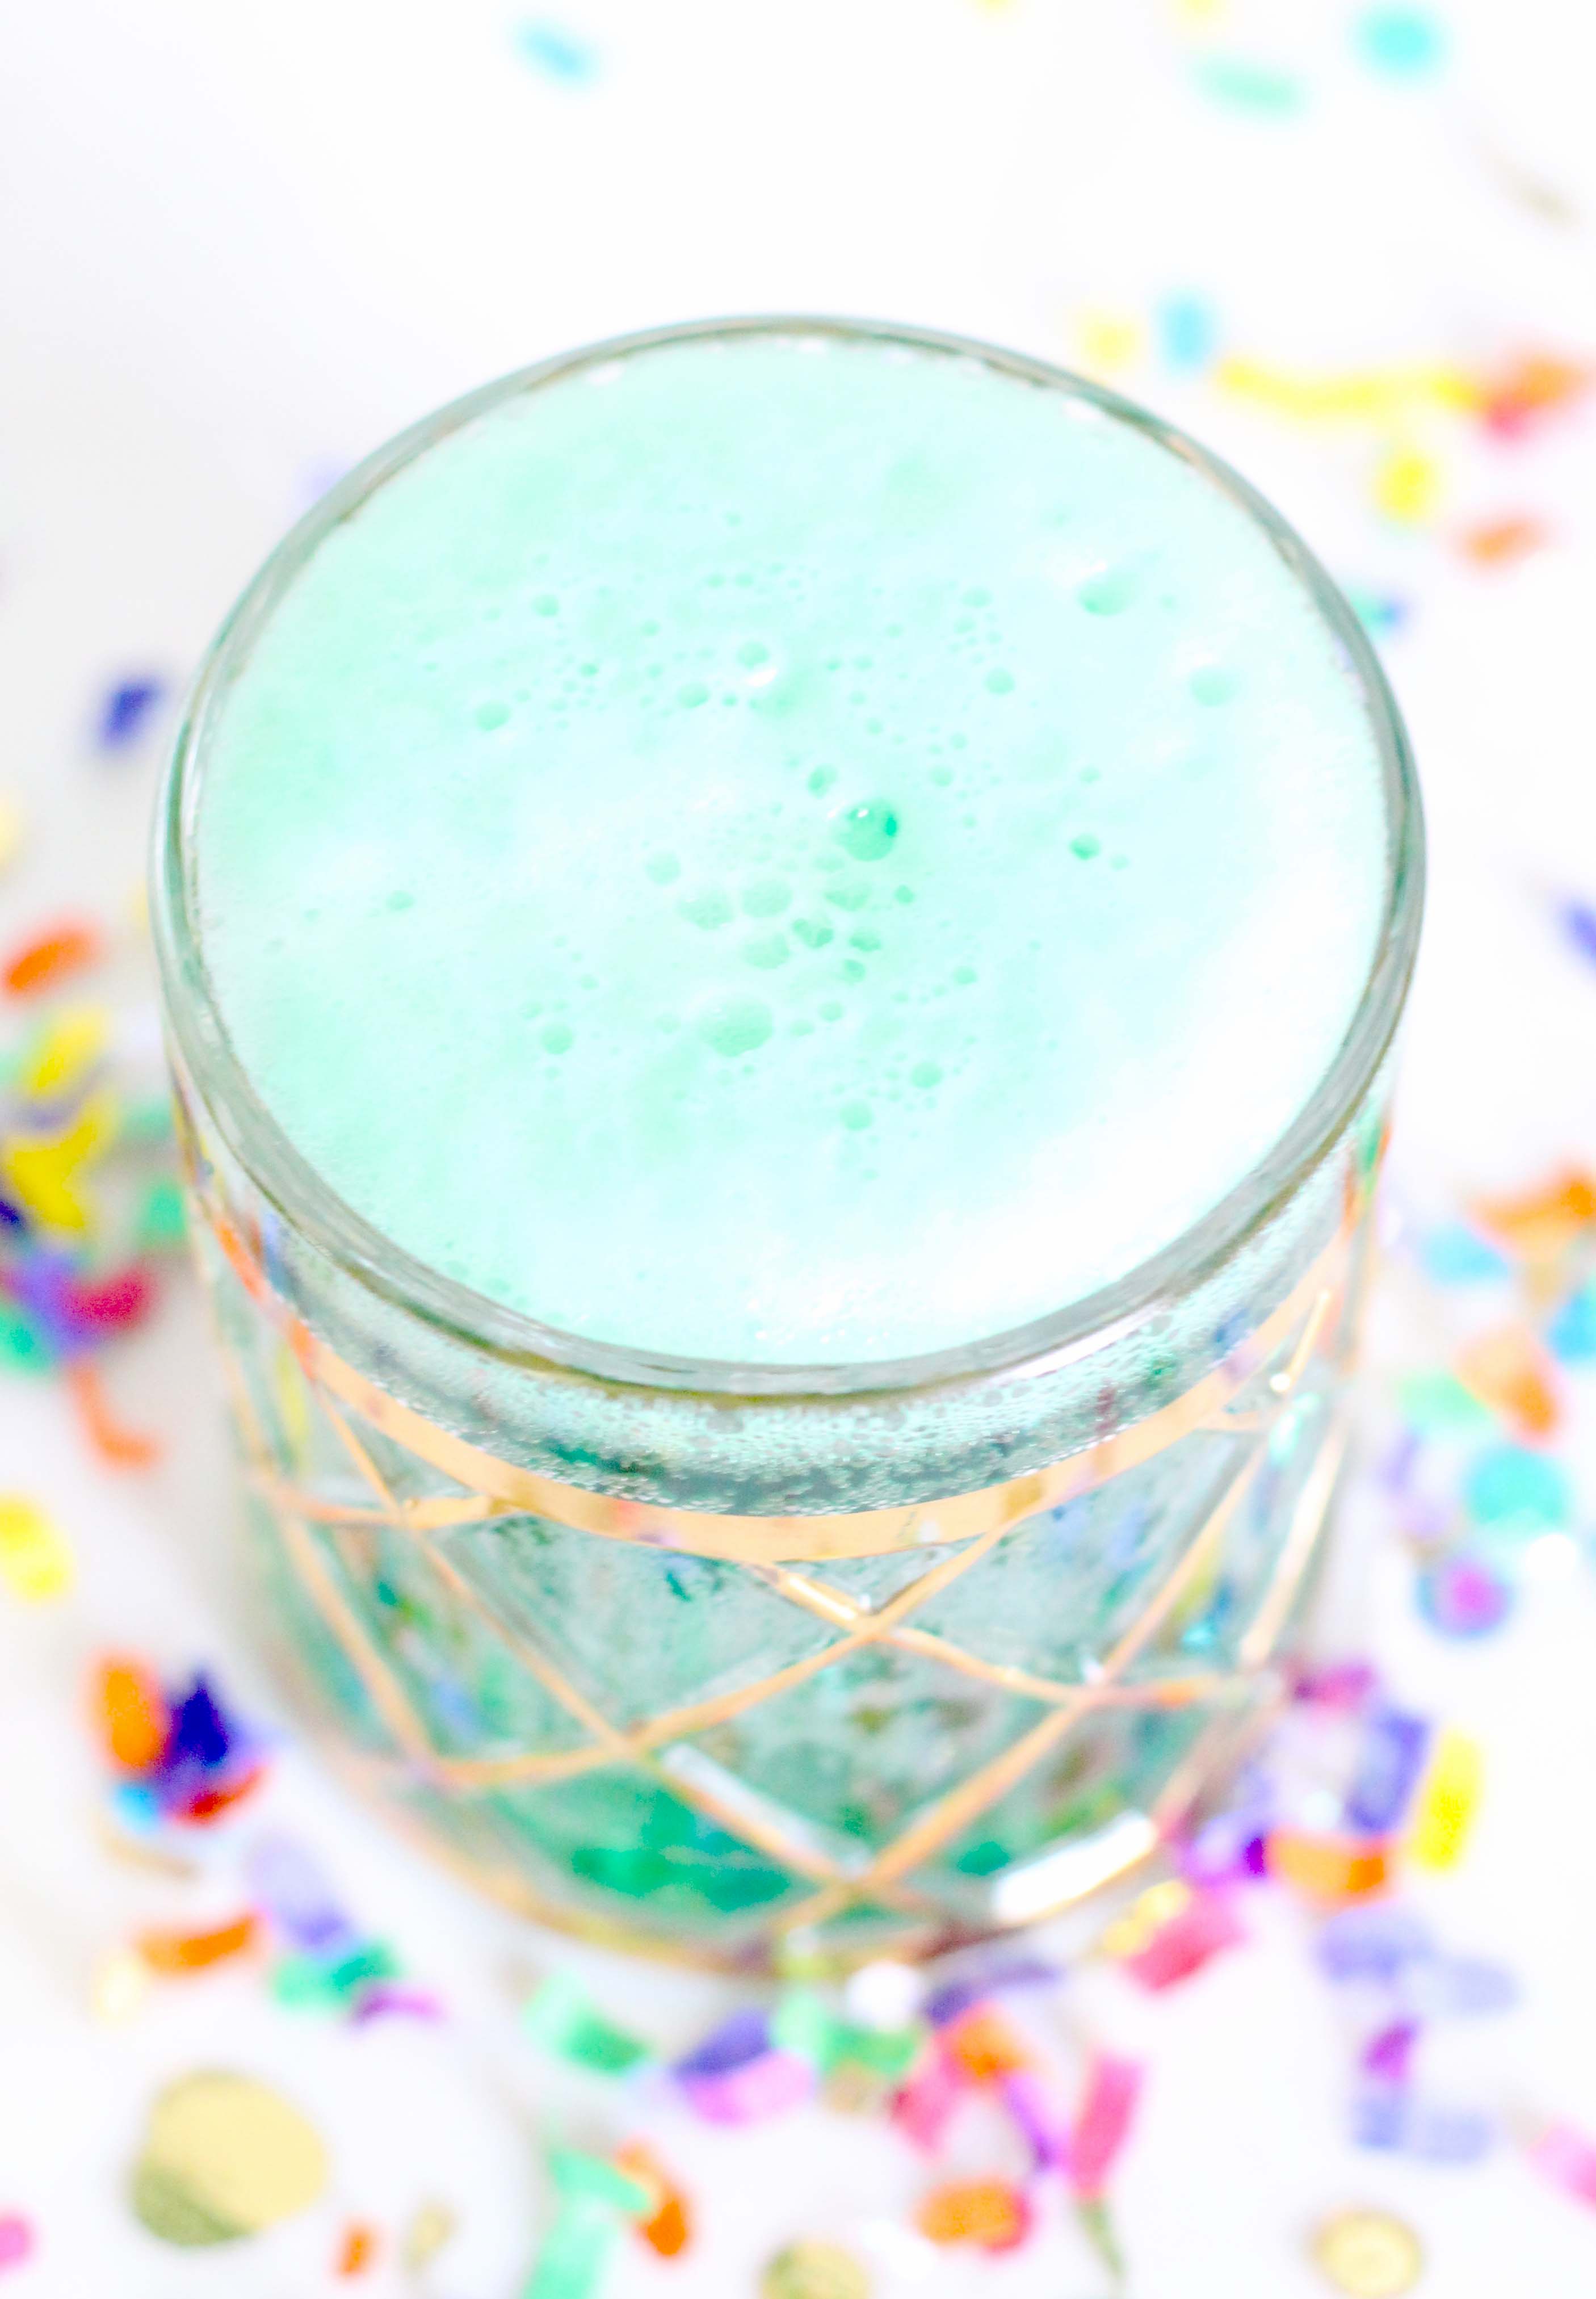
Green Drink Green Beer

Happy St. Paddy’s Day! If you’re going out tonight, be safe. And also wear green, especially if you want to avoid getting pinched.

xx

St. Patrick’s Day Mani

Disclaimer: This post contains affiliate links.

Being crafty this month, has really started to inspire me to be more creative in general. So, forget your standard green St. Patrick’s Day mani!

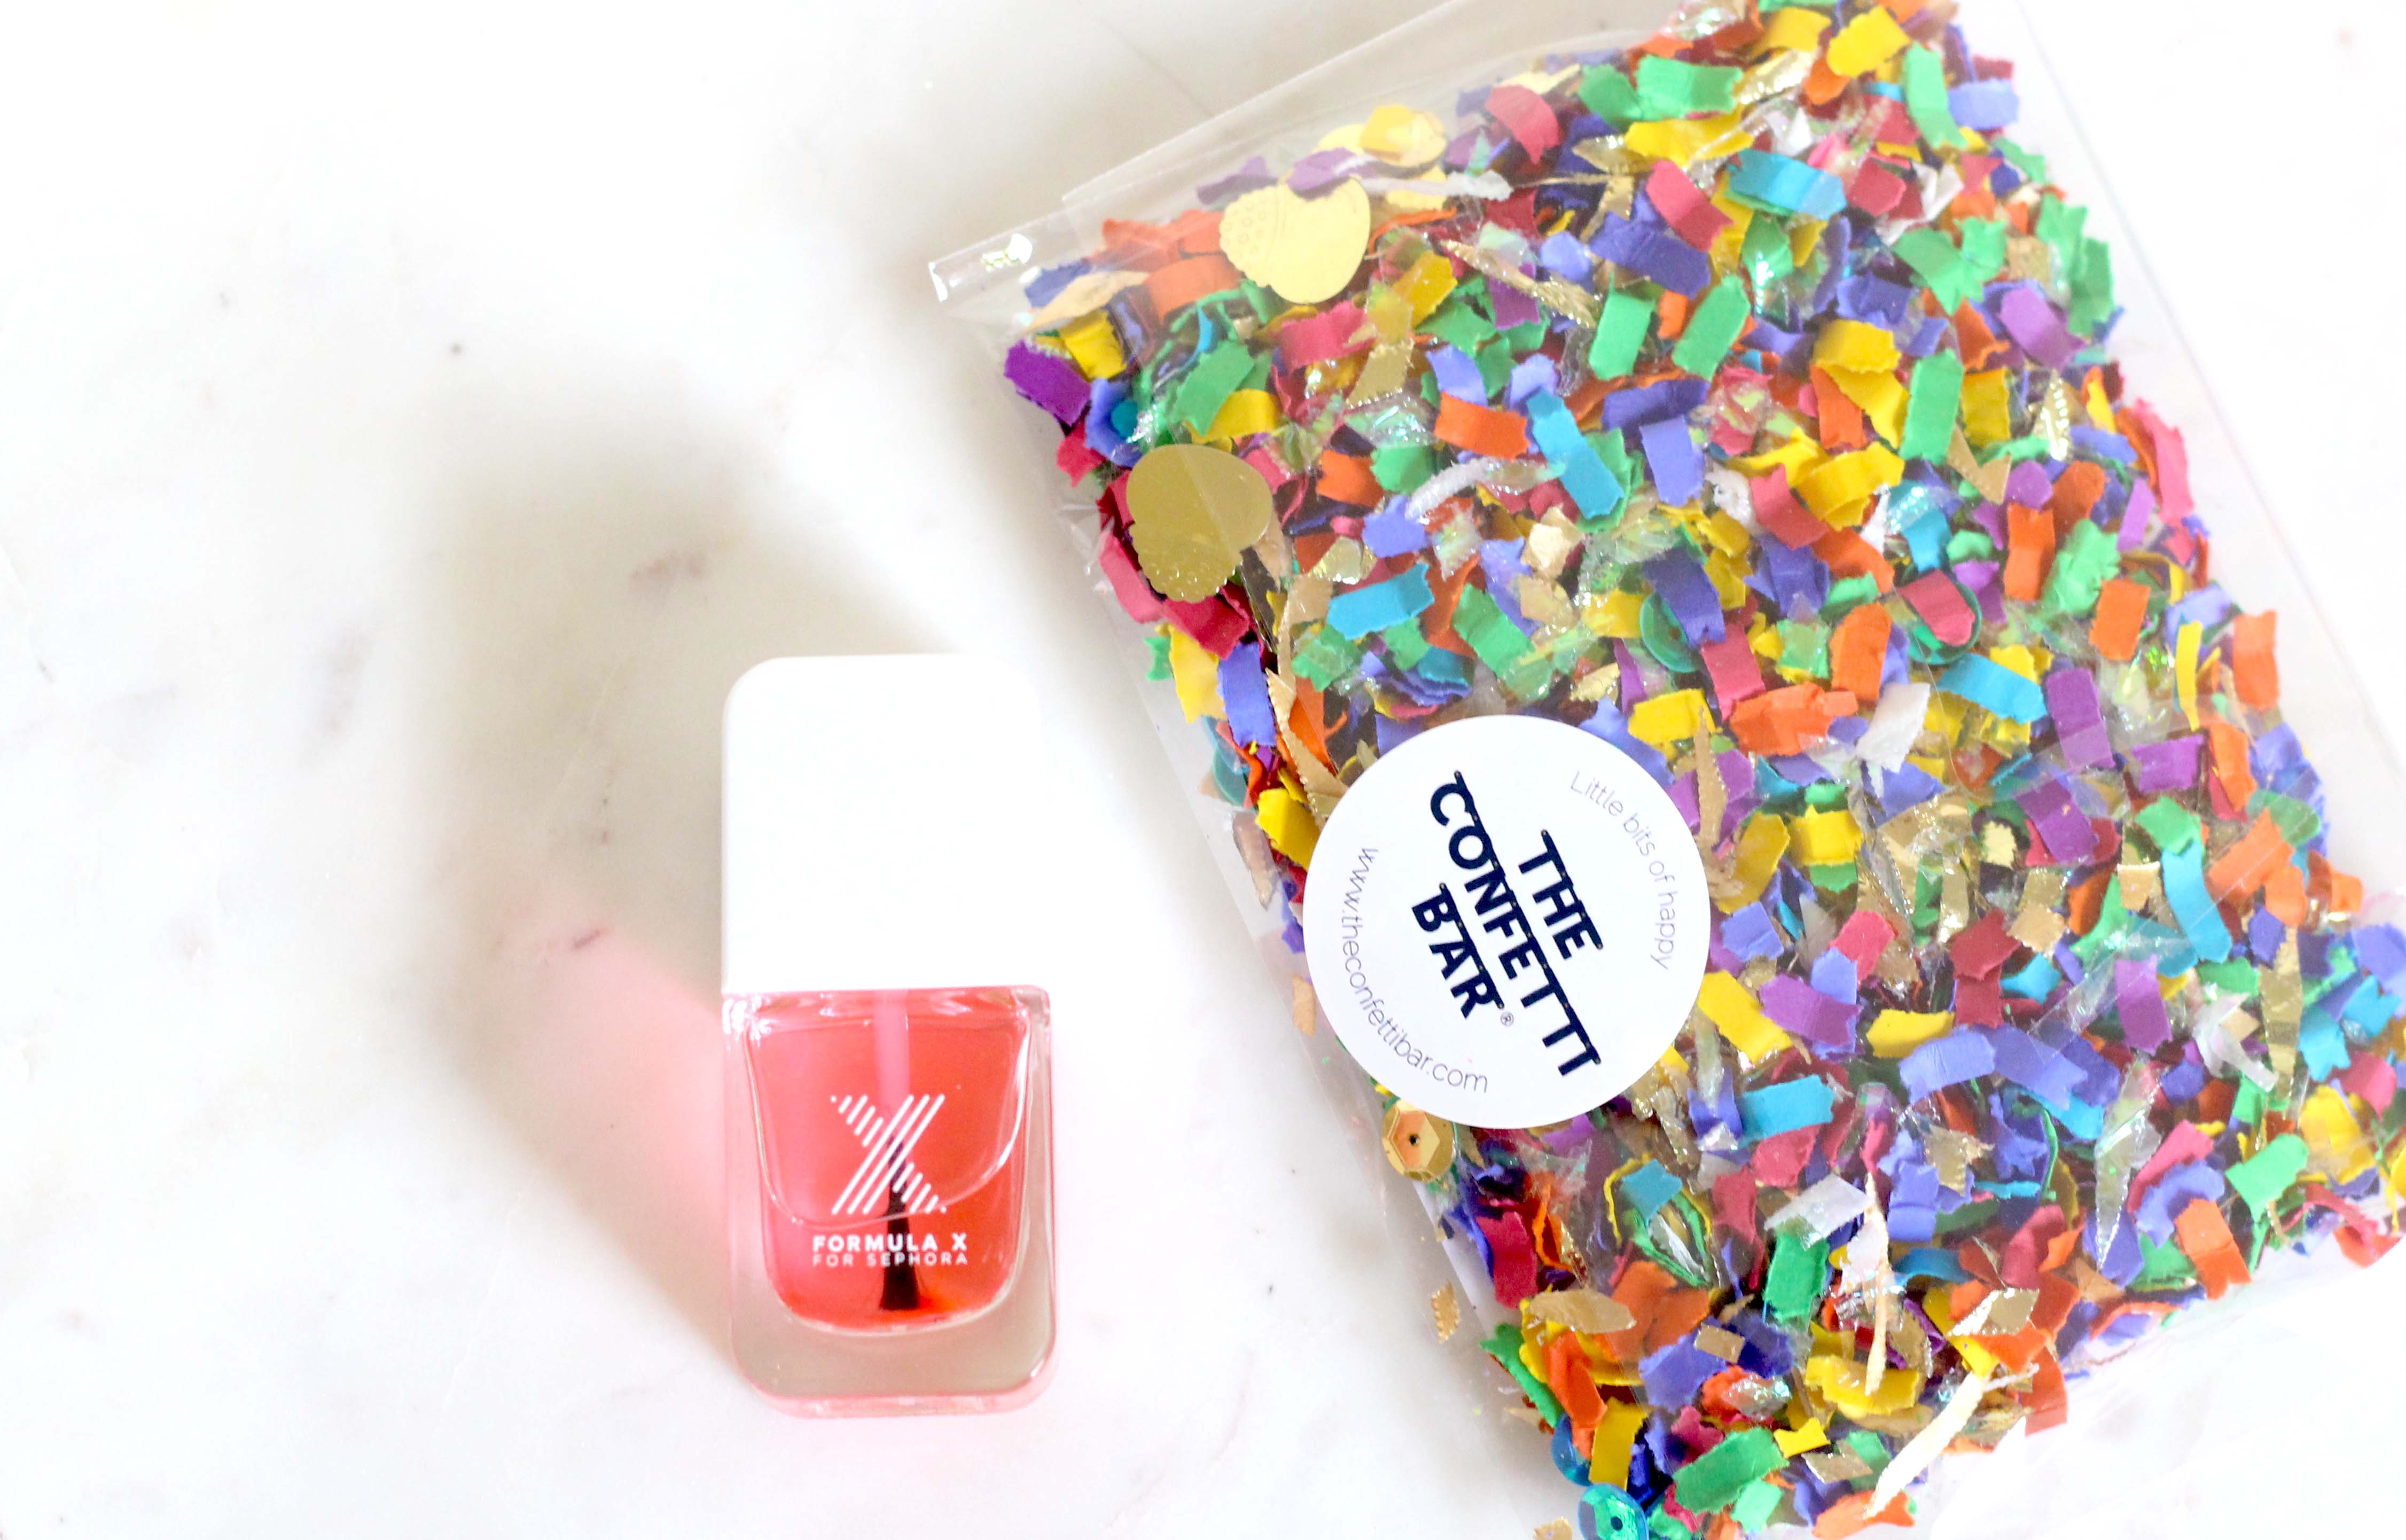
I wanted to go all out colorful and used the St. Patrick’s Day confetti from my March Confetti of the Month Club box.

St. Patrick's Day Confetti Mix

Aside from the confetti, all you really need is your favorite base coat and top coat of nail polish. For the top coat, I like using one that is a no light gel.

The Confetti Bar St. Patrick's Day Mix

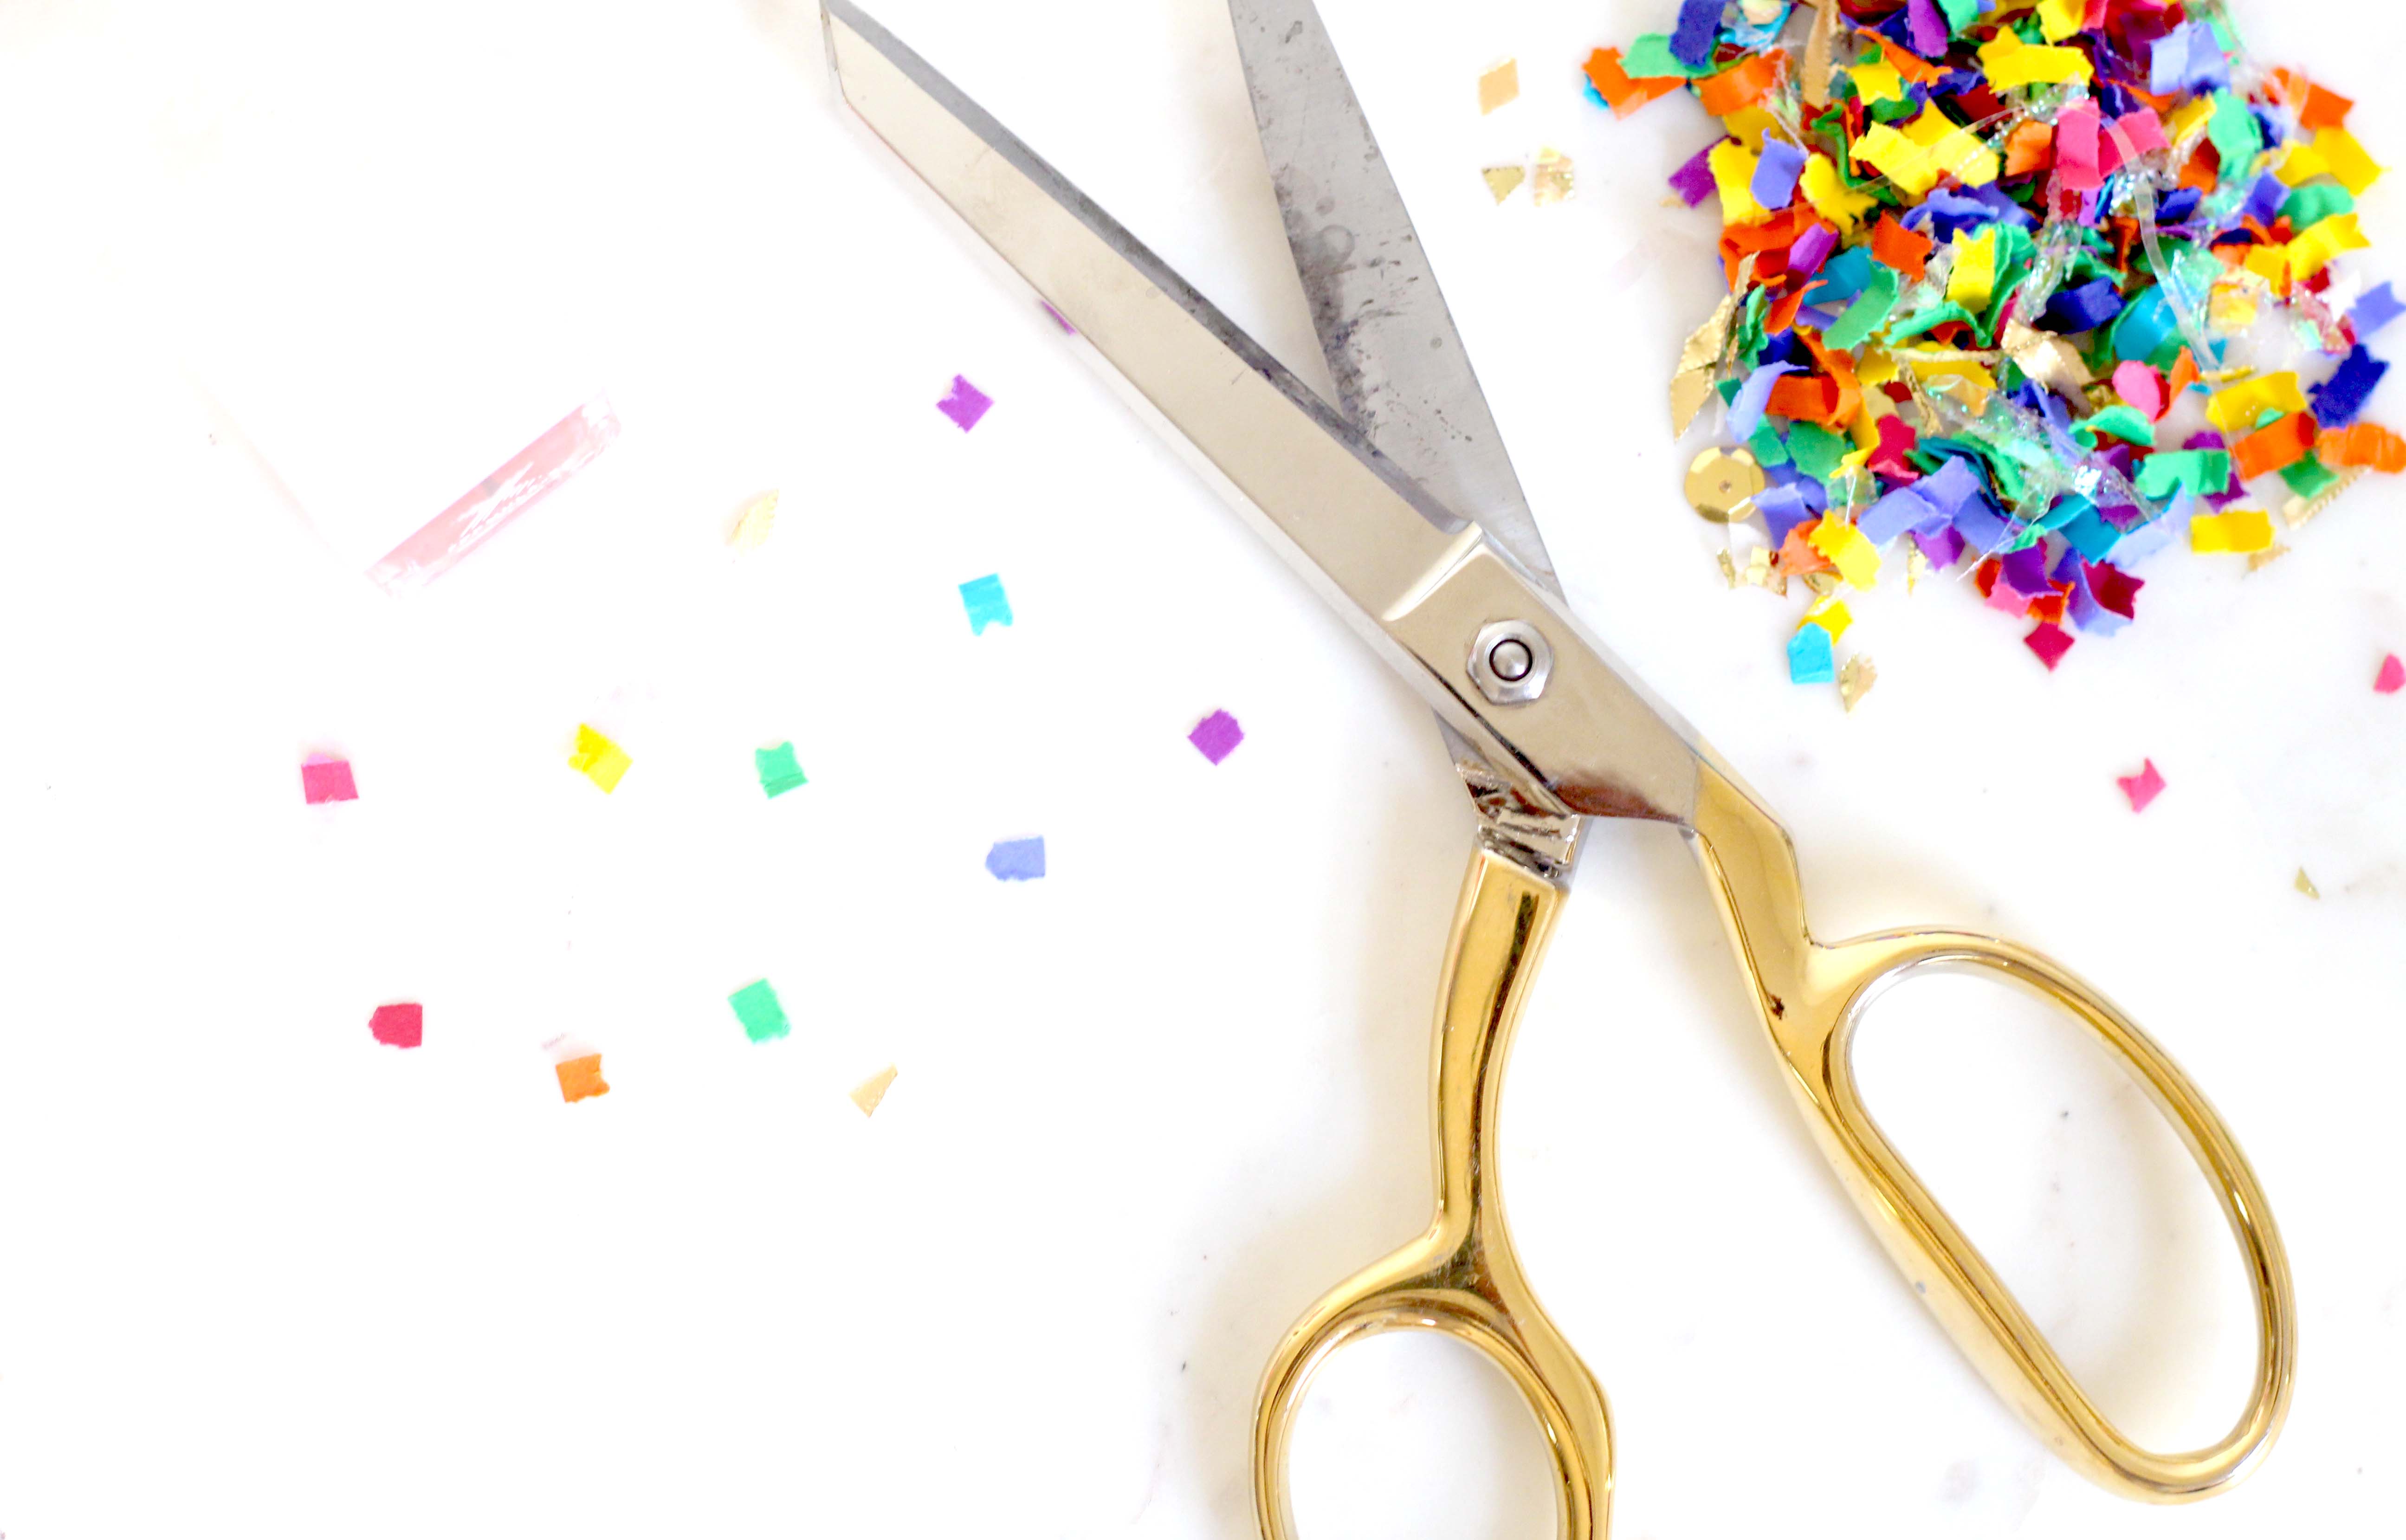
If you have really short nails like I do, you’re going to want to cut the confetti into smaller pieces. I cut each piece in about half.
Cut Confetti

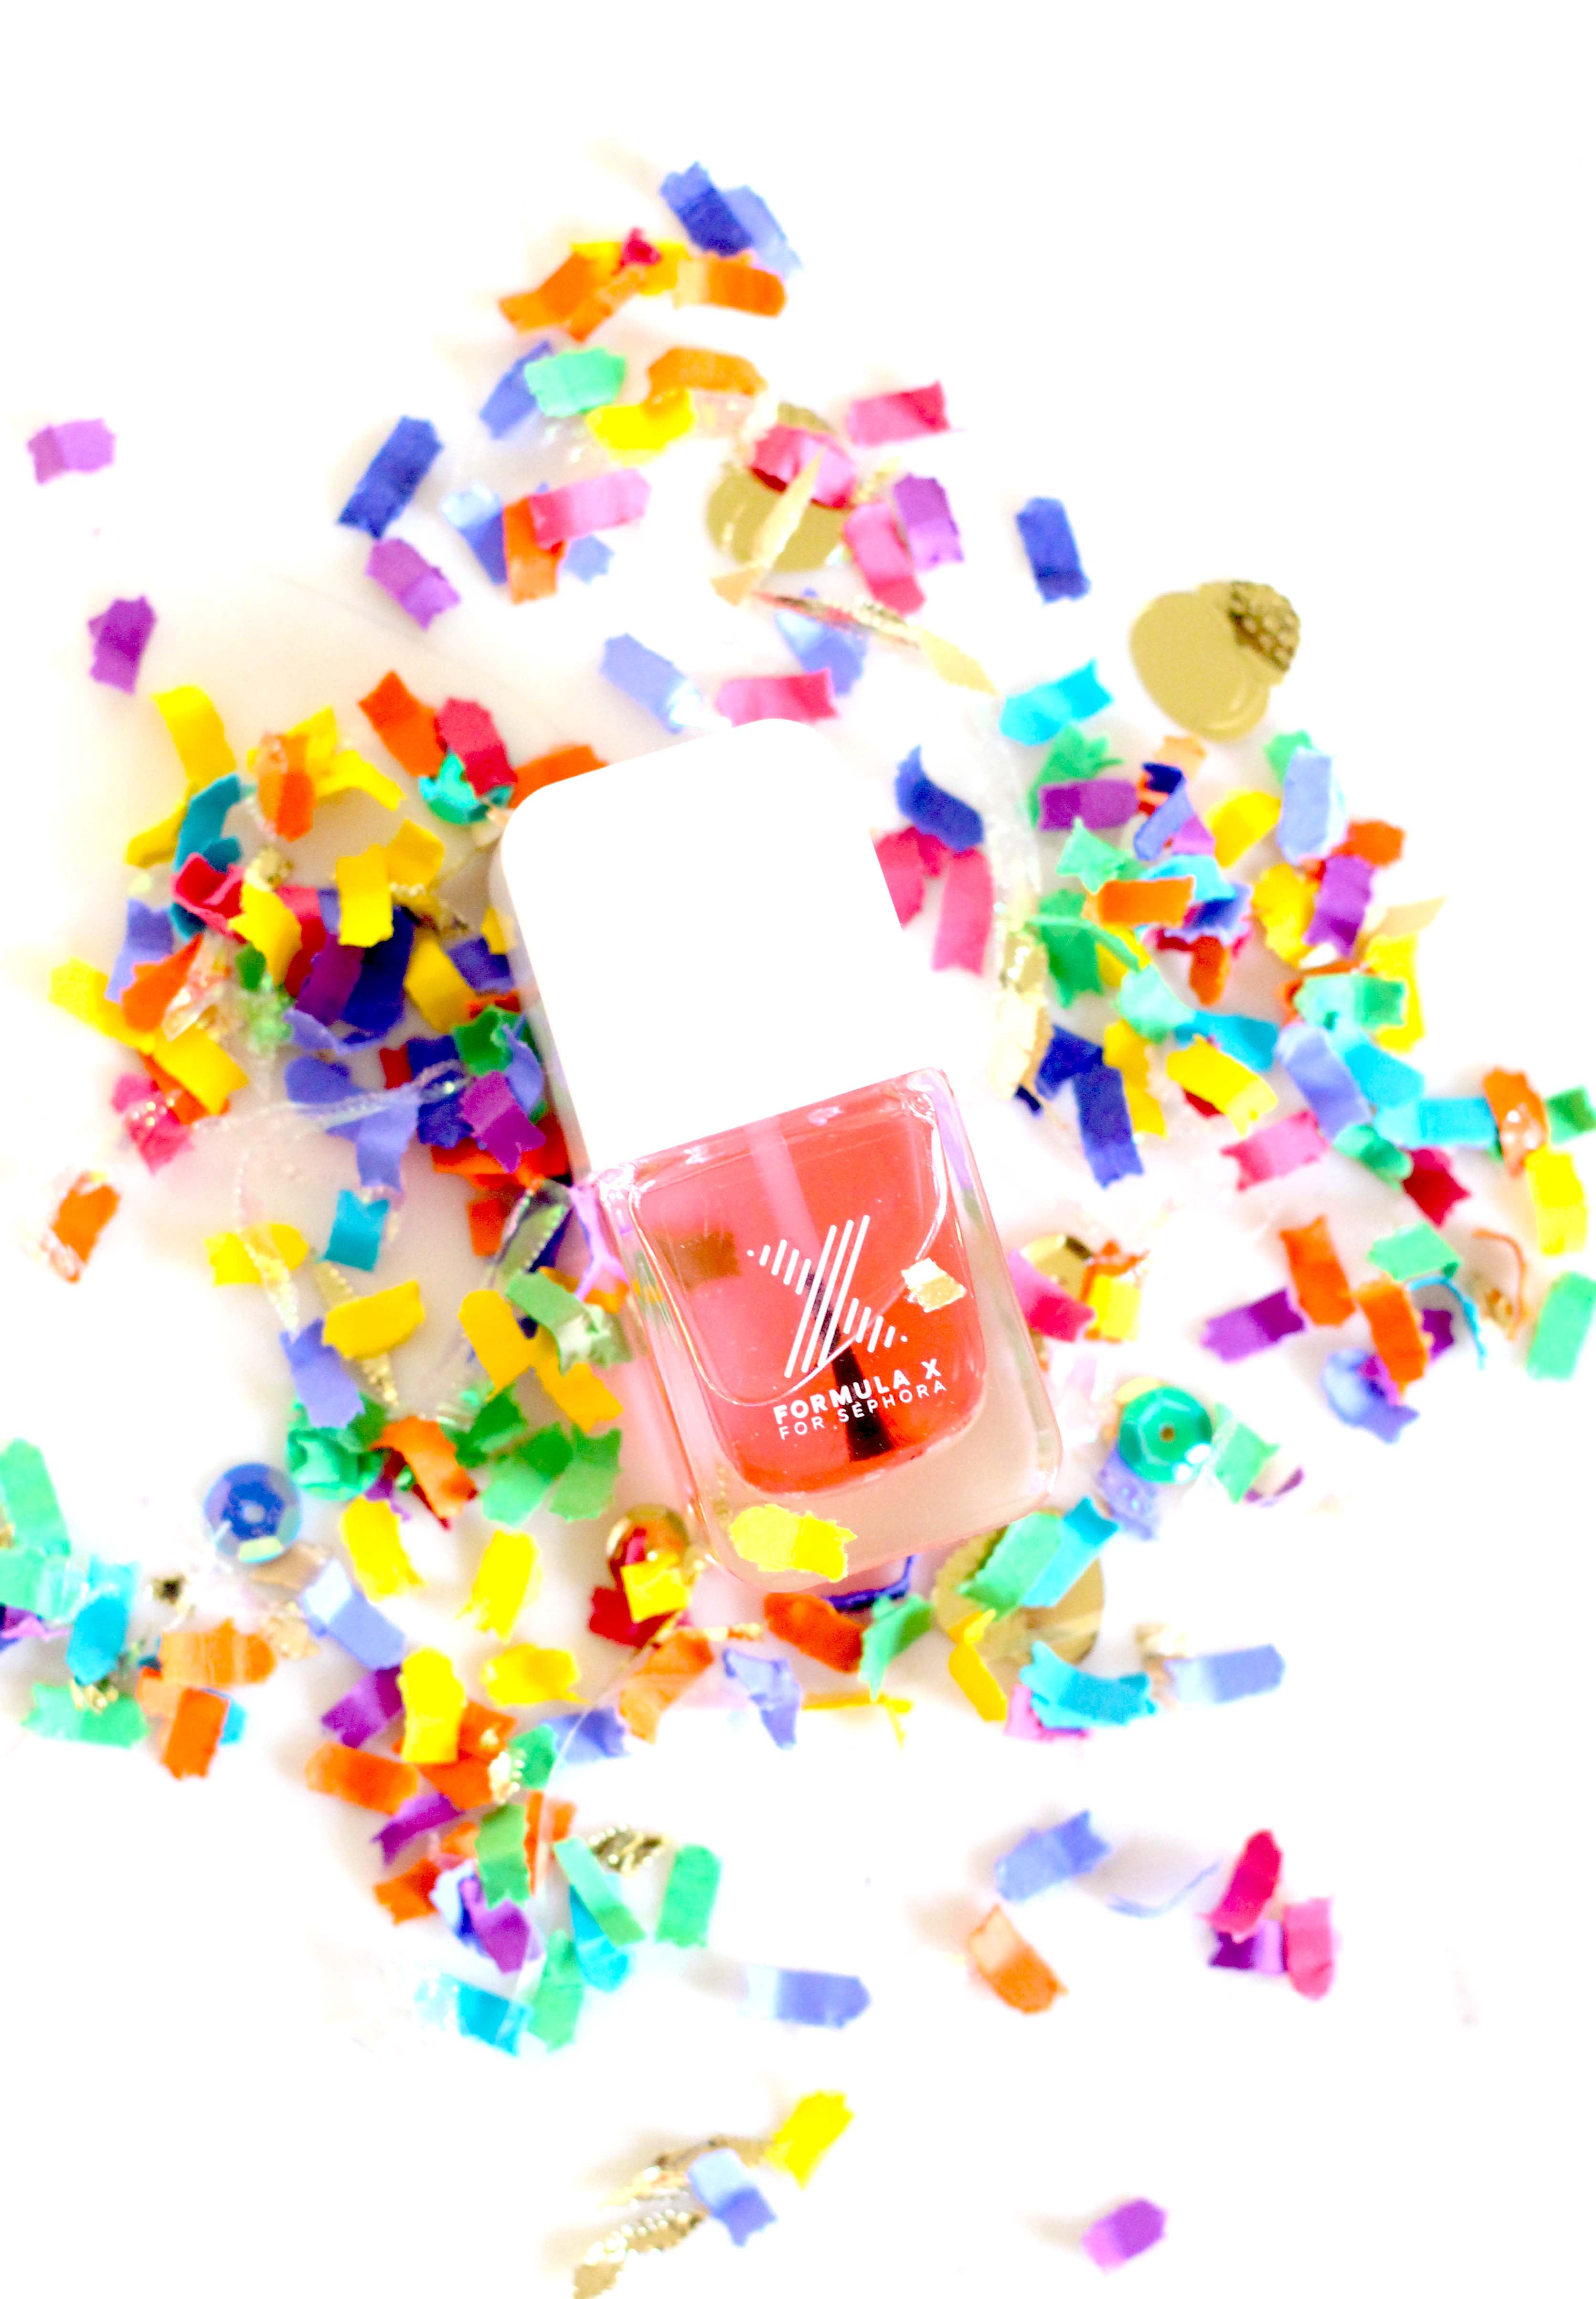
After prepping your nails as you usually would, apply your base coat, then, without letting it dry place a piece of confetti on each nail.

This part can be a little tricky (and a little messy). If you have nail glue, you can definitely use it to hold the confetti in place. I didn’t. But it’s an option.
Base Coat

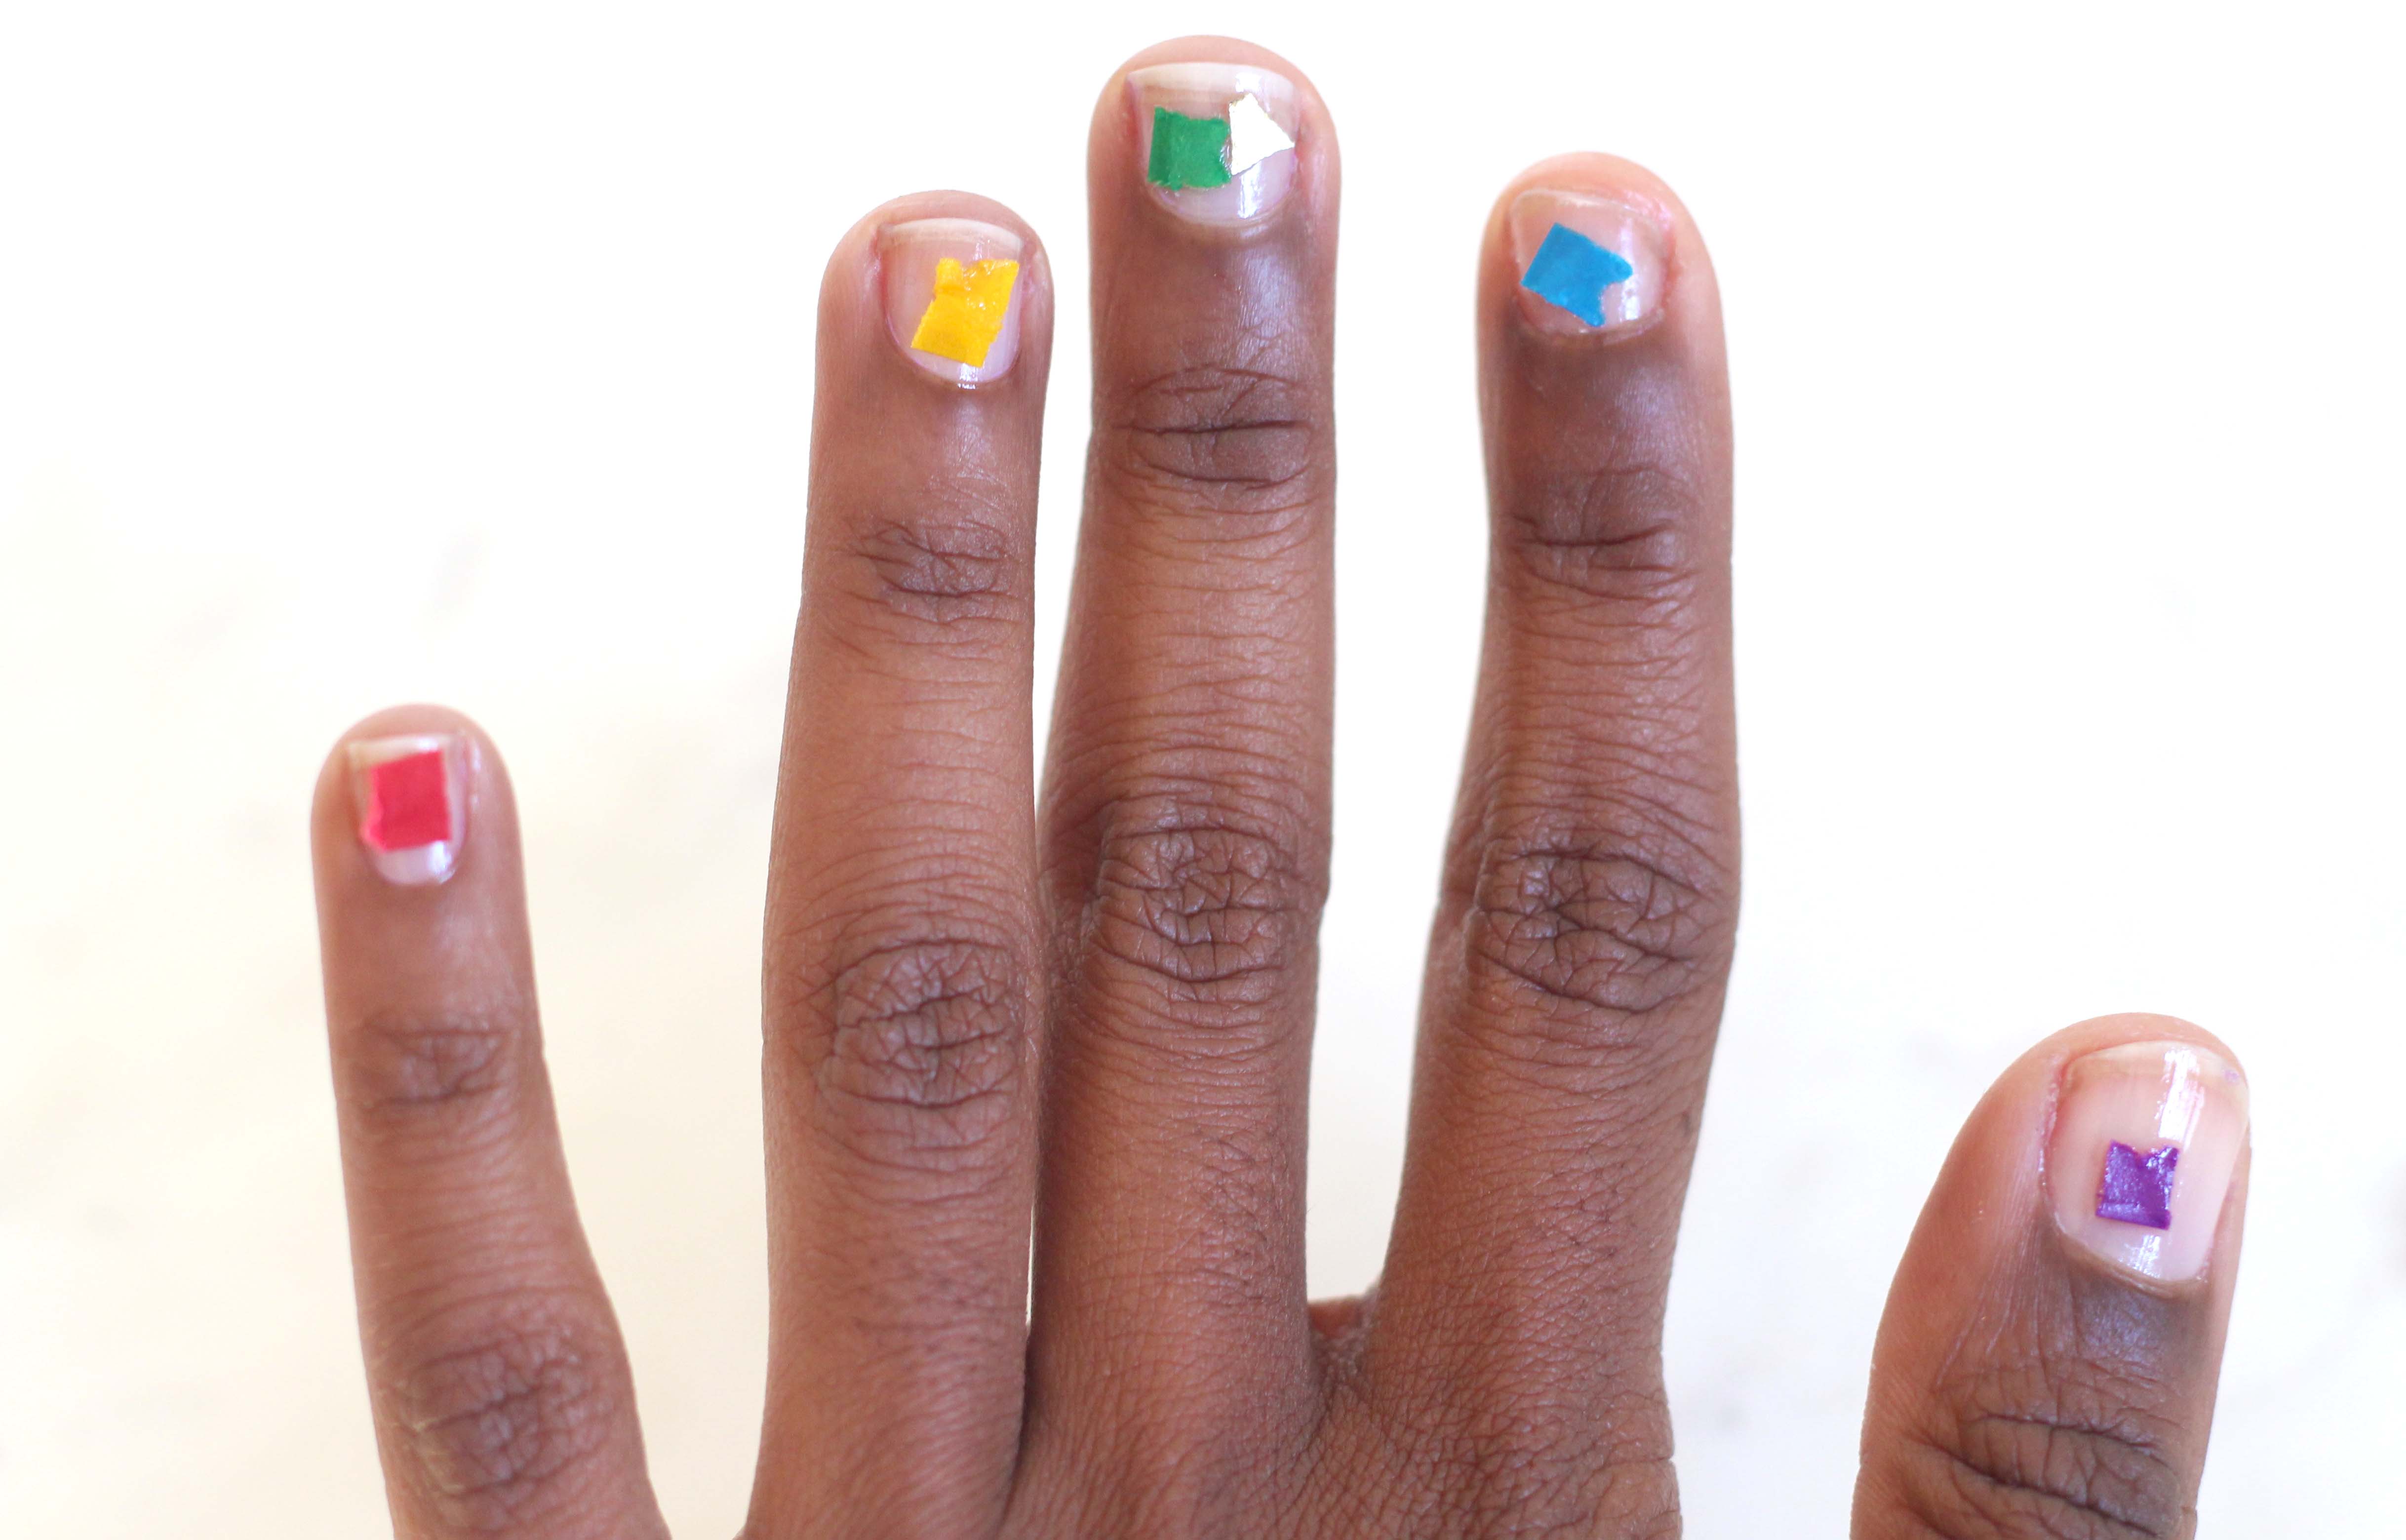
Let dry before applying your top coat. I let this dry and added another coat, you don’t have to, I just get slightly paranoid.

Plus, I really wanted to make sure they lasted as long as possible.


St. Patrick's Day Mani

This may have to be my new St. Patrick’s Day tradition!

xx


Shop this post:

DIY Polka Dot Clutch

Continuing my National Craft Month challenge, I decided to attempt one of my more recent pins.

After not being able to successfully track down the Who What Wear x Target zip pouch, instead of giving up all hope, I took the DIY approach.

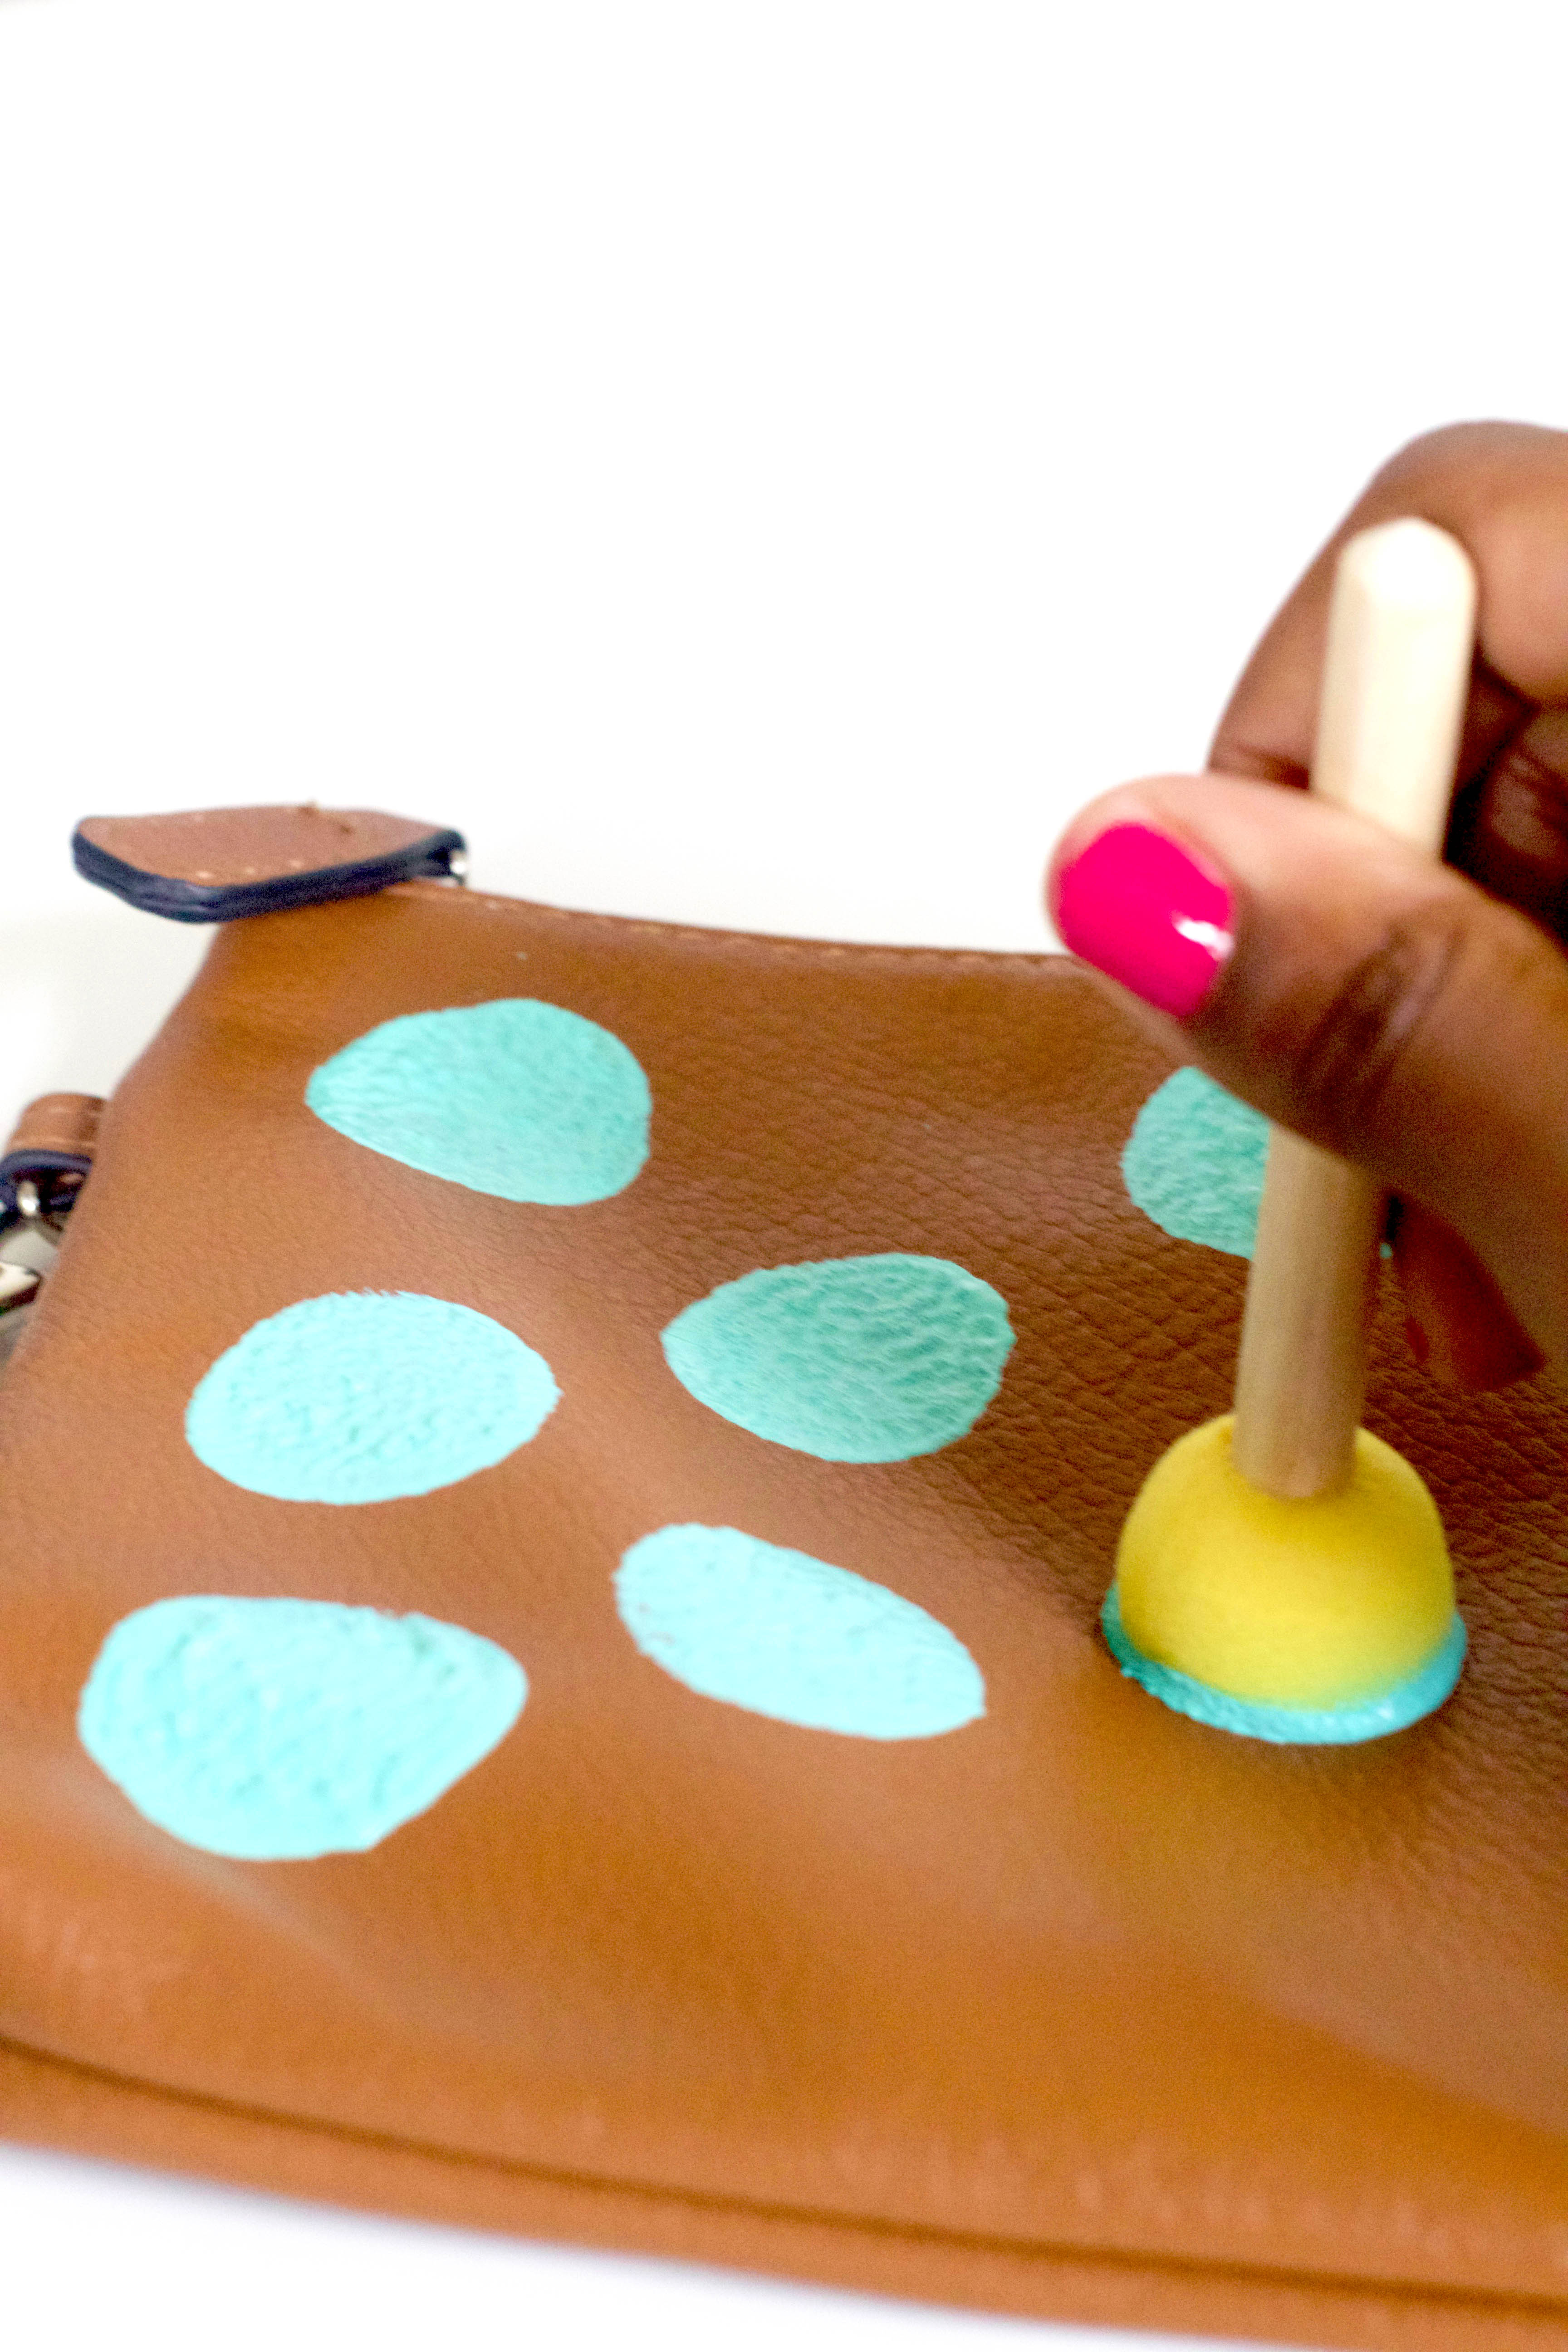
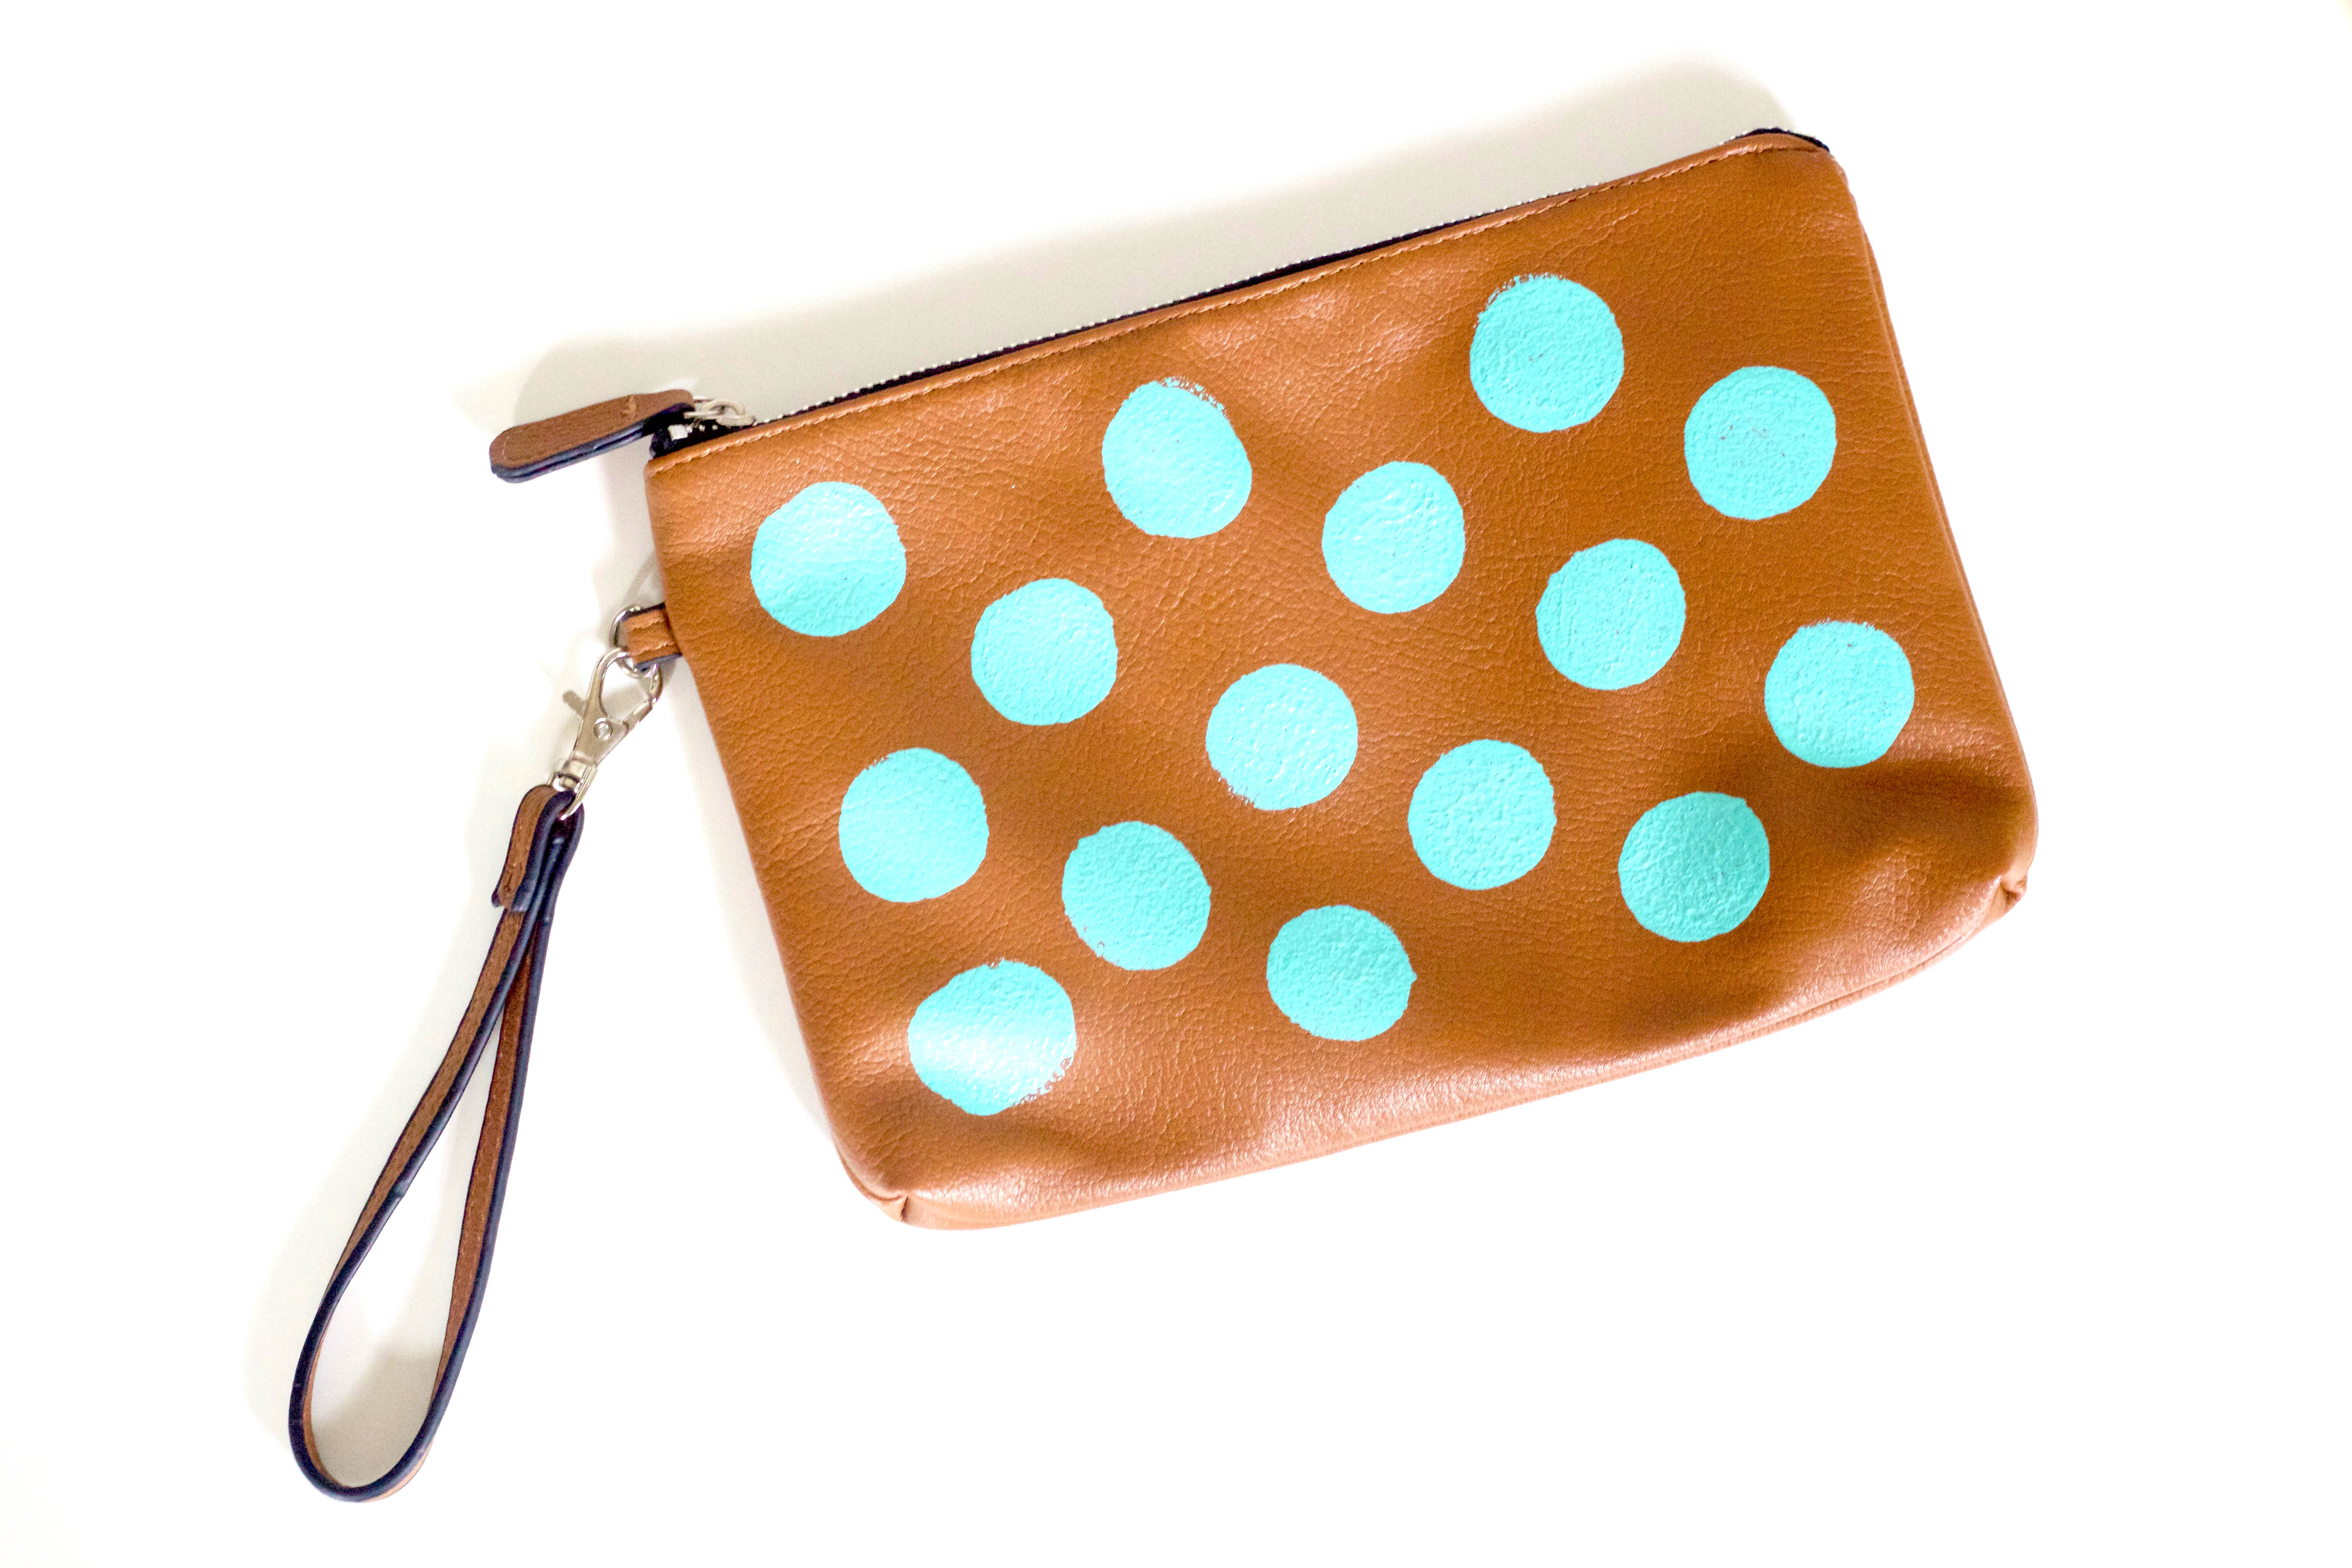
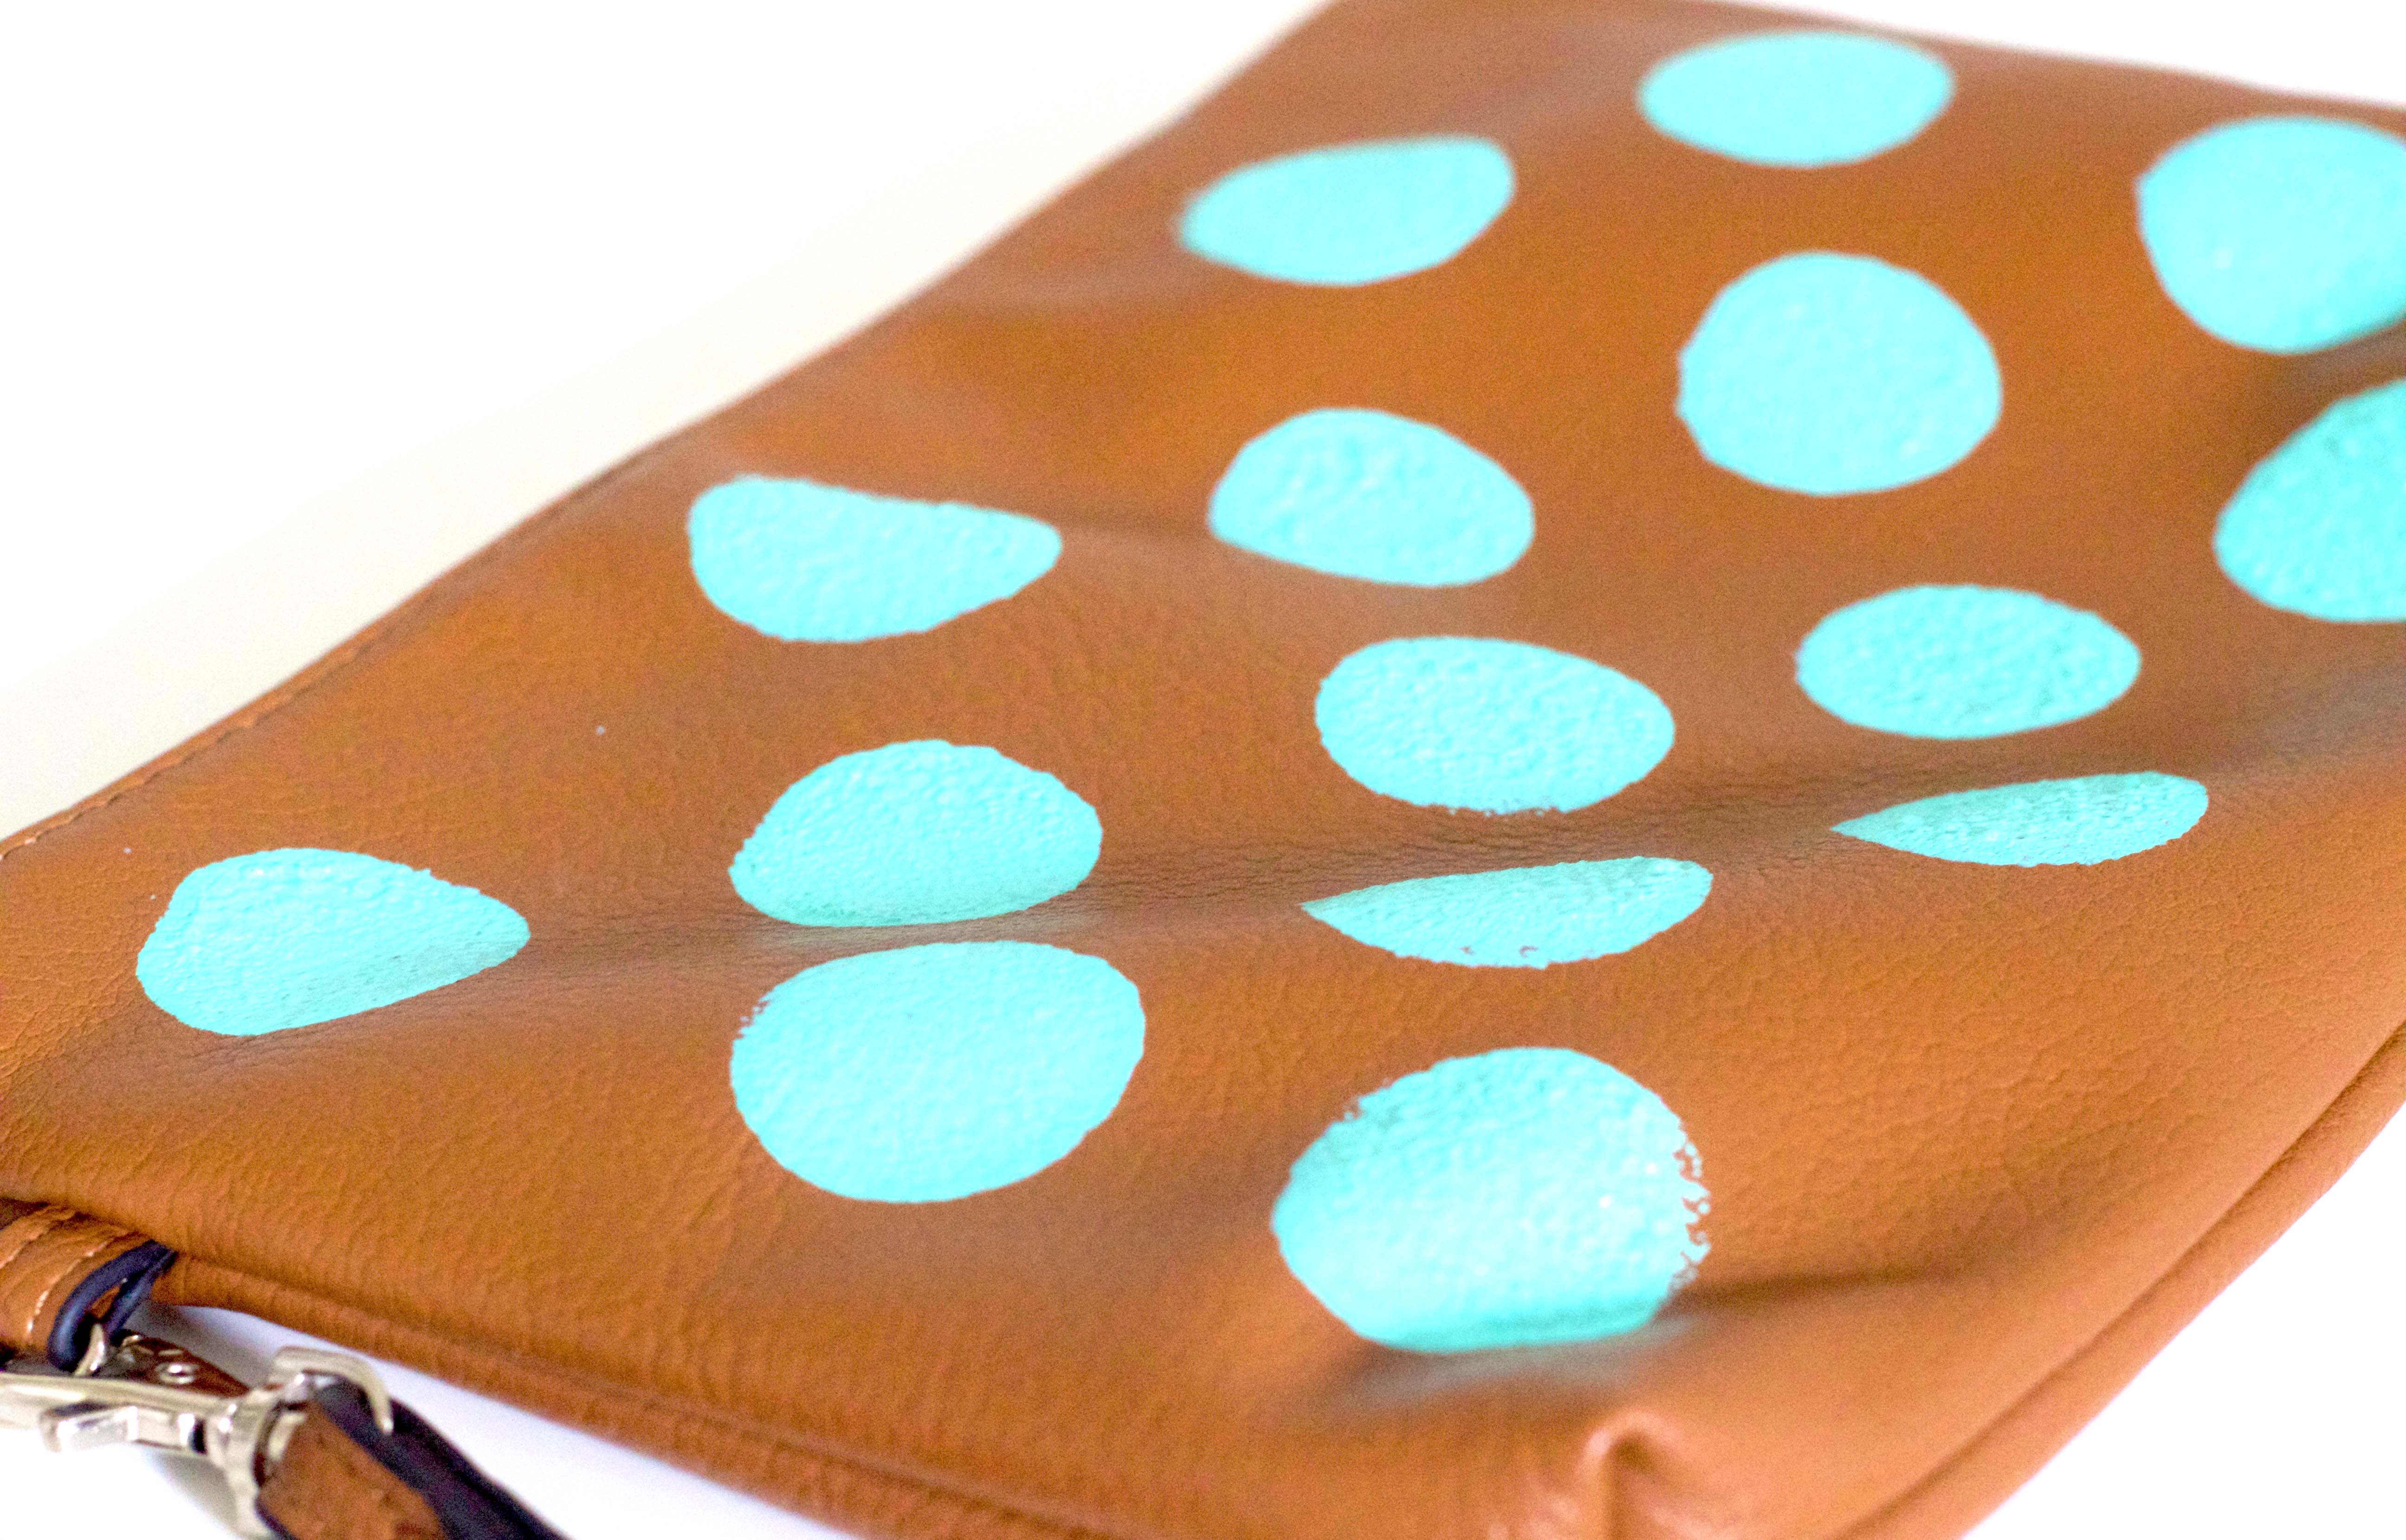
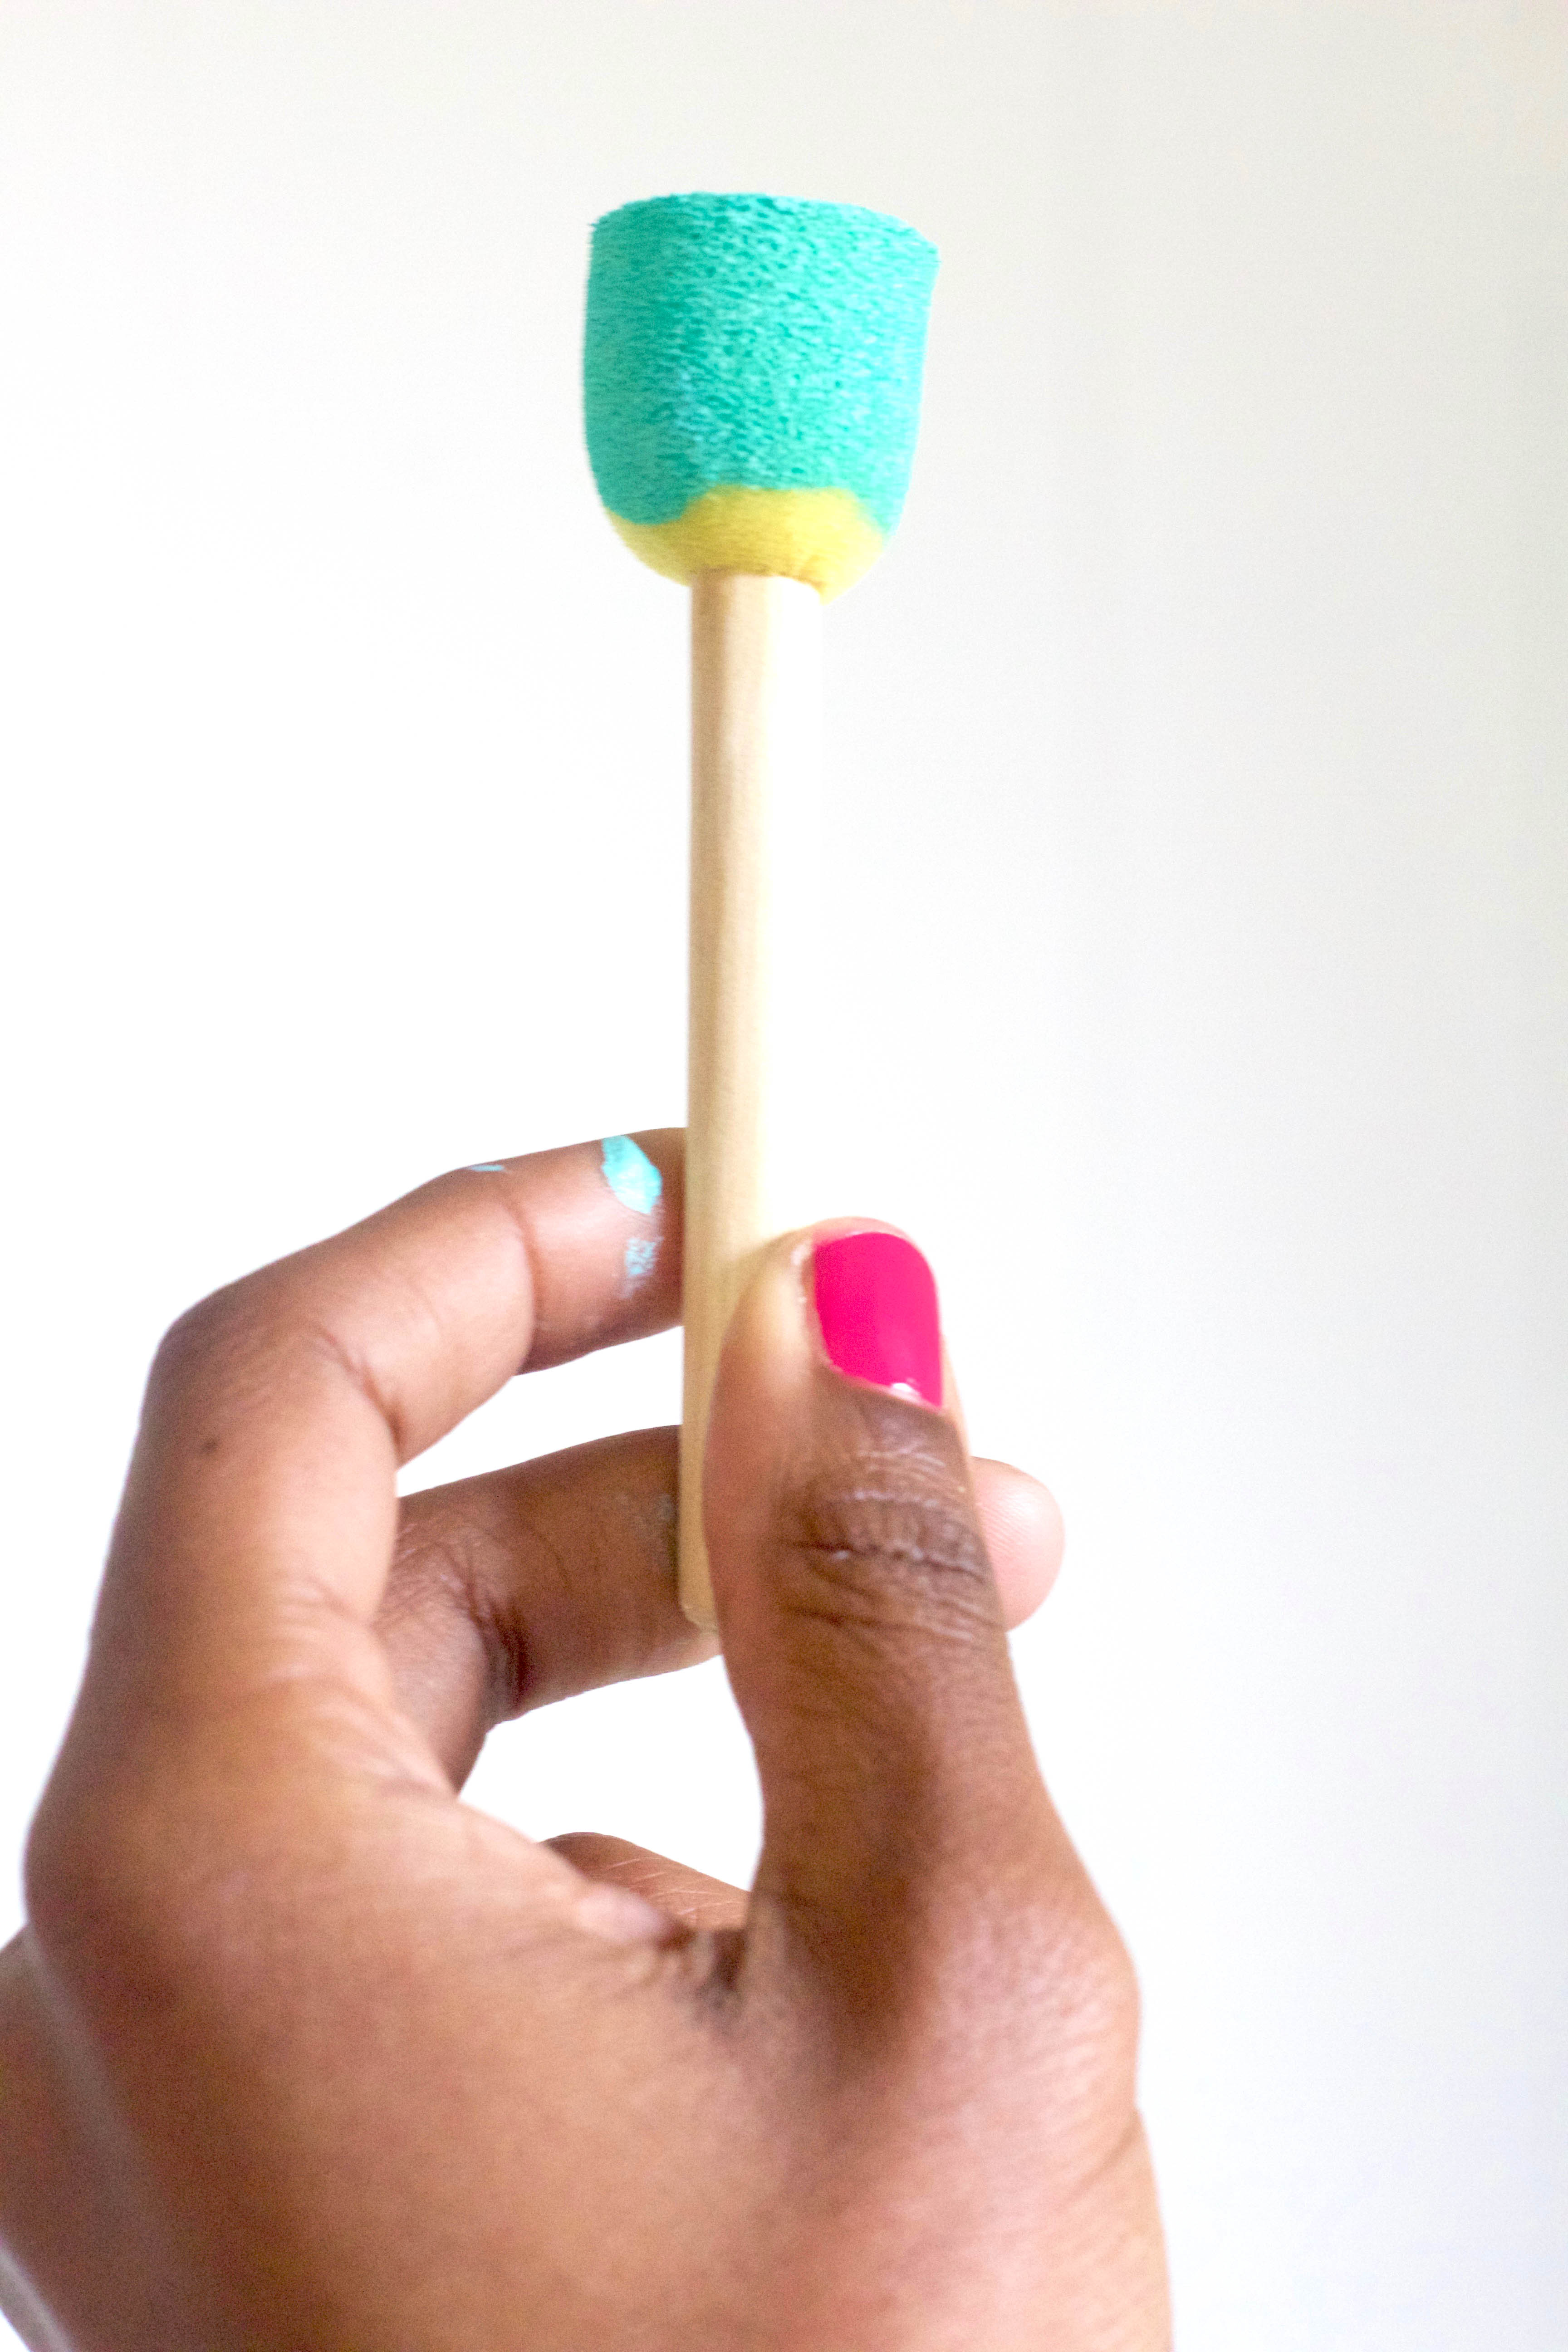
DIY Polka Dot Clutch

IMG_4043

From the second I spotted The Crafted Life’s 10 Minute DIY Polka Dot Purse, I knew I wanted to make my own polka dot clutch. Something I could use to keep my purse a little more organized or quickly grab on my way out the door for a few quick errands.

The hardest part of this craft project? Picking out the colors!

IMG_4016

IMG_4026

In other words, it’s super easy, really quick and, most importantly, it’s a lot of fun!

IMG_4118

For the directions on how to make it yourself, check out Rachel of The Crafted Life’s blog. And if you’re not following her on Pinterest, you need to.

Seriously.

xx


A Simple Eucalyptus DIY (That’s Easier Than a Wreath)

Did you know that March is National Craft Month? I plan on taking full advantage of this and using it as an excuse to do at least one of the thousands of Pinterest projects I’ve long since sworn that I was going to do, each week this month.

One easy craft project each week for a month?

That’s totally doable!

I wanted to start with something pretty, and while at Trader Joe’s picking up flowers, I spotted a bouquet of eucalyptus branches for only $2.99. After having just bought a rug at IKEA and keeping the string that it came wrapped in, I knew I had my first simple project. A minimalist eucalyptus DIY arrangement that is WAY easier than making a wreath or even a garland.

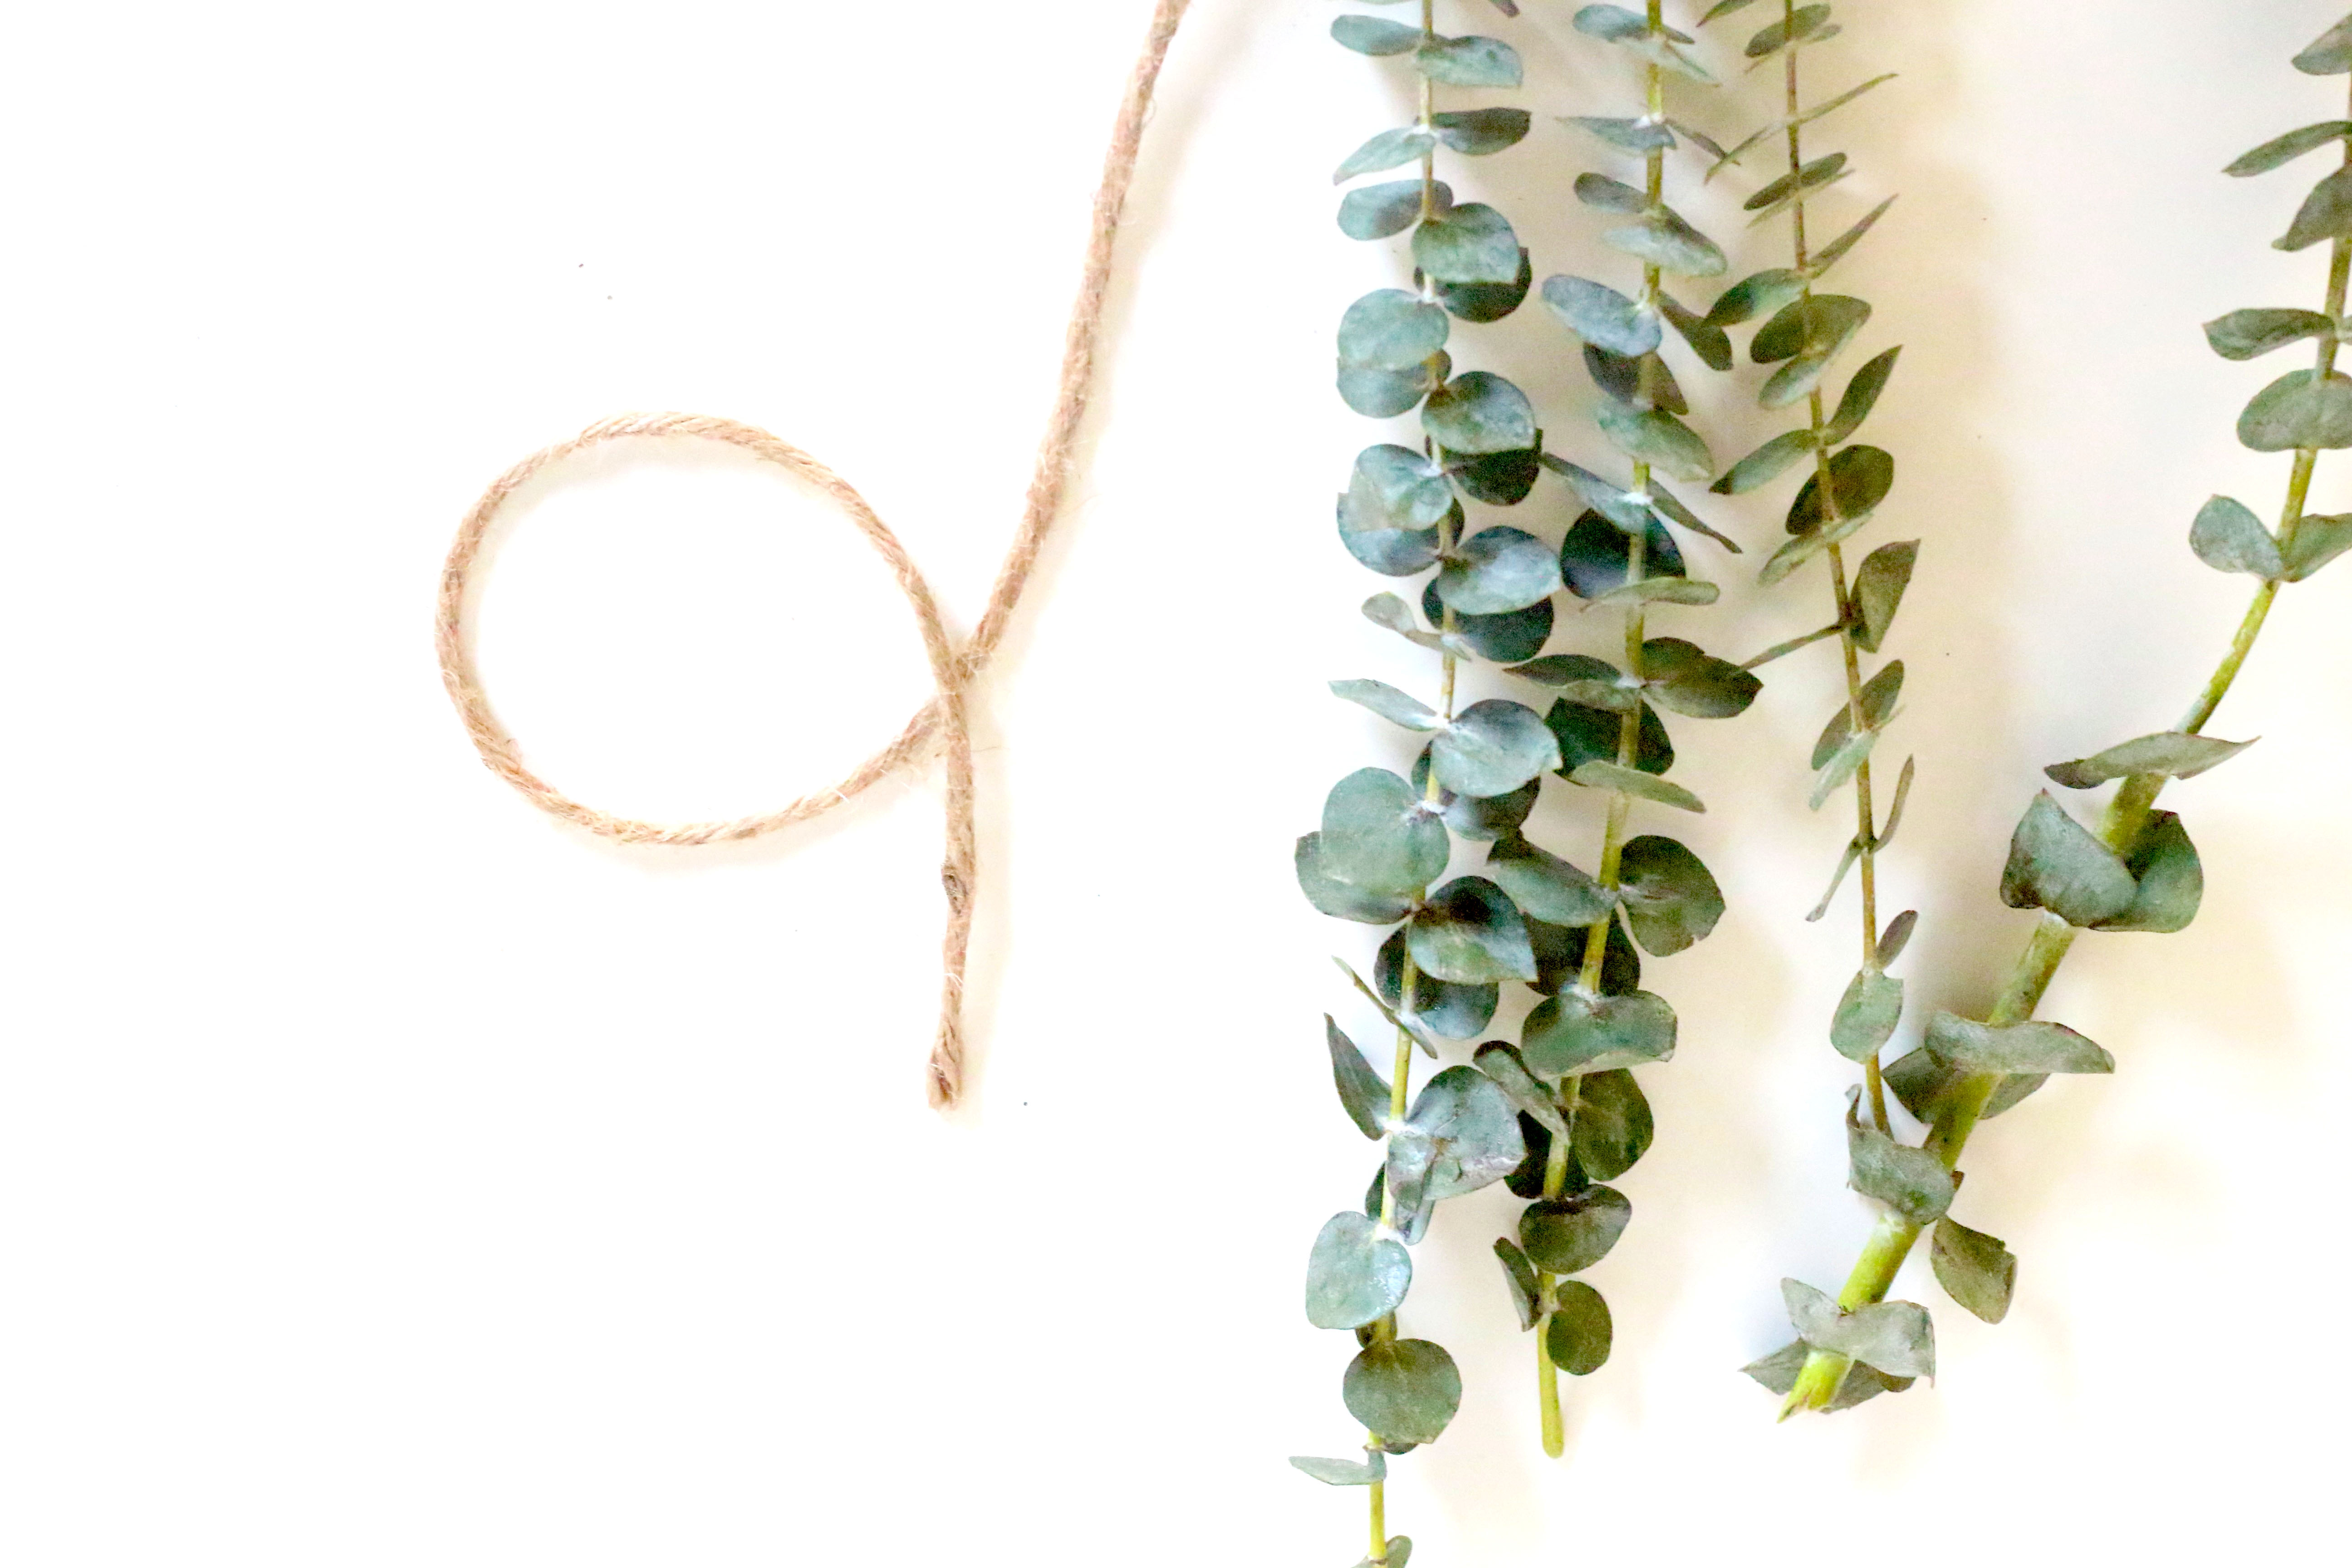
STEP 1: Open the bouquet and cut the branches (on an angle) to desired length.

String and Eucalyptus

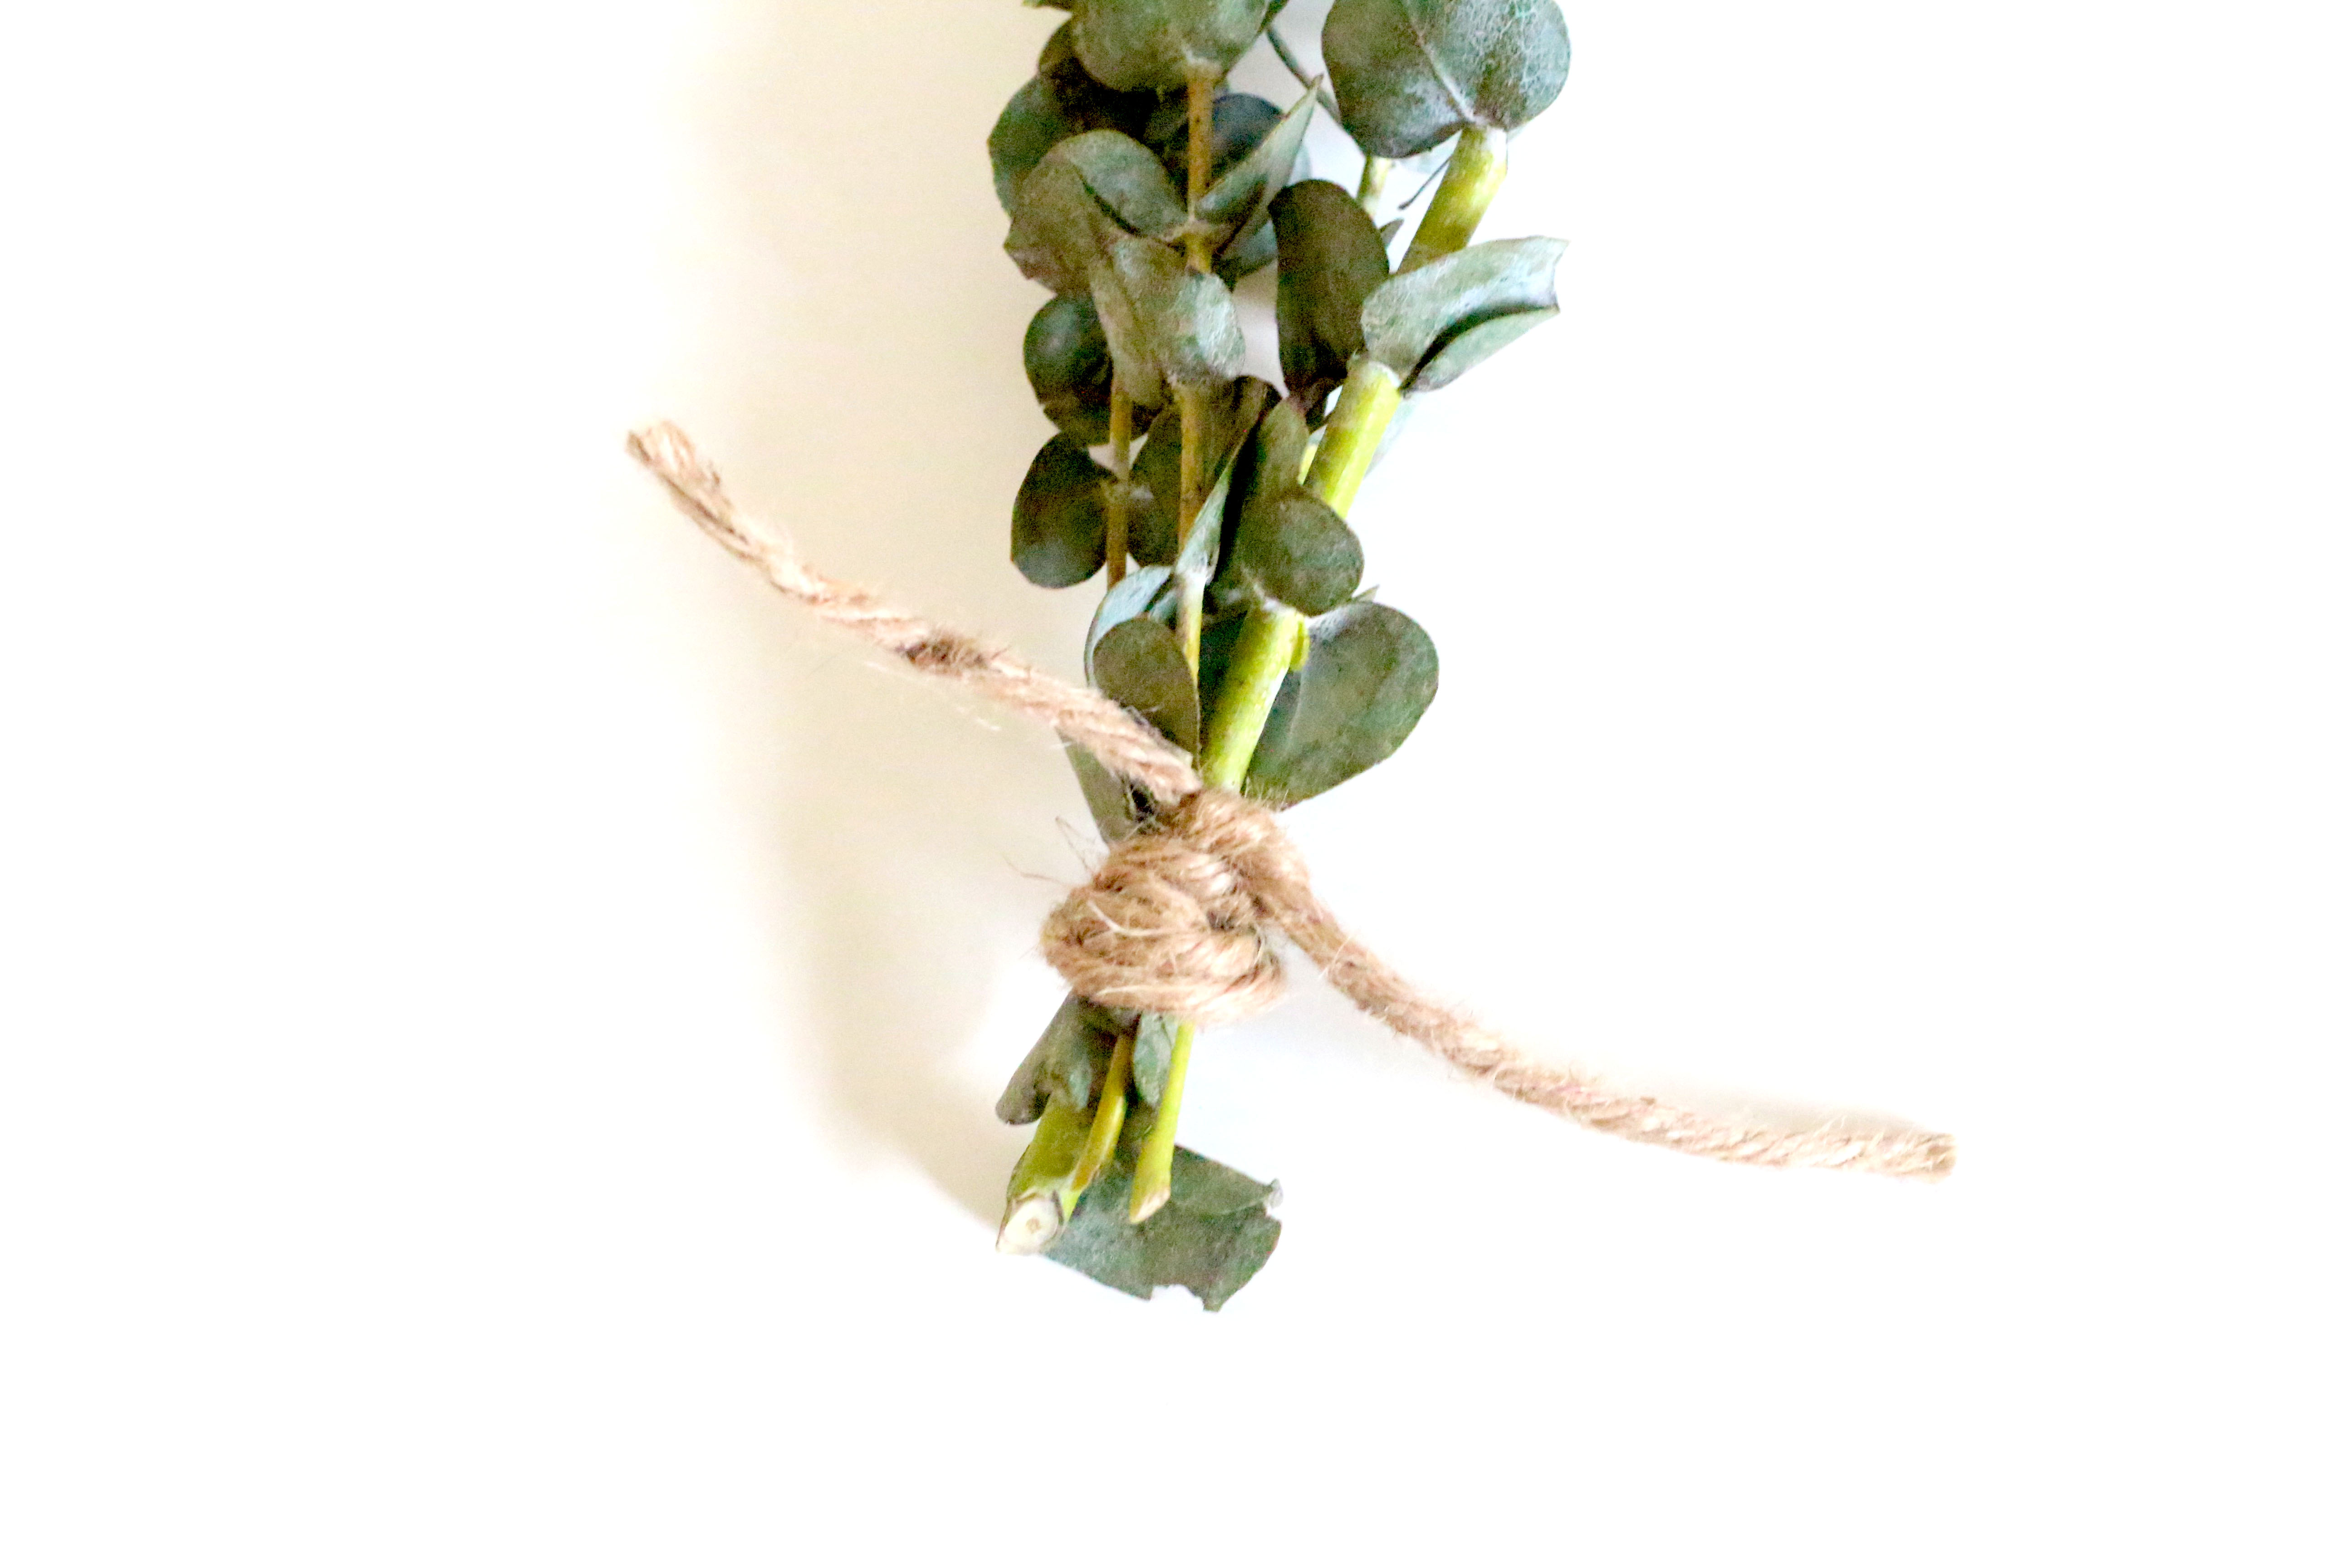
STEP 2: Gather a few branches and wrap your string around them. Finish by knotting the string.

Tie it in a knot.

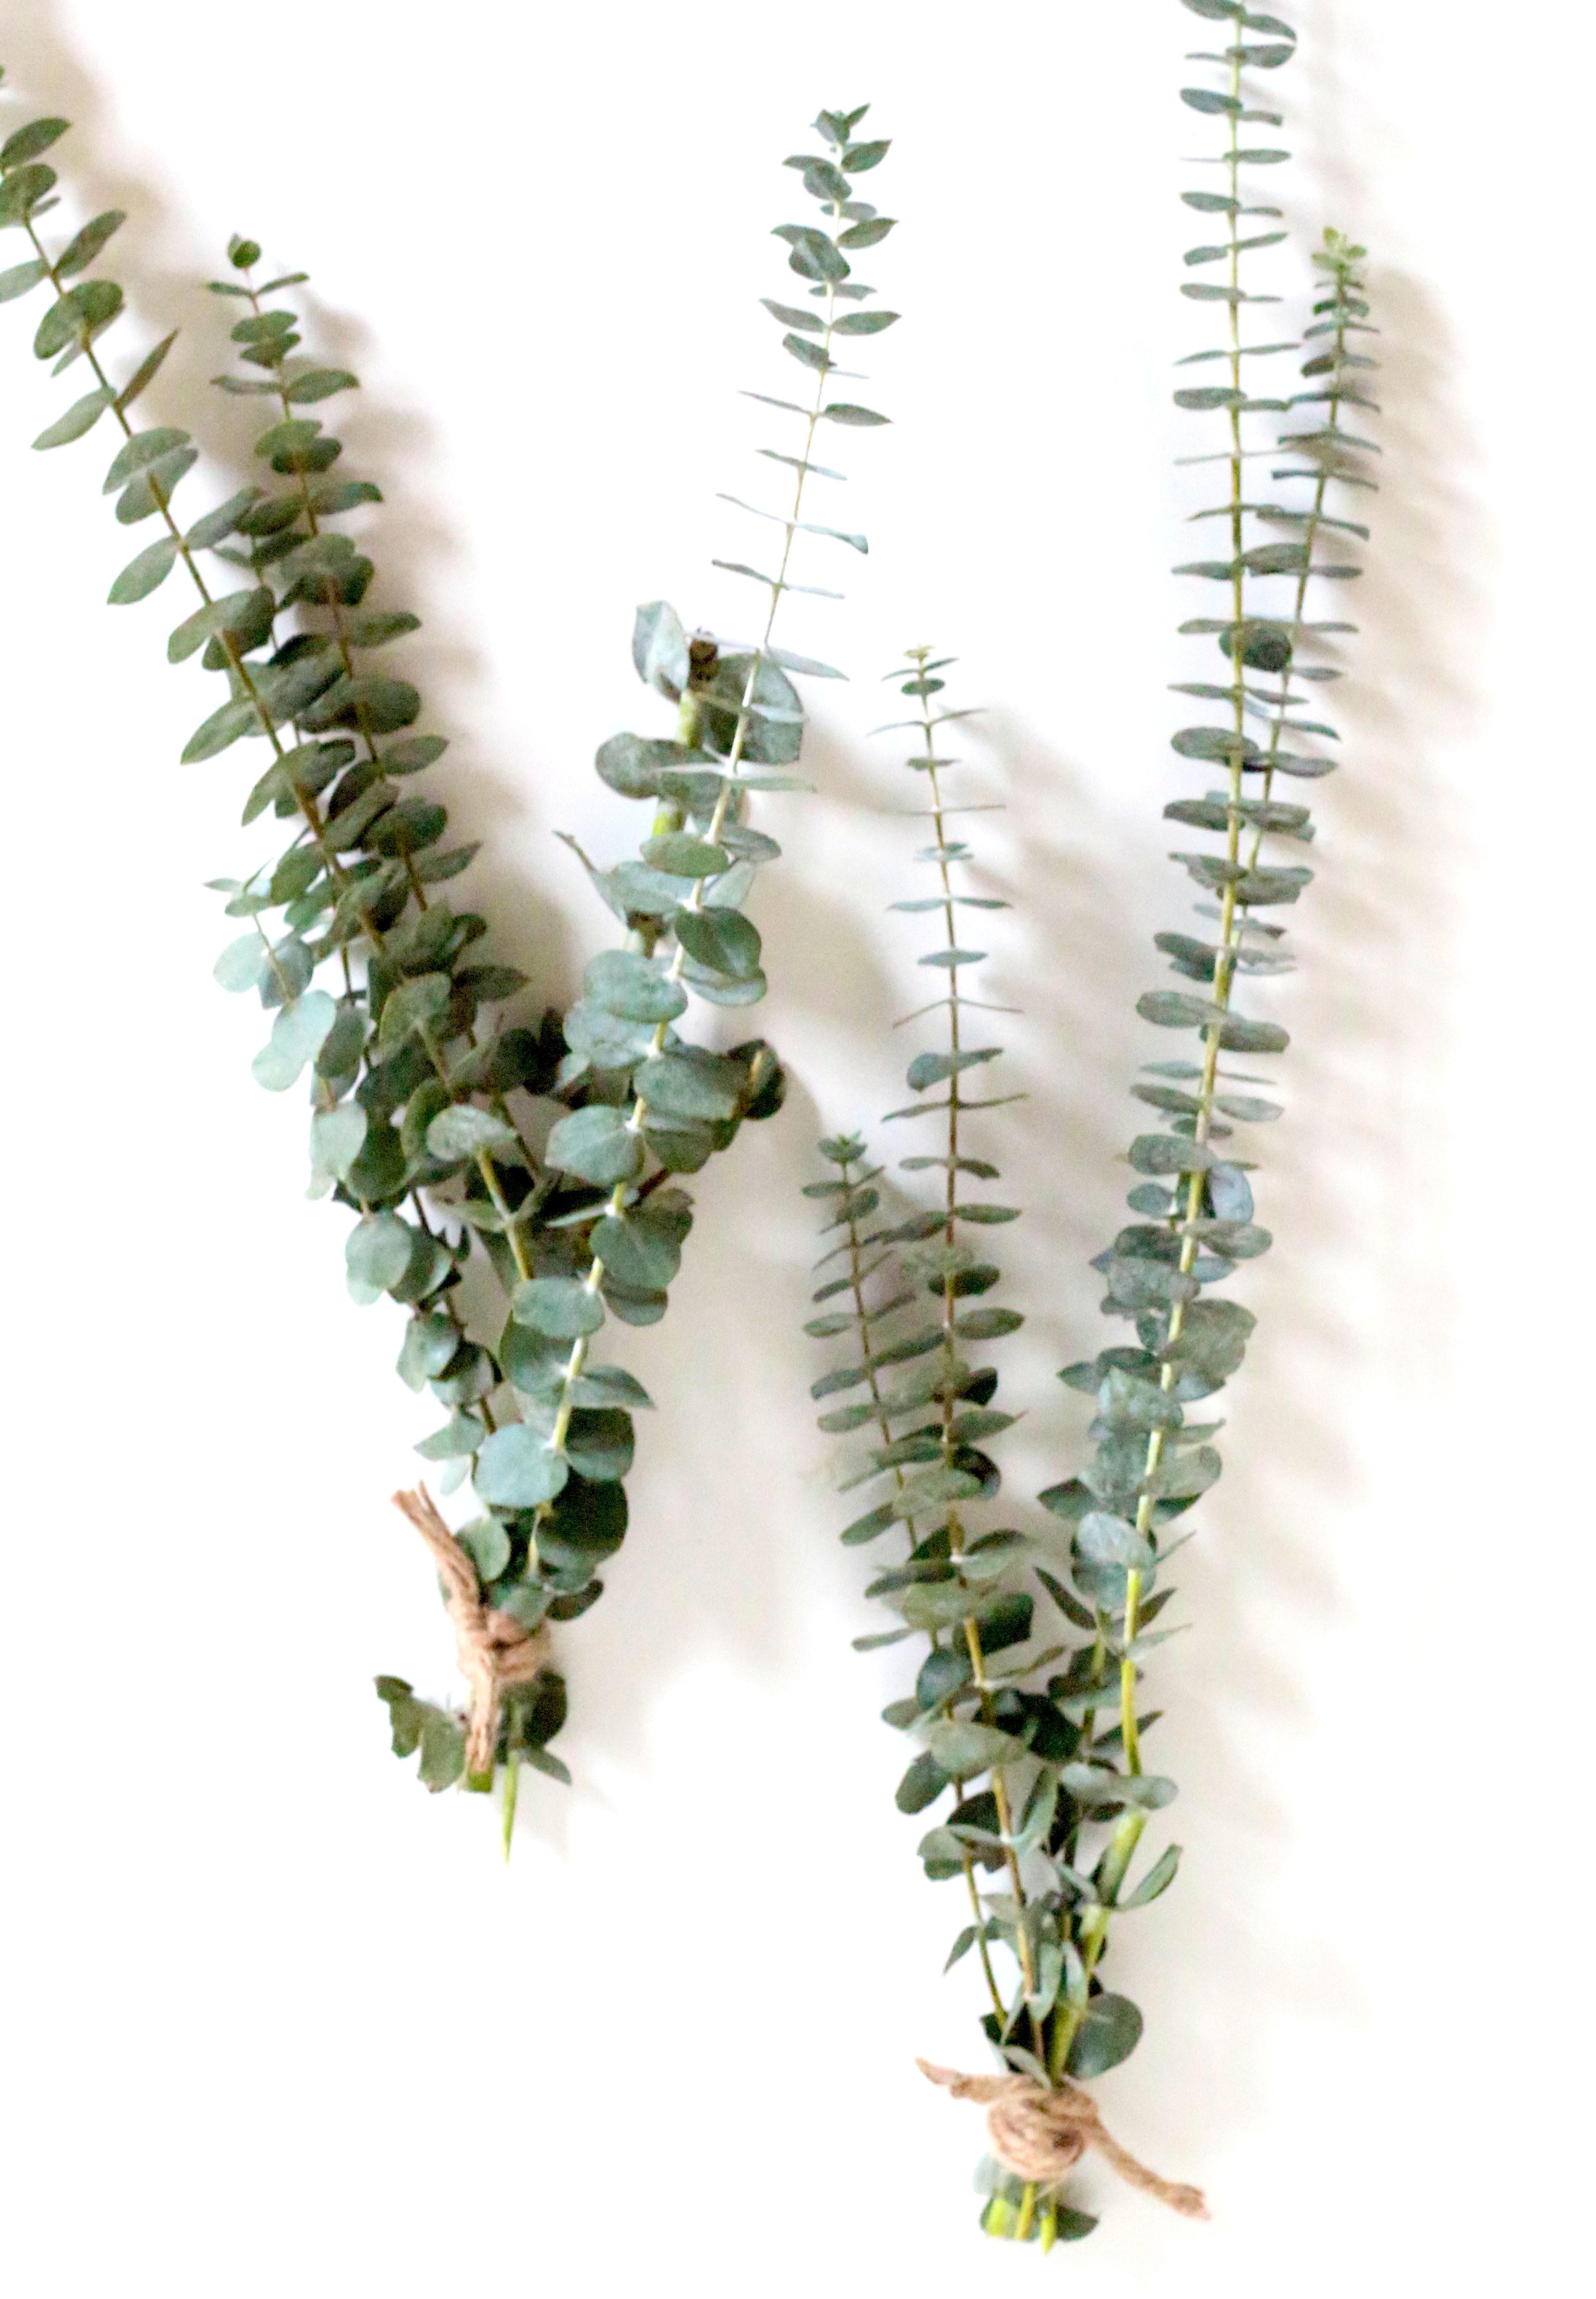
That’s it!

Simple, right?

Eucalyptus Bundles

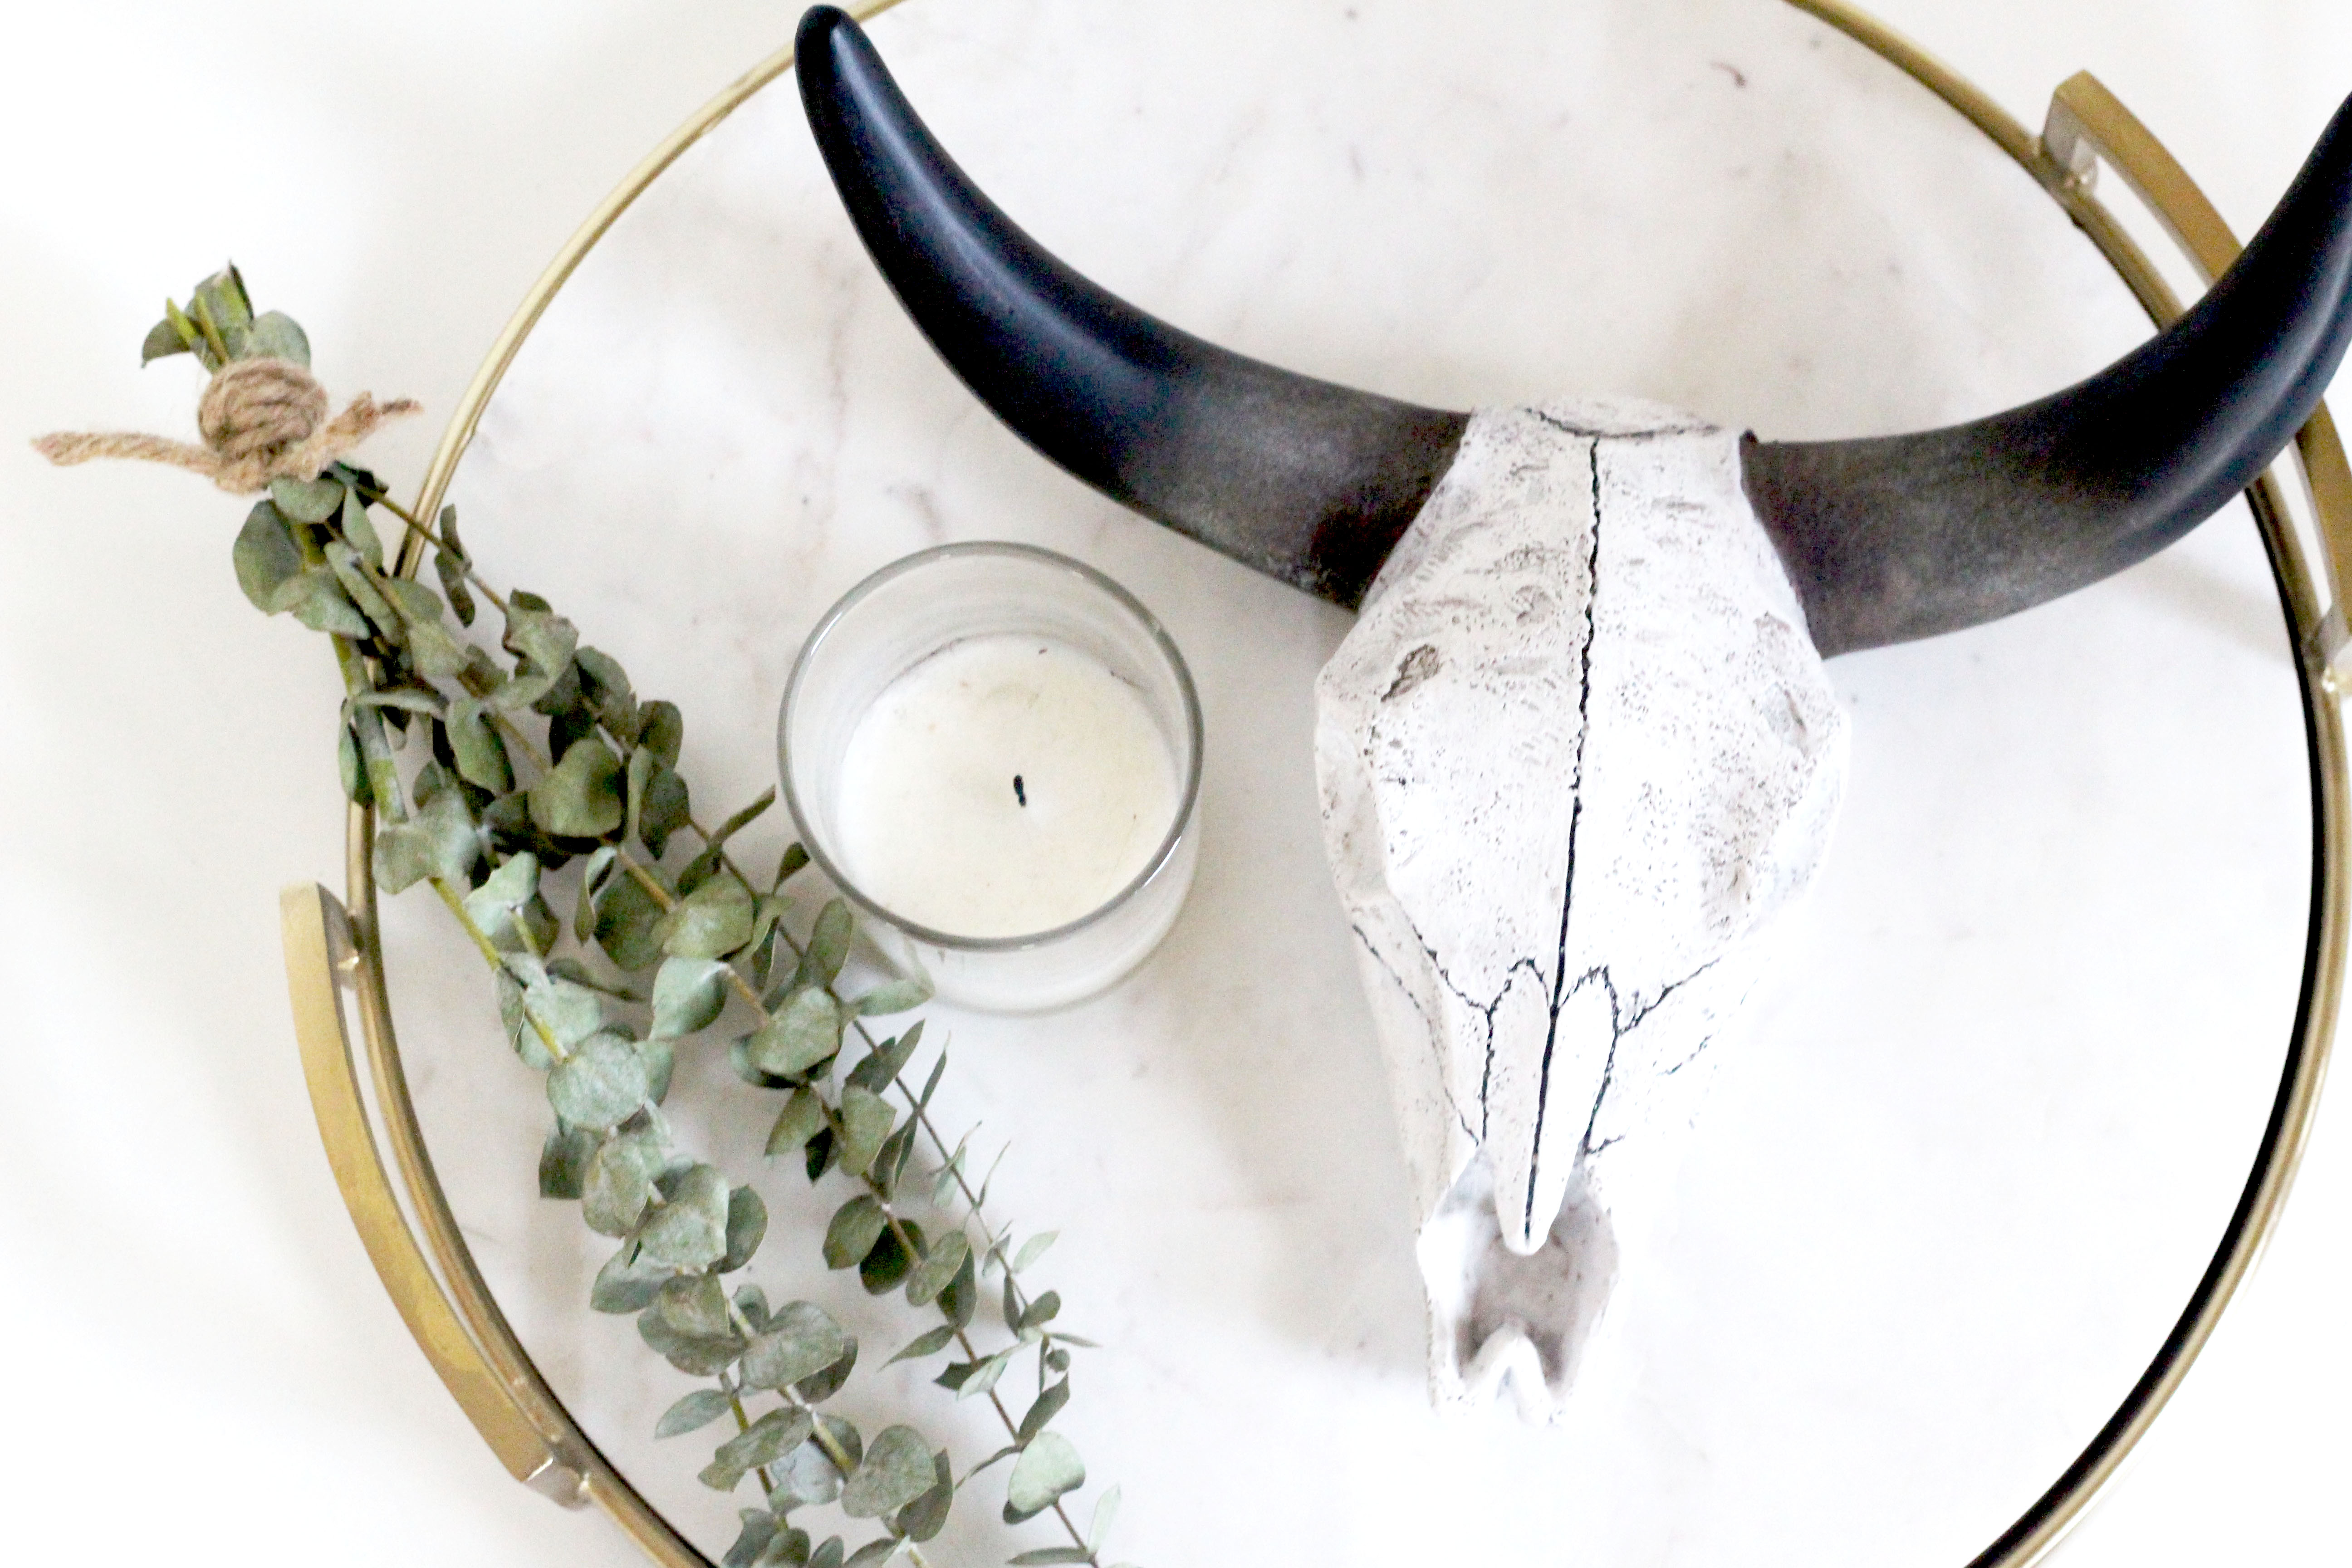
What you decide to do with your arrangement next, is completely and totally up to you. I currently have a bundle I made displayed on a tray with faux steer skull and a candle, but I have given some thought to hanging one up in the shower or on the wall over my bed.

Eucalyptus Display

If this is a craft you’d consider doing, how would you show it off? Tell me in the comments!

xx

DIY Floral Arranging with Neatly Noted + Azalea Floral Design

I am not always the most creative person , so when I get the chance to learn how to do something new or crafty, I jump at it.

Like, almost literally.

Ladies Night DIY

A few weeks ago, I joined fellow Monarchs, Latanya of Sprinkles and Booze Whitney of Leopard Spots & Pineapple Dots for a DIY floral arranging ladies night event hosted by Ariel Nathan of Neatly Noted (a friend of a friend, I’d been dying to meet, plus secretly stalking on Facebook and Instagram…) and Shannon Gagnon of Azalea Floral Design.

Azalea Floral Design

Floral Arranging

Floral Arrangement DIY Night

There was SO much food, wine, and lots of shared laughs. I. HAD. SUCH. A. BLAST!

Food Spread

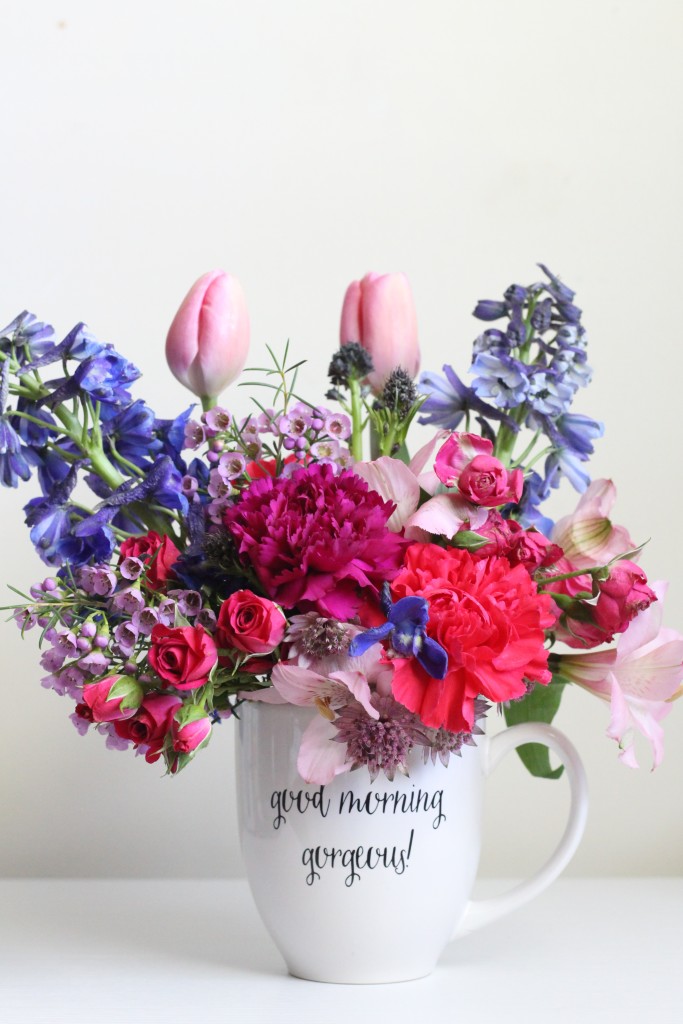
I managed not to cut myself and walked away with a super cute, flower filled Neatly Noted coffee mug.

Good Morning Gorgeous

I hope this was the first of many other craft events.

There was talk of a DIY flower crown night…
If so, count me in!

xx


If you’re not in CT, there’s no need to be too jealous, you can get your very own mug here. Photos via the Neatly Noted blog. Except for the last one, that was me.

Quick and Easy DIY Lip Scrub

I have lips that are on the more full side and if I don’t exfoliate them with a lip scrub, gross things happen.

Even though it is now March, it is still very much so winter. I know this because I’ve needed to pick away the blatant dead skin off my lips more times than I care to share…

Lip treatments, balms, and glosses are great, but if you are not exfoliating, then peeling is going to happen.

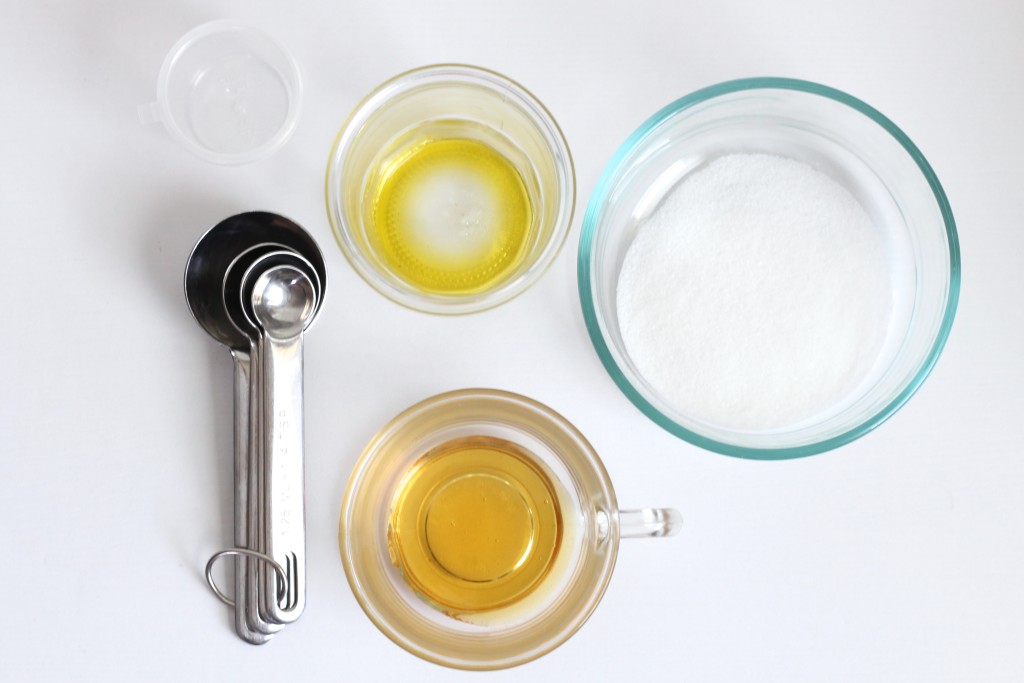
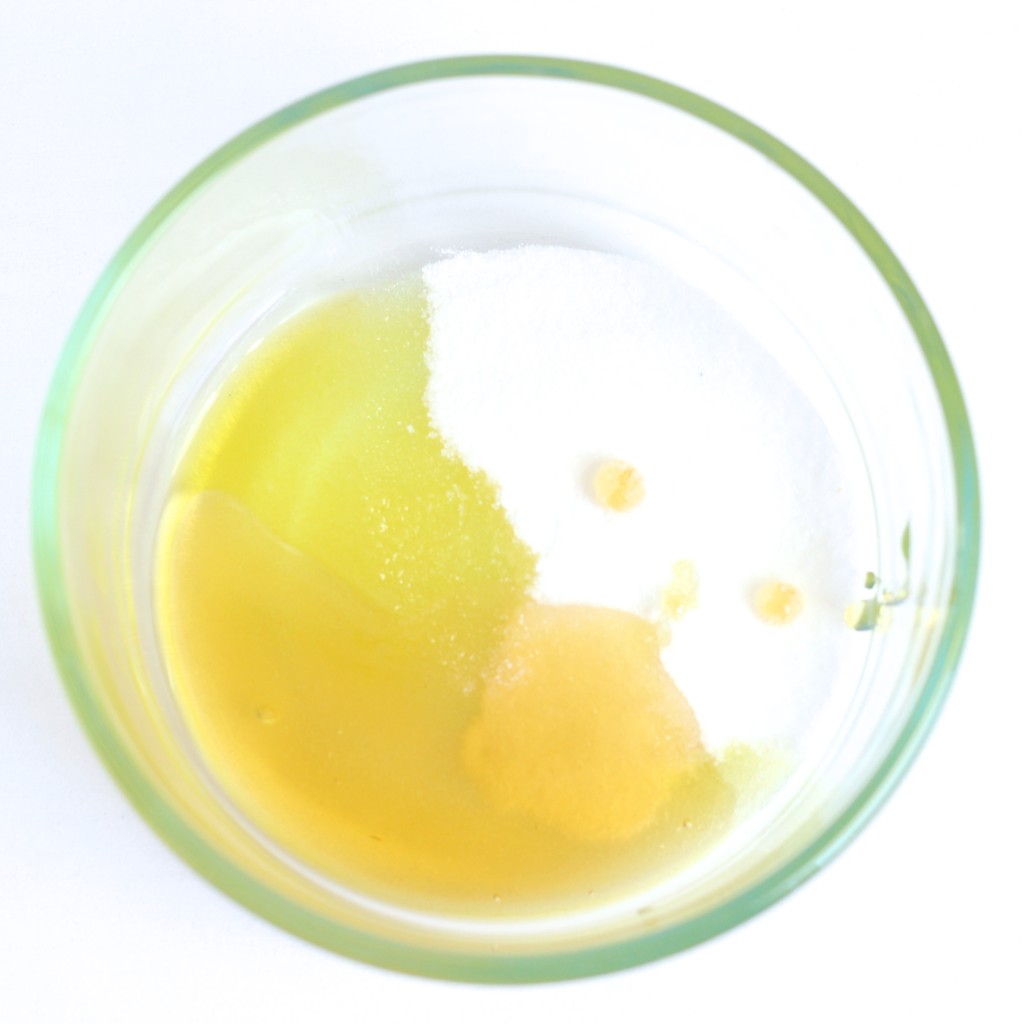
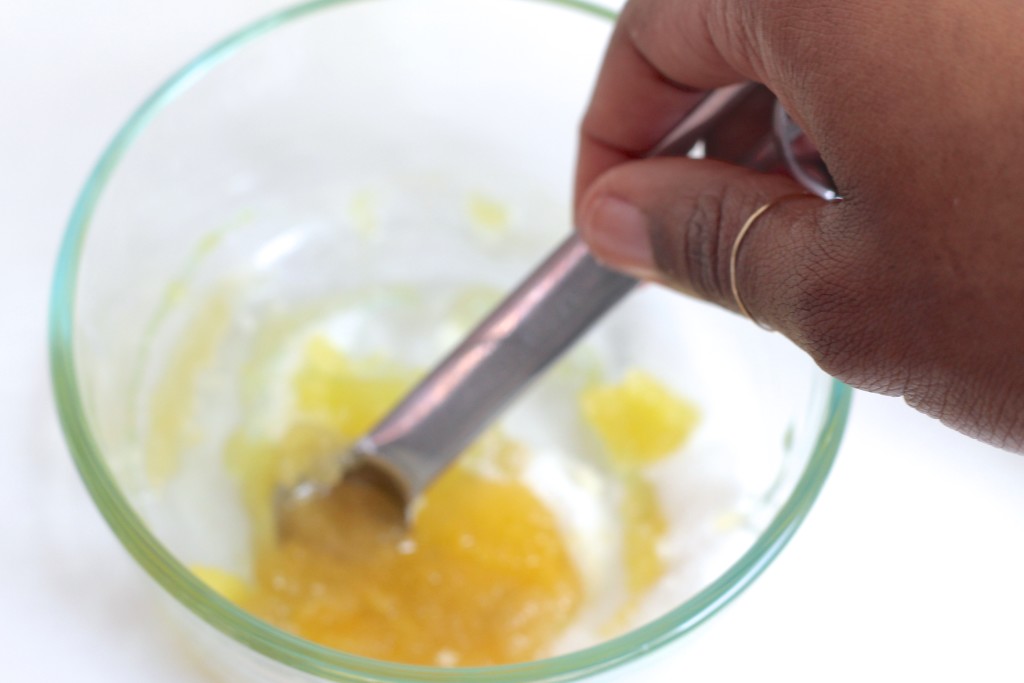
My current favorite lip scrub is one I found on Pinterest from Her Campus. It’s really easy and you only need three ingredients that you can probably find in your kitchen.

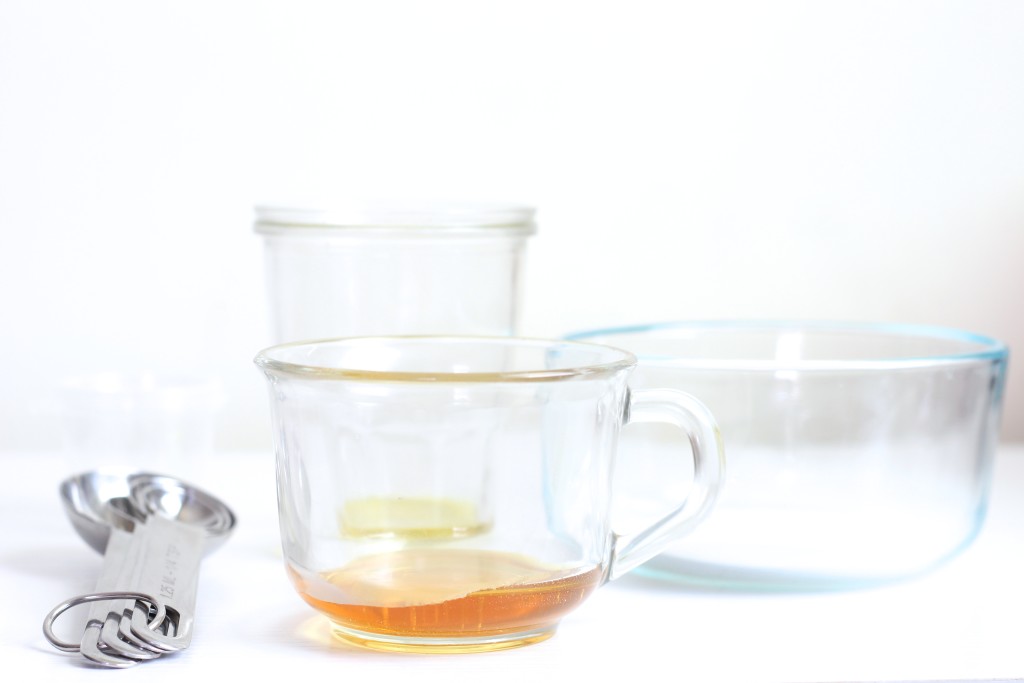
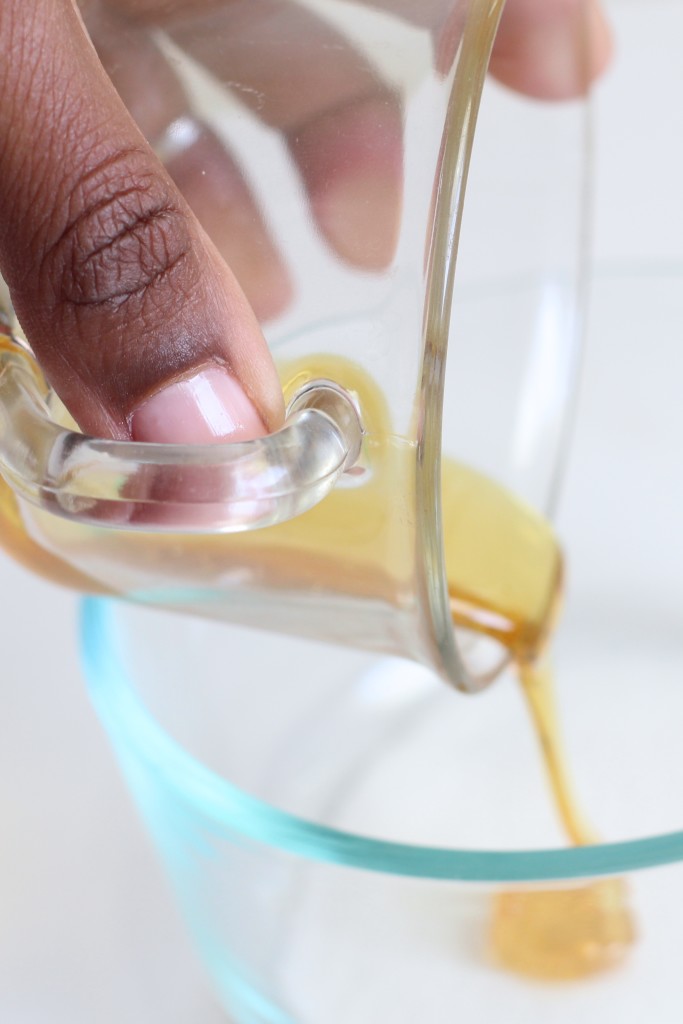
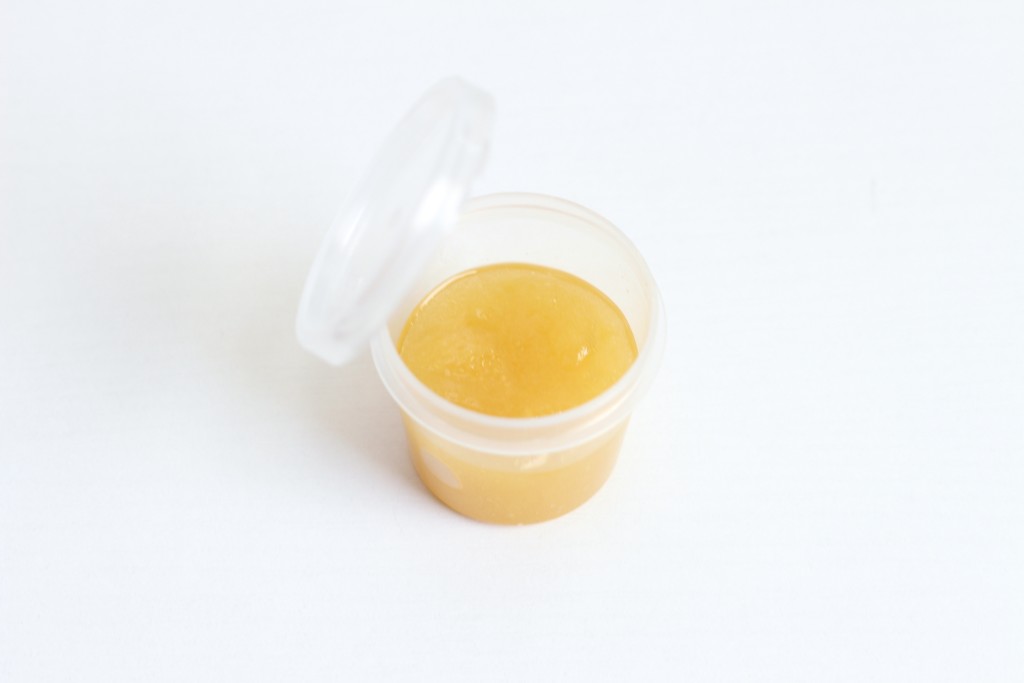
DIY Lip Scrub DIY Lip Scrub Add honey. Sugar, honey, and olive oil. Mix. Store in a small container.

Just a tablespoon of sugar, the same amount of honey, and a teaspoon of olive oil. Mix and store. My mom happened to have some salad dressing cups and they were the perfect size!

There’s quite a few different lip scrub concoctions that I’ve come across, but I haven’t tried too many. Do you have one that you swear by?

xx Bet